This article contains affiliate links. We may earn a commission from qualifying purchases.
Some content on this site is AI-assisted and reviewed by our editorial team.
Fire is the most forgiving subject in colored pencil — and the most commonly muddied. The mistake is always the same: color the flame orange, color the background dark, done. A real flame is a light source, which means everything else in the page borrows its glow. When you treat fire as a lamp instead of an orange shape, candle pages go from flat to luminous in one sitting. This is the glow-first method, and it works on candle pages, campfire pages, lantern pages, and fireplace scenes alike. No fancy pencils required — but soft cores and one white gel pen make it dramatically easier.
This method assumes you already color light-first on dark subjects — the same logic as the snow and ice method. If you are new to glow, start with a candle page from a seasonal book so you can compare your flame against the printed one. Here is the full method.
Step 1 — Map the Flame’s Three Zones Before You Touch It
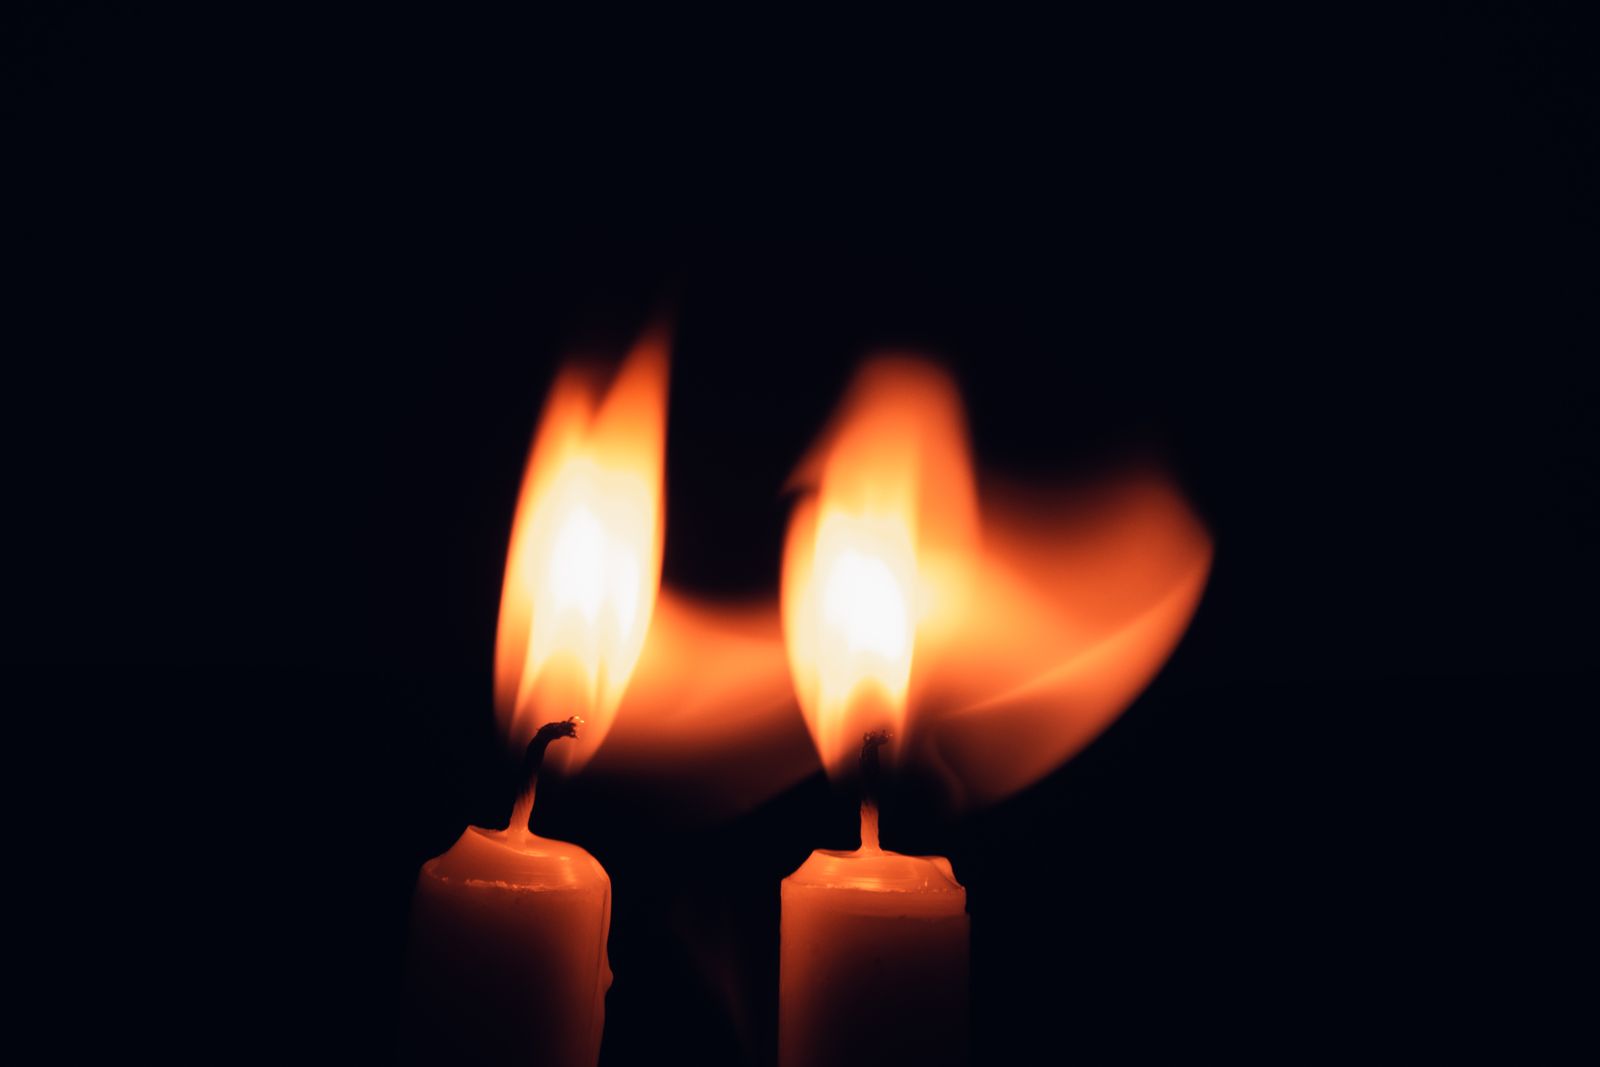
Every flame — candle, lantern, campfire log — has the same three zones: a dark core at the base (the coolest, darkest part of a flame is the bottom, not the top), a bright body, and a ragged tip that breaks into the surrounding darkness. Before coloring, take a pencil and lightly trace those three zones on the flame itself. This ten-second step is what separates luminous pages from orange smudges, because your eye now has a map of where the light comes from. On a printed candle page, the line art usually already hints at the zone breaks — use those lines, do not fight them.
Step 2 — Lay the Glow Radius First, Not the Flame
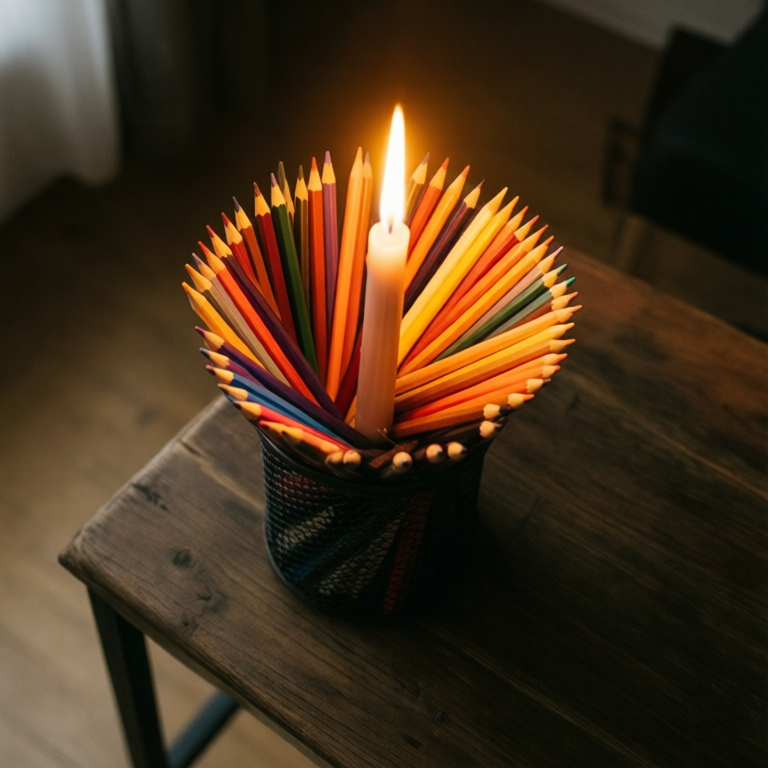
Here is the trick that changes everything: color the light before the lamp. Take your palest warm yellow and lay a soft radius around the flame — a loose ring about the width of the flame itself, fading outward with three layers of decreasing pressure (see the gradient method for the pressure scale). This radius is the glow that the flame casts on the wax, the wick, and the darkness around it. When the glow lands first, the flame you place inside it reads as a source; when the flame lands first and the glow is an afterthought, it reads as a sticker.
Step 3 — Build the Flame in Three Layers, Darkest Edge to Brightest Core
Now the flame itself, always edge-to-core:
Layer 1 (the outer edge): deep orange around the ragged outline, light pressure, following the flame’s flicker lines. Never outline the flame with black — a flame has no dark outline; its boundary is where the glow starts.
Layer 2 (the body): orange into the inner body, stroking upward with the flame’s direction. Overlap into Layer 1 while it is still fresh so the two blend at the boundary.
Layer 3 (the core): pale yellow, then a touch of cream near the wick — the hottest part of a candle flame is just above the wick, so the lightest values sit low-center, not at the tip. Leave the very brightest sliver of paper white if your paper is white; on black paper see the note below.
Step 4 — Let the Glow Touch Everything Nearby
The reason candle pages look luminous is borrowed light. Once the flame is built, revisit everything within the glow radius you mapped in Step 2: warm the near side of the candle body, warm the wax pool at the top, add a thin warm rim to anything metallic (the holder, a mirror, a lantern frame — the glass method applies to holders and jars too). The far side of each object stays cool and dark. One rule keeps this honest: the glow touches only what the flame can reach — over-glowing the whole page kills the night.
Step 5 — Reserve the Highlights (The White Gel Pen Step)
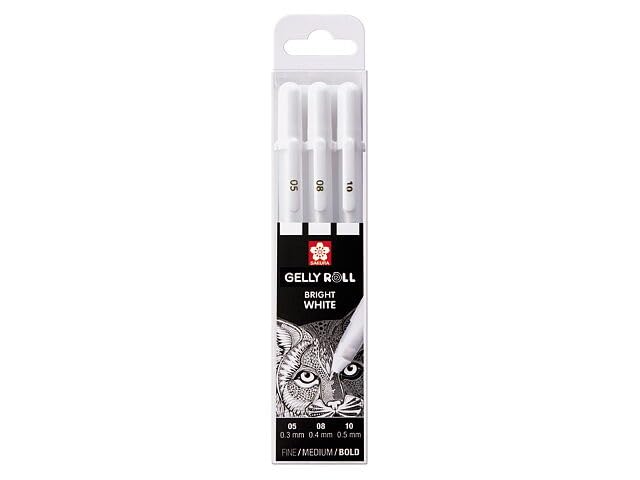
Every flame has micro-highlights the wax core cannot deliver: the wick’s tip, the brightest point just above it, the hard sparkle on the candle rim, the sparkle in molten wax. This is where a white gel pen earns its keep. Wait until the page is otherwise finished, then place three to five dots and short strokes — not dozens. If you are working on black or dark paper, the gel pen also rescues the flame’s brightest core: build the flame in oranges and yellows and let the pen place the lightest value on top (the full black-paper workflow is in the black paper guide).
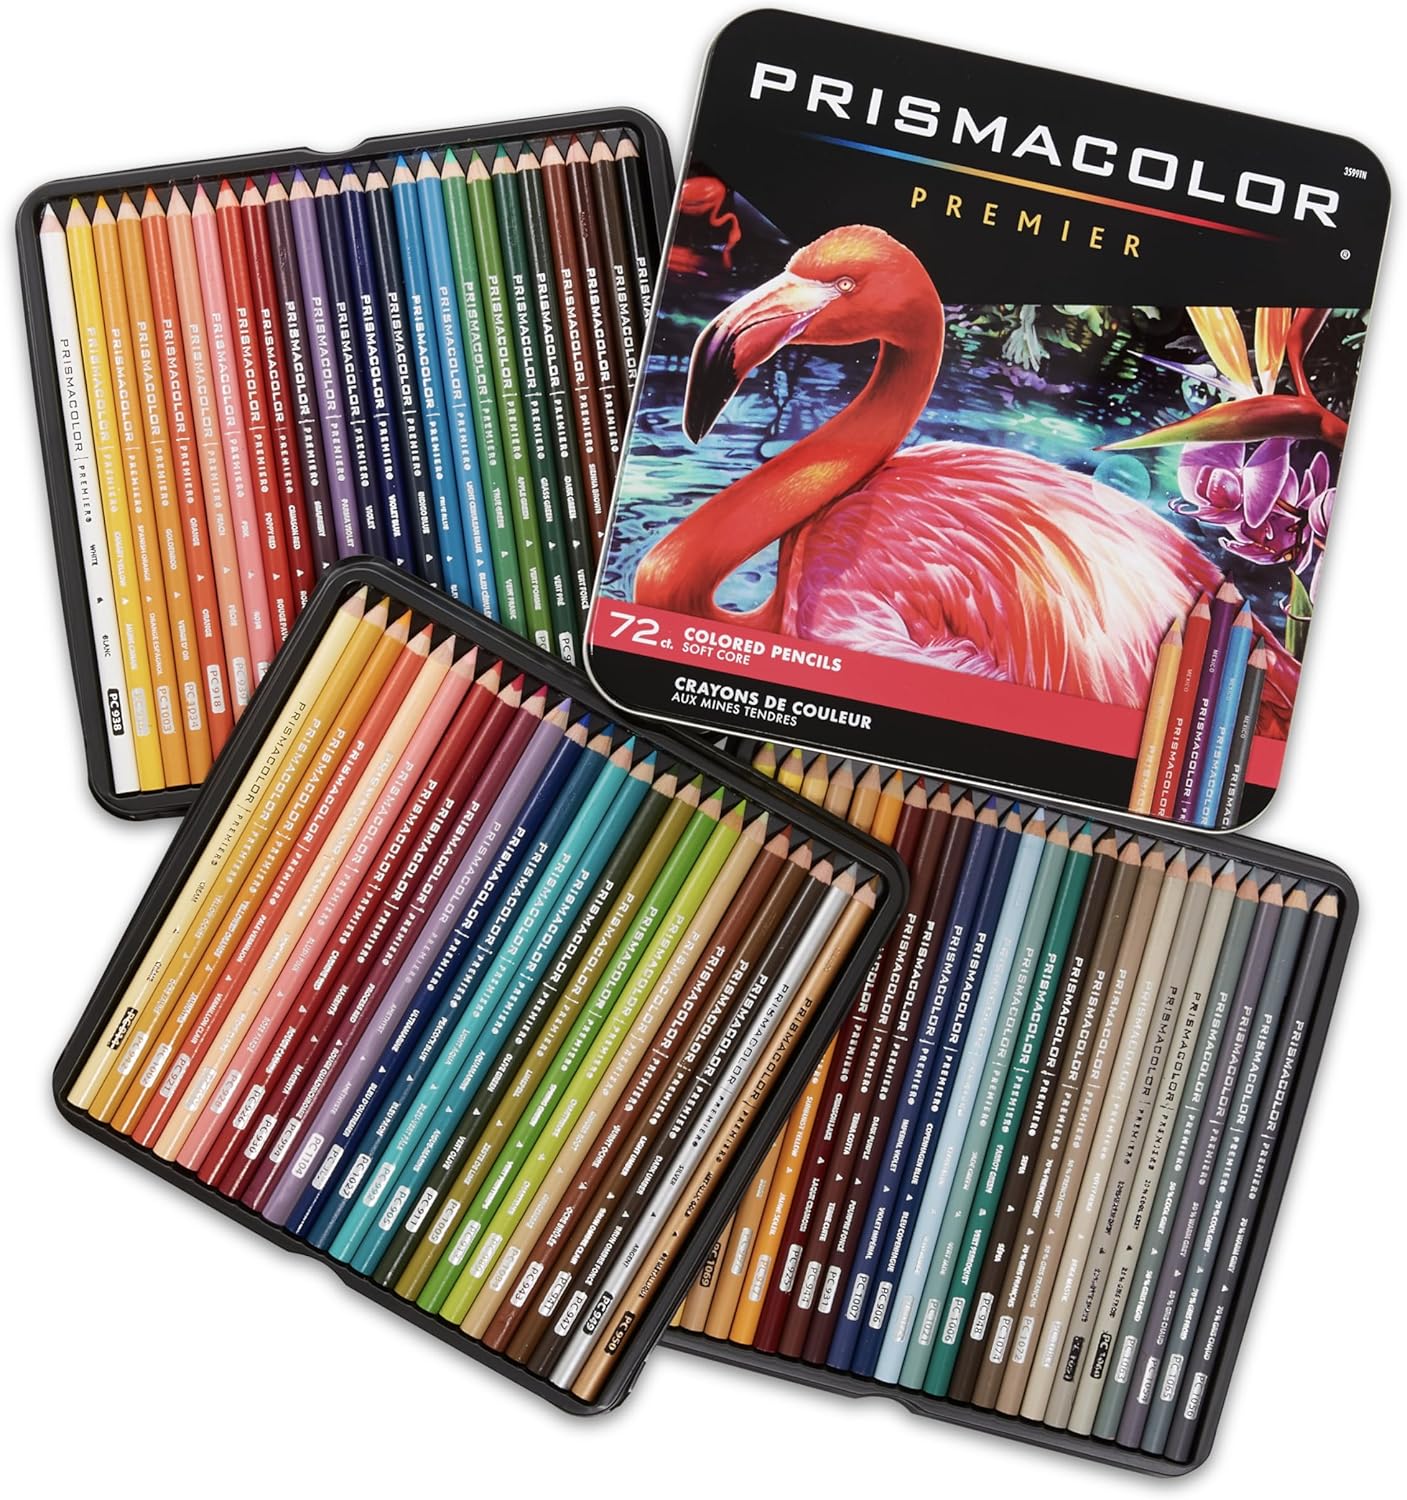
My take on pencils for fire: Prismacolor Premier soft cores (72-count, about $64) are worth it here — the soft core is what lets Layer 1 blend into Layer 2 without a hard edge, and the tin includes the pale yellows and creams a flame needs. A hard pencil set can do this method, but the blending work triples.
Step 6 — Pick Paper That Keeps the Night Dark
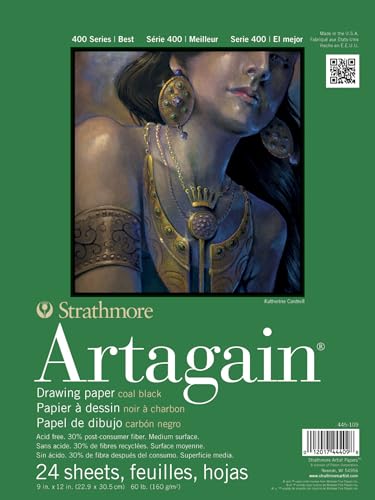
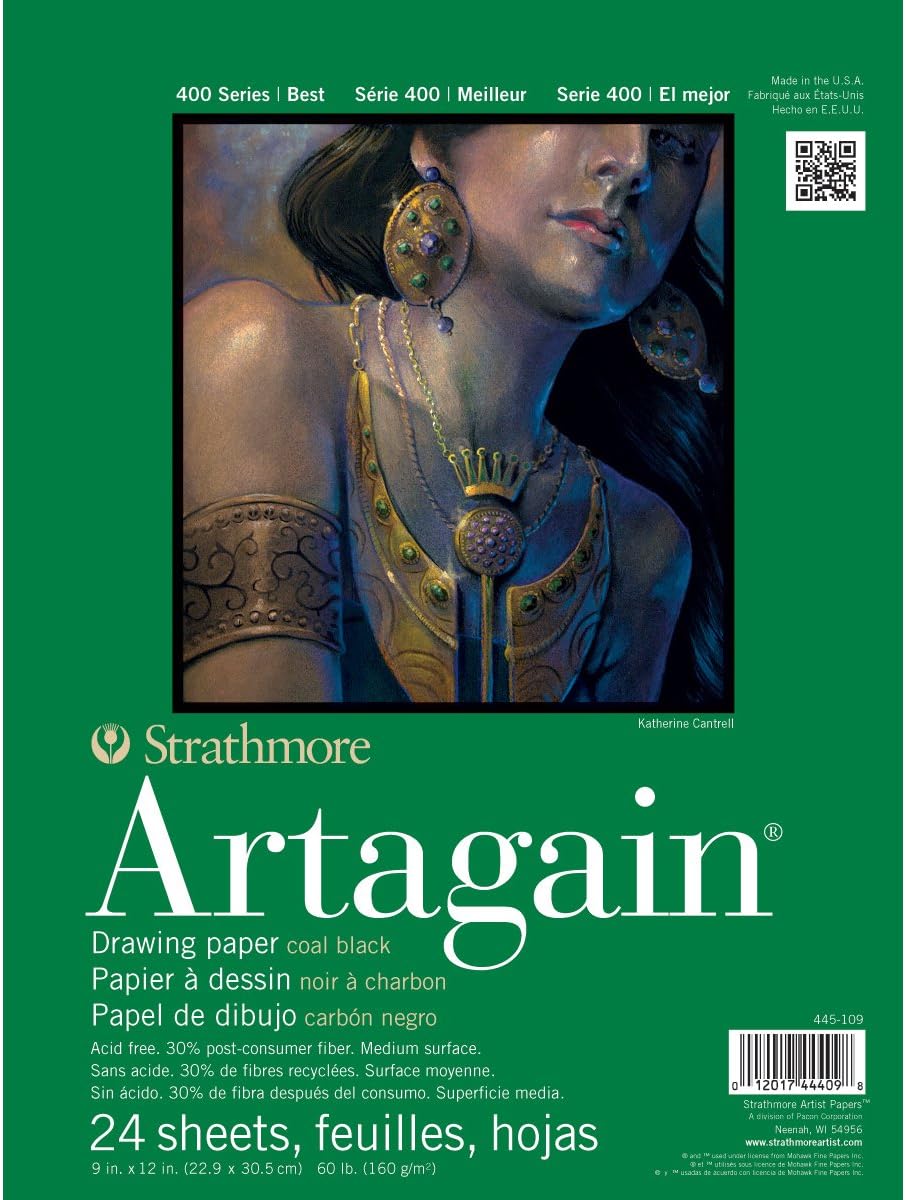
Fire pages live or die on the darks around the flame. Cheap bright-white paper makes the night sky around a campfire look like an overcast afternoon. Two options: a smooth white paper with real tooth that takes dark layers (the paper guide covers tooth and weight), or go straight to black paper, where the night is already done for you. My favorite practice pad for glow subjects is Strathmore Artagain in coal black (9×12, 24 sheets, about $8.50) — it is the pad I test every new glow technique on before it goes on a book page. The honest con: the surface is soft, so heavy burnishing can scuff it; work light-to-medium pressure.
Step 7 — Pick Pages With Built-in Glow Practice
The fastest way to internalize this method is a book that gives you many small flames instead of one big one — every candle in a mandala-style page is a rep. Two worth coloring:
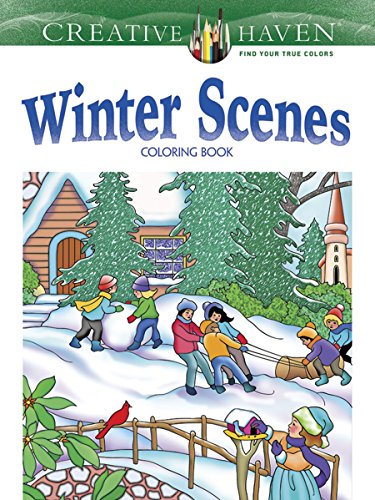
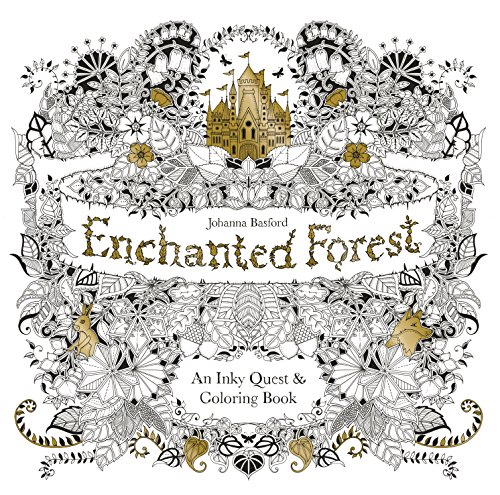
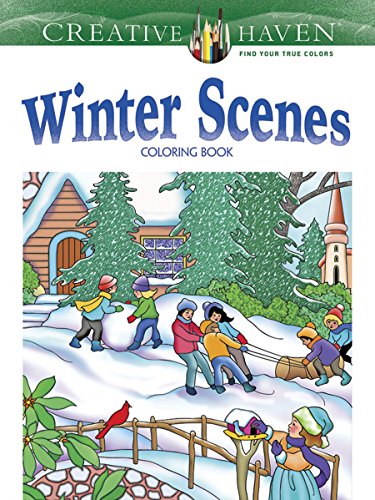
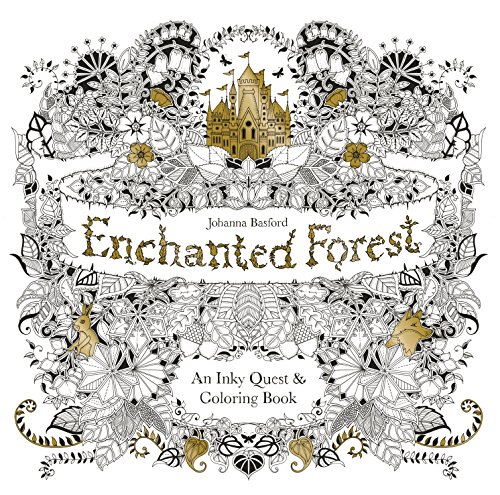
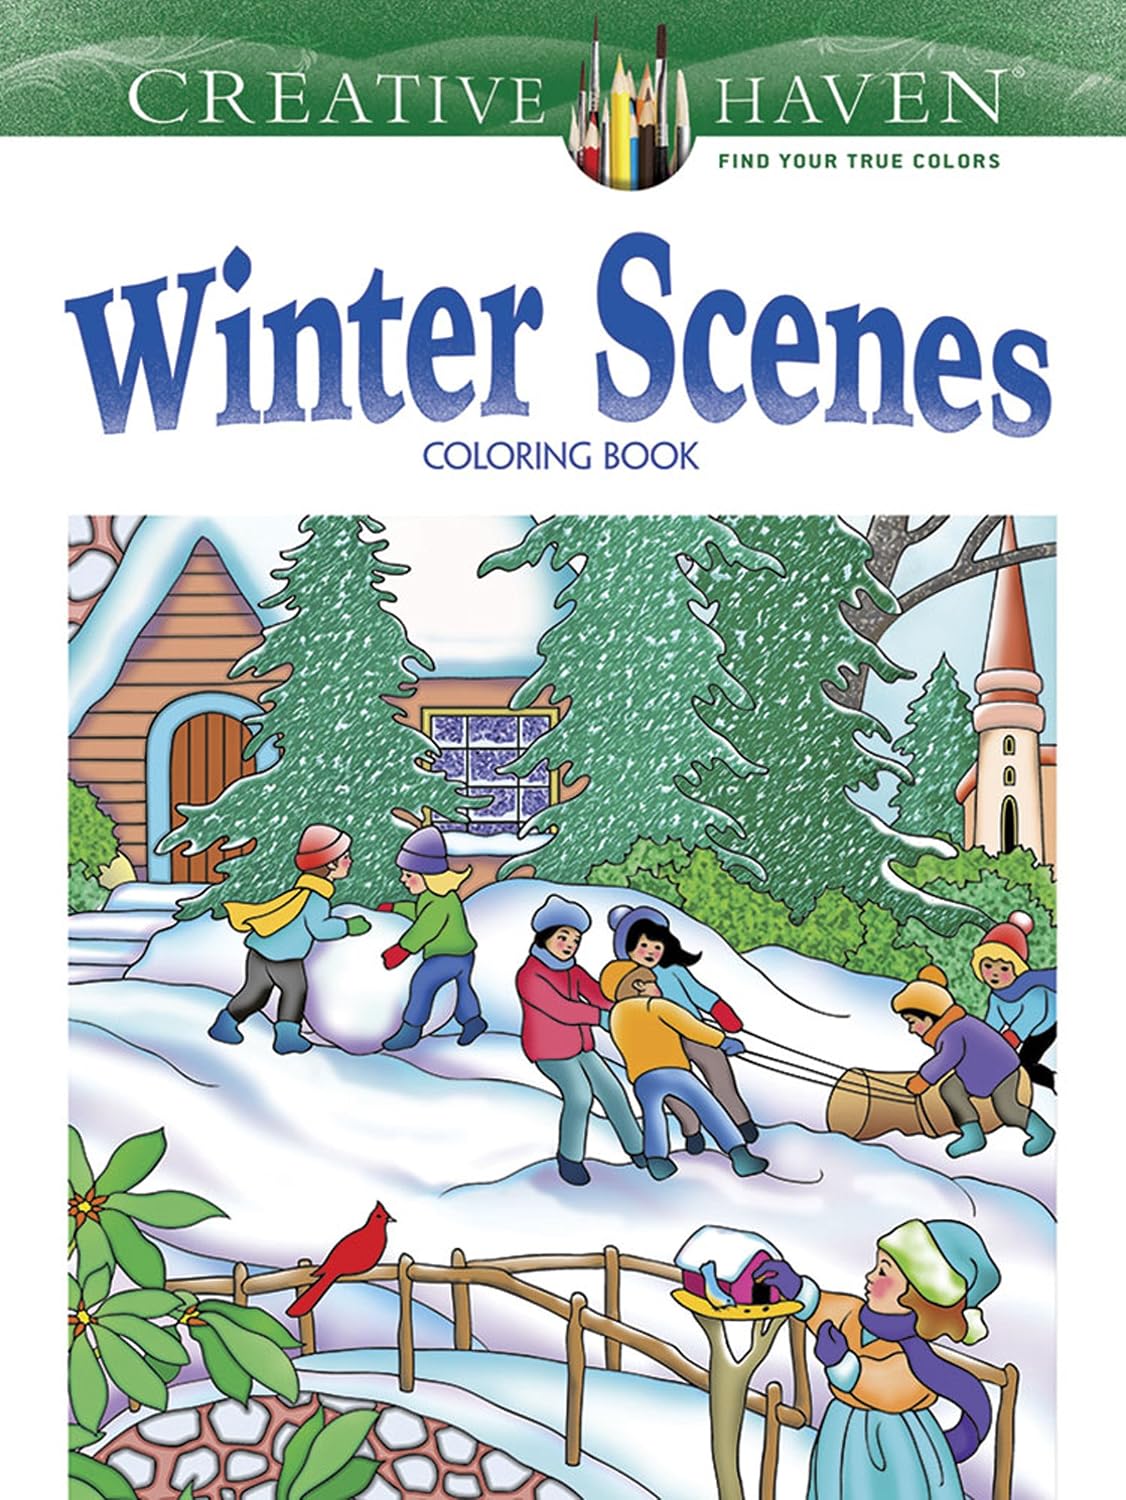
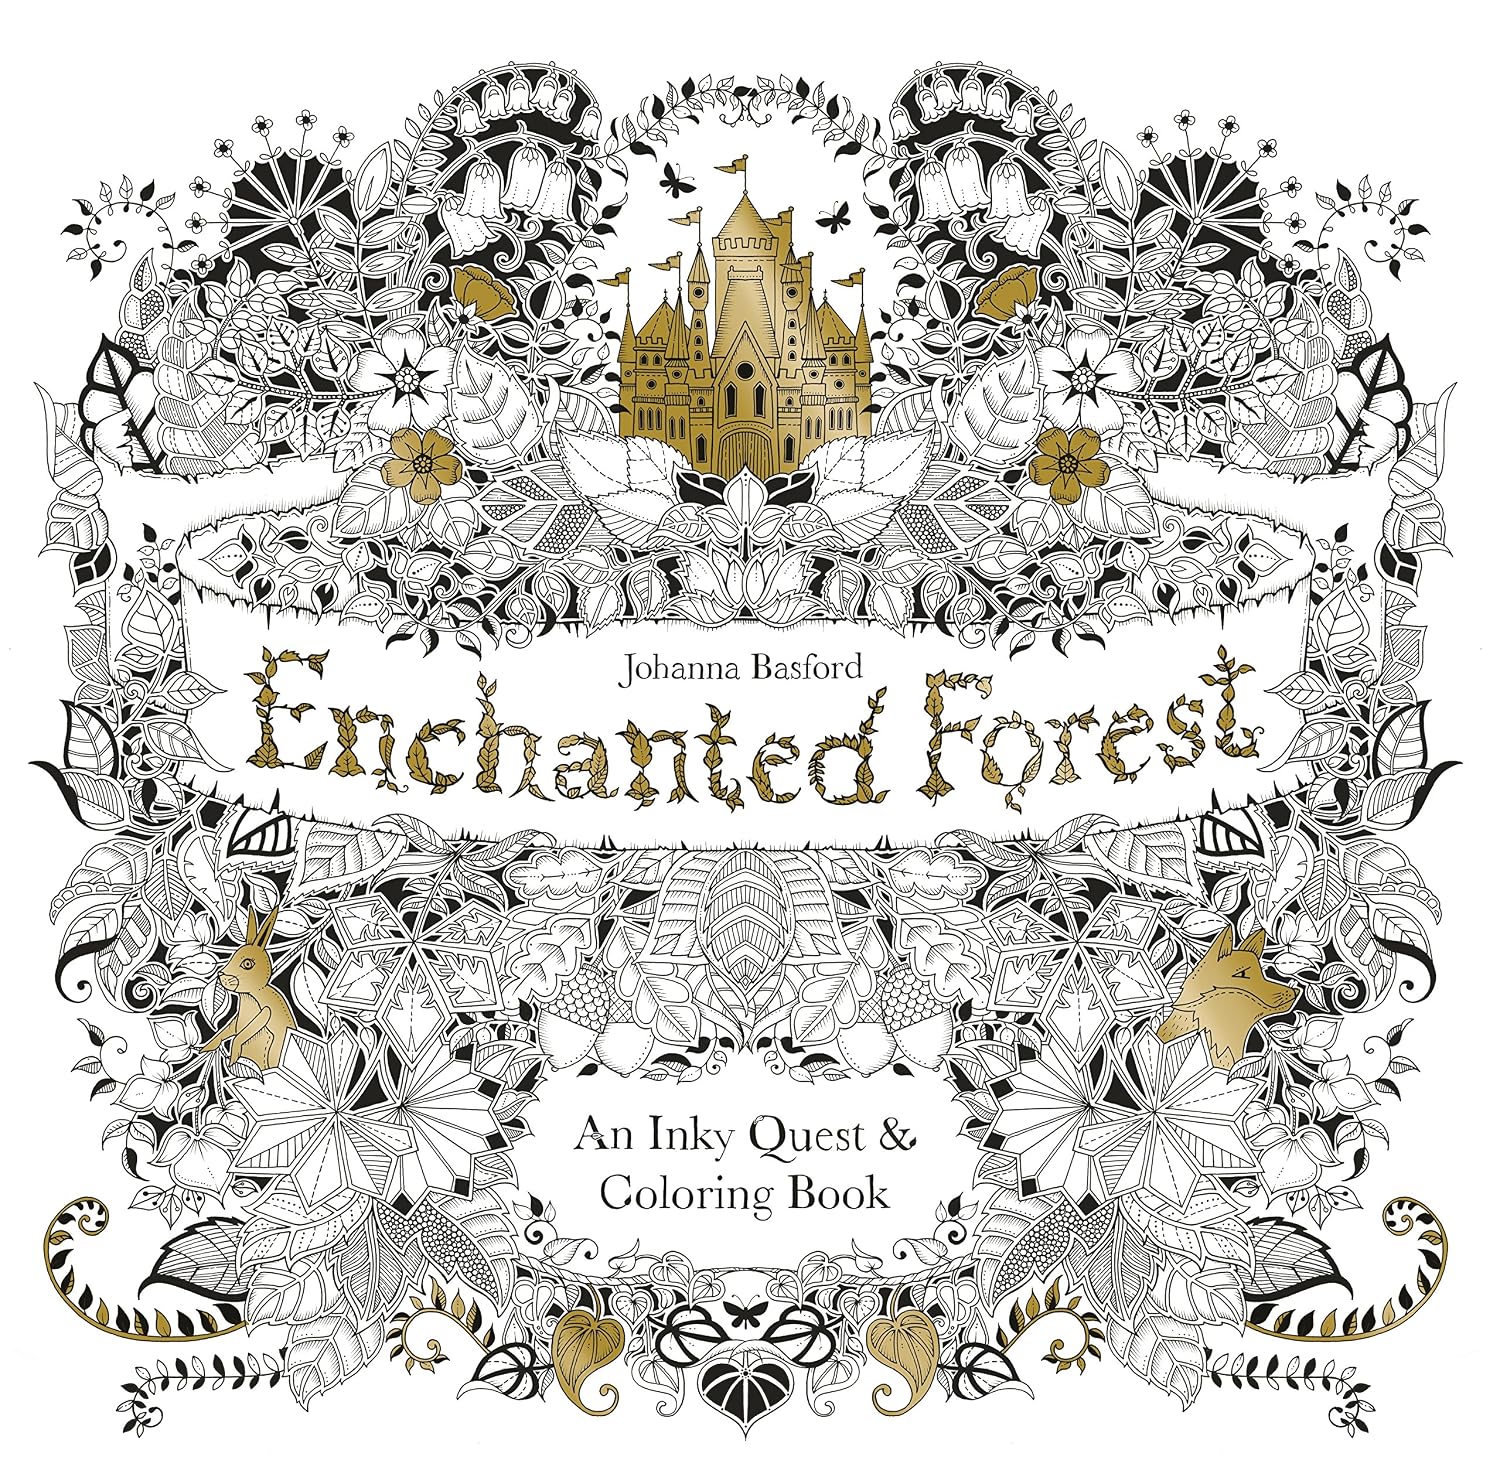
Enchanted Forest (about $8.70) is full of lanterns and glowing details — small flames in inked frames, perfect for the three-zone practice, and the spiral of details rewards the borrowed-light step. Creative Haven Winter Scenes (about $5.90) puts windows and candle glow into snowy scenes — the ideal place to test how little glow a page needs before the night reads as night.
Common Mistakes
Outlining the flame in black. The fastest way to kill the glow. A flame’s edge is glow, not line.
Coloring the tip brightest. The hottest, lightest zone sits just above the wick. Tip-heavy flames look like party hats.
Glowing everything. Borrowed light only reaches so far — if every object is warm, the reader loses the night.
Skipping the gel pen until “later.” Later never comes. Reserve five minutes at the end for the sparkles; they are the finishing move.
Working on thin bright paper for a night scene. The darks cannot get dark enough. Test your paper’s dark ceiling before committing three hours to a fireplace page.
Budget Note
The honest minimum kit for this method: the pencils you already own, plus about $6 for a 3-pack of white gel pens (about $6) and one black pad. A $15 budget beats a $100 kit with this method — the luminosity comes from the order of operations, not the price of the tin.
Deep-focus coloring hits different with an audiobook — Audible’s free trial is here if you want the full candle-and-story evening.
Keep reading: the black-paper guide is the natural next step after this one — glow on black is where the fire method gets dramatic.
ColoredCalm is reader-supported. As an Amazon Associate, I earn from qualifying purchases. That means if you buy through one of the links above, I get a small commission at no extra cost to you. I only recommend supplies I actually color with.
My take: Fire is a light source, not an orange shape — the glow-first method colors the radius around the flame before the flame itself, so it reads as a lamp instead of a sticker. Three zones (dark base, bright body, ragged tip), three layers edge-to-core with the brightest values low-center above the wick, and let the glow touch everything nearby. A $15 budget kit does this; the luminosity is in the order of operations.
Related guides
- Smooth Gradients: Pressure, Direction, and the Two-Pencil Method
- How to Color Mushrooms and Toadstools: The Cap-First Method
- Slow Living Coloring: How to Turn a Simple Coloring Session Into a Mindful Daily Ritual
- Reverse Coloring Books: Why Coloring the Background First Changes Everything
- Coloring Gingerbread and Baked Goods: The Crumb Method
🎨 Get Your Free Stress Relief Coloring Guide
Join our newsletter and get this free printable plus weekly tips.
Frequently Asked Questions
What colors make a candle flame look realistic?
Deep orange at the ragged edge, true orange through the body, then warm yellow and a touch of cream just above the wick — the hottest, brightest part sits low-center, not at the tip. Never outline the flame in black; its boundary is glow, not line.
How do you color the glow around a fire or candle?
Lay the glow radius before the flame: three soft rings of palest warm yellow around it, decreasing pressure outward. Coloring the light first is what makes the flame read as a source instead of an orange sticker.
Do I need white gel pens for coloring fire?
They are the finishing move, not the whole job. Three to five dots — the wick tip, the brightest point above it, the sparkle on molten wax — placed at the very end. On black paper they also deliver the flame's lightest value.
How do I color fire on black paper?
Build the flame in oranges and yellows as usual, let the paper's black do the night for free, and use the white gel pen for the hot core and sparkles — the full workflow is in the black paper guide.
Why does my colored flame look flat or muddy?
Three usual causes: a black outline killing the glow, the brightest values at the tip instead of just above the wick, and overworking the orange until it burns to mud. Fix the order of operations before buying new pencils.
Liked this guide? Get the next one in your inbox — the coloring starter checklist is free too.
✓ You're in — check your inbox.
No spam. Unsubscribe anytime. We never share your email.
Prices move fast. Start your Amazon trip from our Shop & Support page and your purchases support ColoredCalm at no extra cost to you.
Price Check
Prices verified via our product tracker. Updated Oct 31.
| Prismacolor Premier Colored Pencils, Soft Core, 72 Count | $74.49 | 4.8★ (29,632) |
| Strathmore 400 Series Artagain Pad, Coal Black Paper, Glue | $13.35 | 4.7★ (1,456) |
| Enchanted Forest: An Inky Quest and Coloring book (Activit | $8.68 | 4.8★ (8,477) |
| Creative Haven Winter Scenes Coloring Book: Cozy Up to 31 | $8.99 | 4.6★ (991) |
| SAKURA Gelly Roll Classic White Gel Pen Set, Assorted Size | $5.99 | 4.4★ (17,921) |
As an Amazon Associate we earn from qualifying purchases.