This article contains affiliate links. We may earn a commission from qualifying purchases.
Some content on this site is AI-assisted and reviewed by our editorial team.
Every colorist eventually hits the page that humbles them: a gemstone study that looks like muddy gravel instead of a jewel. The problem is almost never the pencils. Gems are one of the few subjects where the paper does half the work, because the entire look of a gemstone — that glassy depth, the facets that catch light, the glow from inside — is a relationship between pigment, paper tooth, and how much light you leave alone. Here is the method I use for gems that look polished instead of gray.
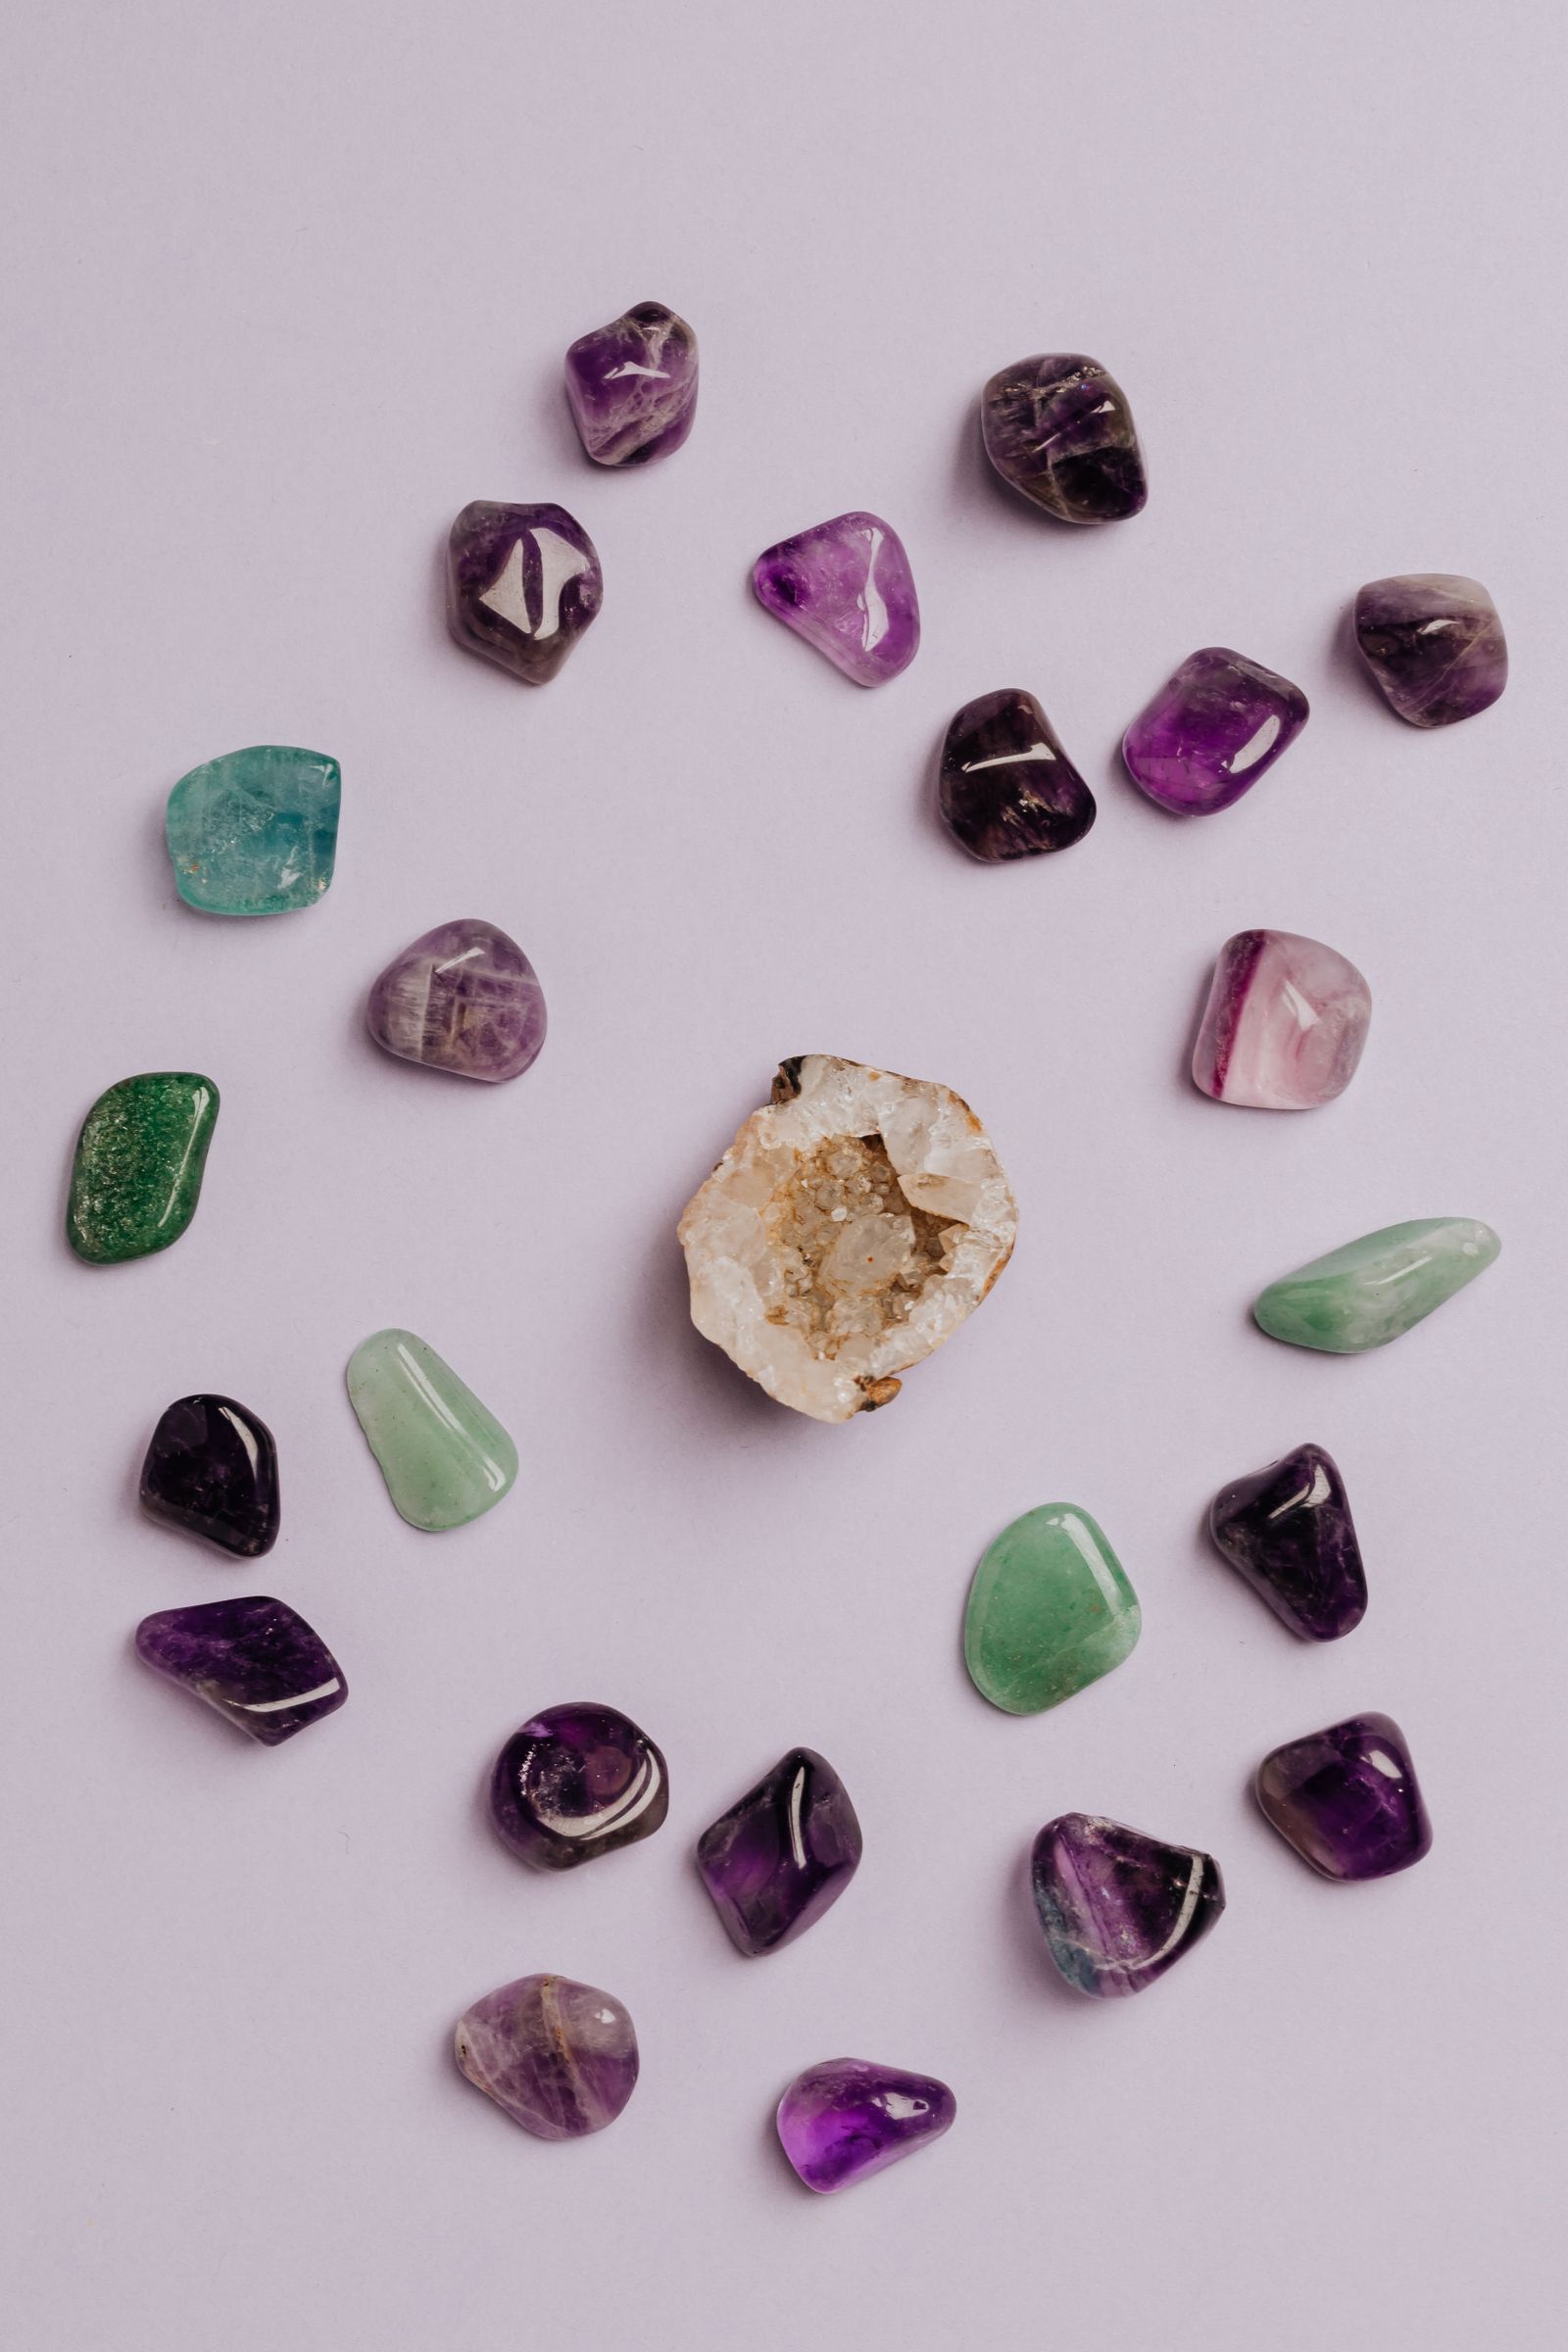
Method first, then the supplies that make it easier. This works on any coloring book page with faceted stones — the gem and crystal books below are the ones I keep in rotation.
Step 1: Block the Facets Before You Touch Color
A gemstone is a light map, not a shape. Before any pigment, find three zones on every stone: the facet that faces the light source (leave it white or near-white), the facet opposite it (your darkest zone), and everything in between (gradients). If your book’s line art is dense, tick the light-facing facets with a very light gray pencil mark so you do not accidentally fill them. The rule that matters: a gem reads as shiny because of the contrast between untouched paper and saturated color, not because of how many colors you use.
Step 2: Three Tones Per Stone, Layered Light to Dark
Pick a base hue and two neighbors on the wheel — for an emerald, a yellow-green, a true green, and a blue-green. Layer light to dark with light pressure (you should barely hear the pencil on the paper): base tone across the whole stone, second tone on the middle facets, third tone only in the darkest crevices. Three layers is plenty. The classic gem mistake is going for five or six colors — gems look expensive when they are coherent, and they look like confetti when they are not.
Step 3: Gradients Are the Whole Illusion
Each facet is its own mini-gradient, and the direction matters: stroke from the dark edge toward the light edge and fade pressure as you go, so the lightest area dissolves into nothing. If your gradient bands, blend the seam with a colorless blender pencil using short back-and-forth strokes — do not redraw the whole facet. If a facet still looks flat, it usually needs a darker edge, not more color in the middle. The burnishing guide covers how hard is too hard here.
Step 4: Highlights Come Last
The sparkle is the last 5% of the work. With a white gel pen, place a single hard dot on the light-facing facet and a small streak on one adjacent edge — that is it. More than two highlights per stone and the gem starts to look wet in the wrong way. If you are coloring on white paper, resist gel pen until the very end; on black paper the white pen is your light source and the entire method inverts (leave the black for shadows, build color for the glow).
Supplies That Make Gems Easier
Prismacolor Premier 48-Set — The Blender-Friendly Workhorse
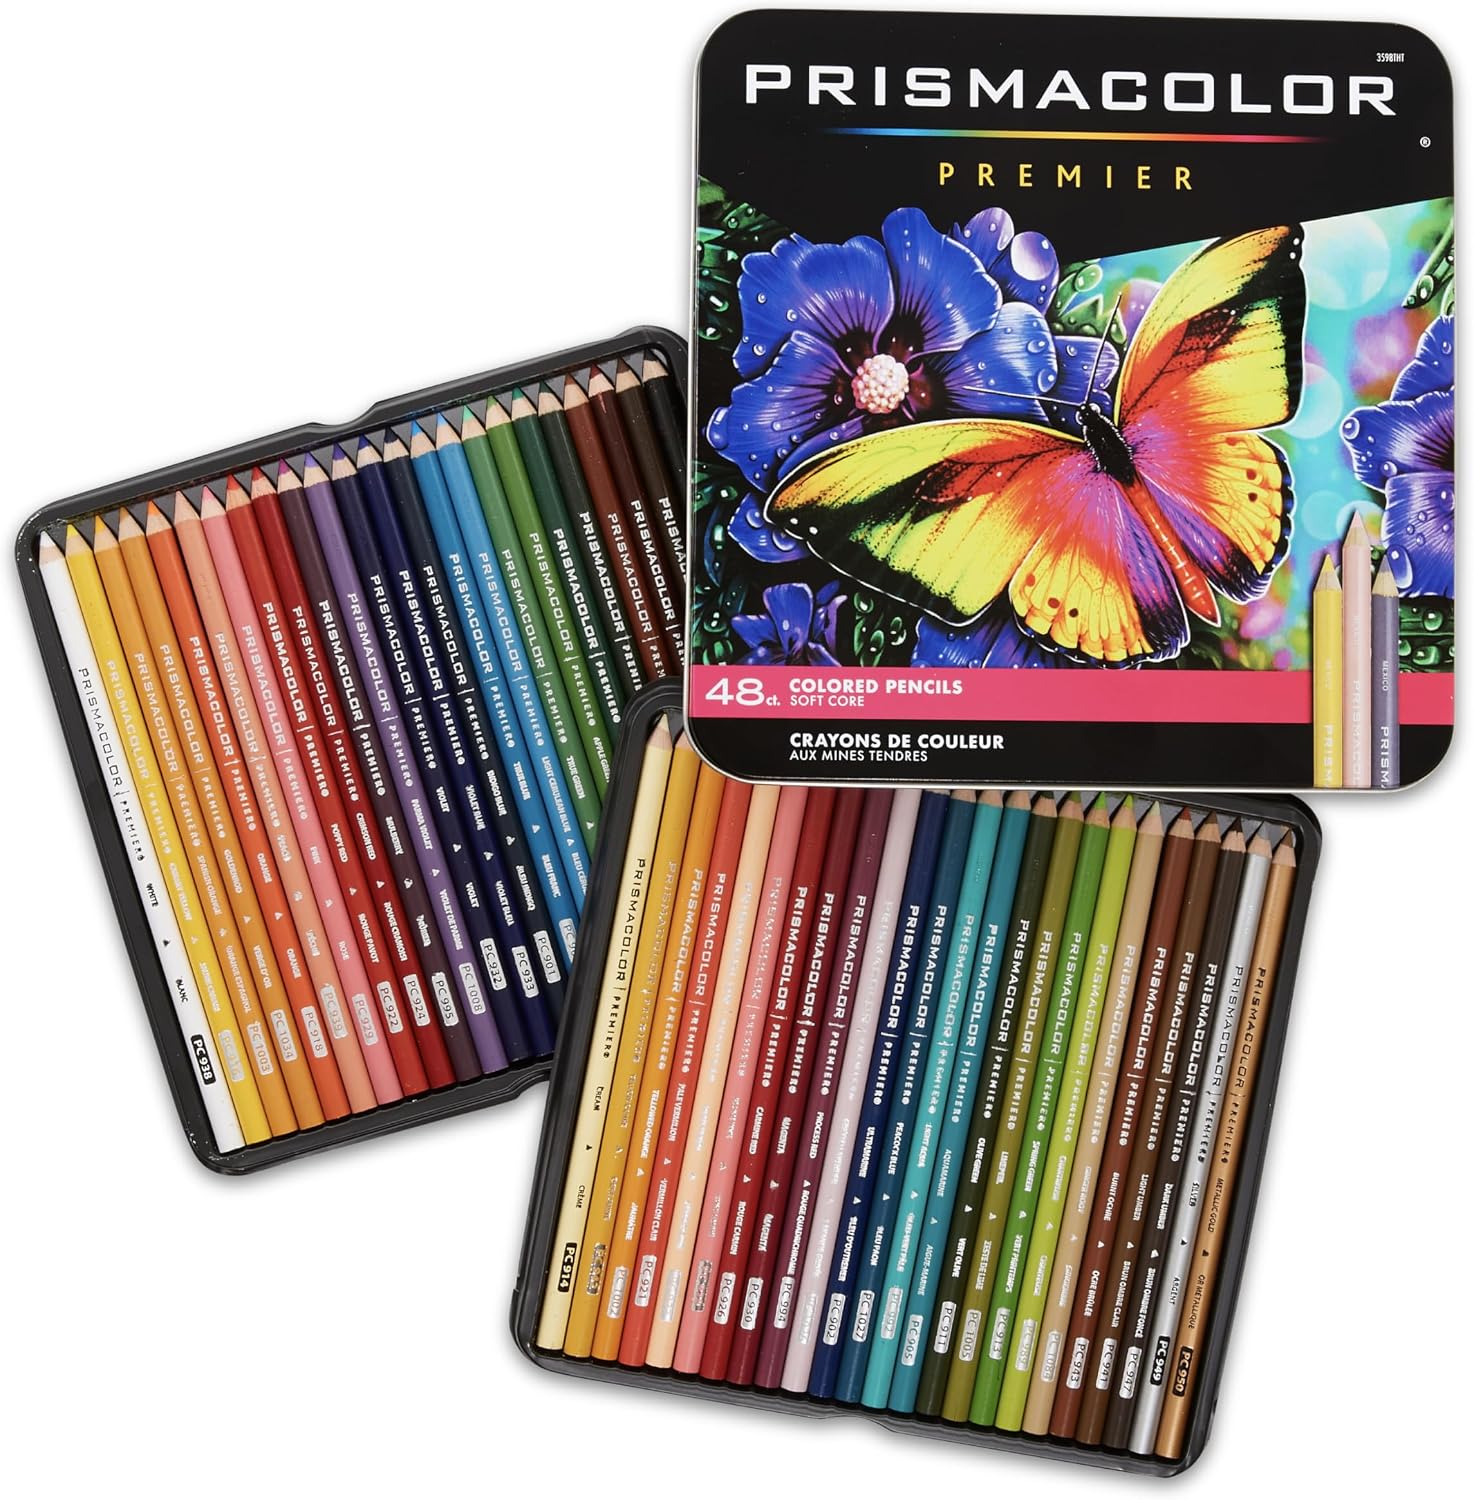
At $39.97 verified today, the 48-count Premier set is the sweet spot for gem work: soft cores that layer without scratching, a green and blue range wide enough for emeralds and sapphires, and the softness that makes light-pressure layering actually work. Honest cons: the soft cores break in sharpeners more than harder pencils (see the sharpeners post), and 48 colors means you will mix some jewel tones rather than reach for them.
My take: the best pencils-per-dollar for gem coloring if you do not already own a soft-core set. If you have the 72-count, skip this — it is the same pencil family.
Prismacolor Colorless Blender 2-Pack — The Seam Eraser
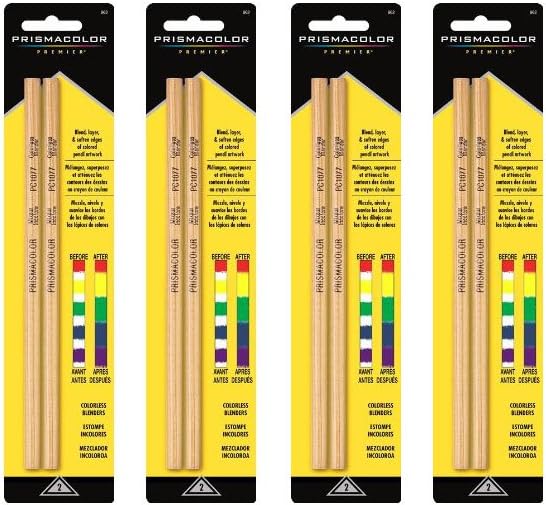
At $9.79 verified today for two, this is the cheapest tool with the biggest effect on gem work. A colorless blender merges facet gradients without adding hue, cleans up banding, and softens the edge between two facets so the stone reads as one object. Cons: it removes visible paper tooth, so heavy blending flattens the sparkle (light-pressure passes only), and two pencils run out faster than you expect if every stone gets blended.
My take: if you buy one accessory for gem coloring, this is it. Cheap, immediate, and it fixes the number one beginner complaint (banding).
Sakura Gelly Roll White — The Sparkle Pen
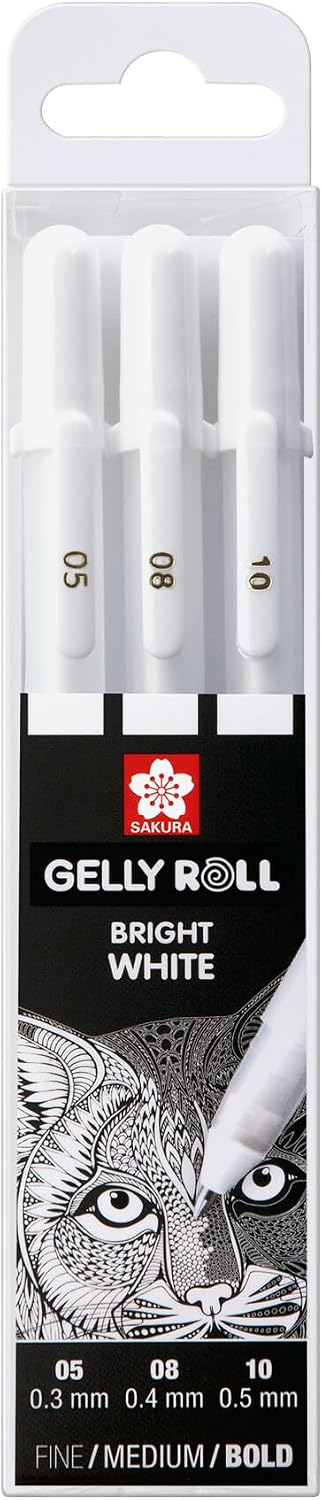
At $5.99 verified today for the classic white 3-pack, this is the standard tool for final highlights on gems — one hard dot per light-facing facet, drawn after all the color is down. The white is genuinely opaque, which is what separates a sparkle from a smudge. Cons: the ink needs a few seconds to set or it smears, and the pen dies fast if you press hard for big dots; multiple light passes beat one heavy one.
My take: the cheapest upgrade in coloring, gem or otherwise. Every colorist should own a white gel pen; this is the reliable one.
Books Worth Practicing On
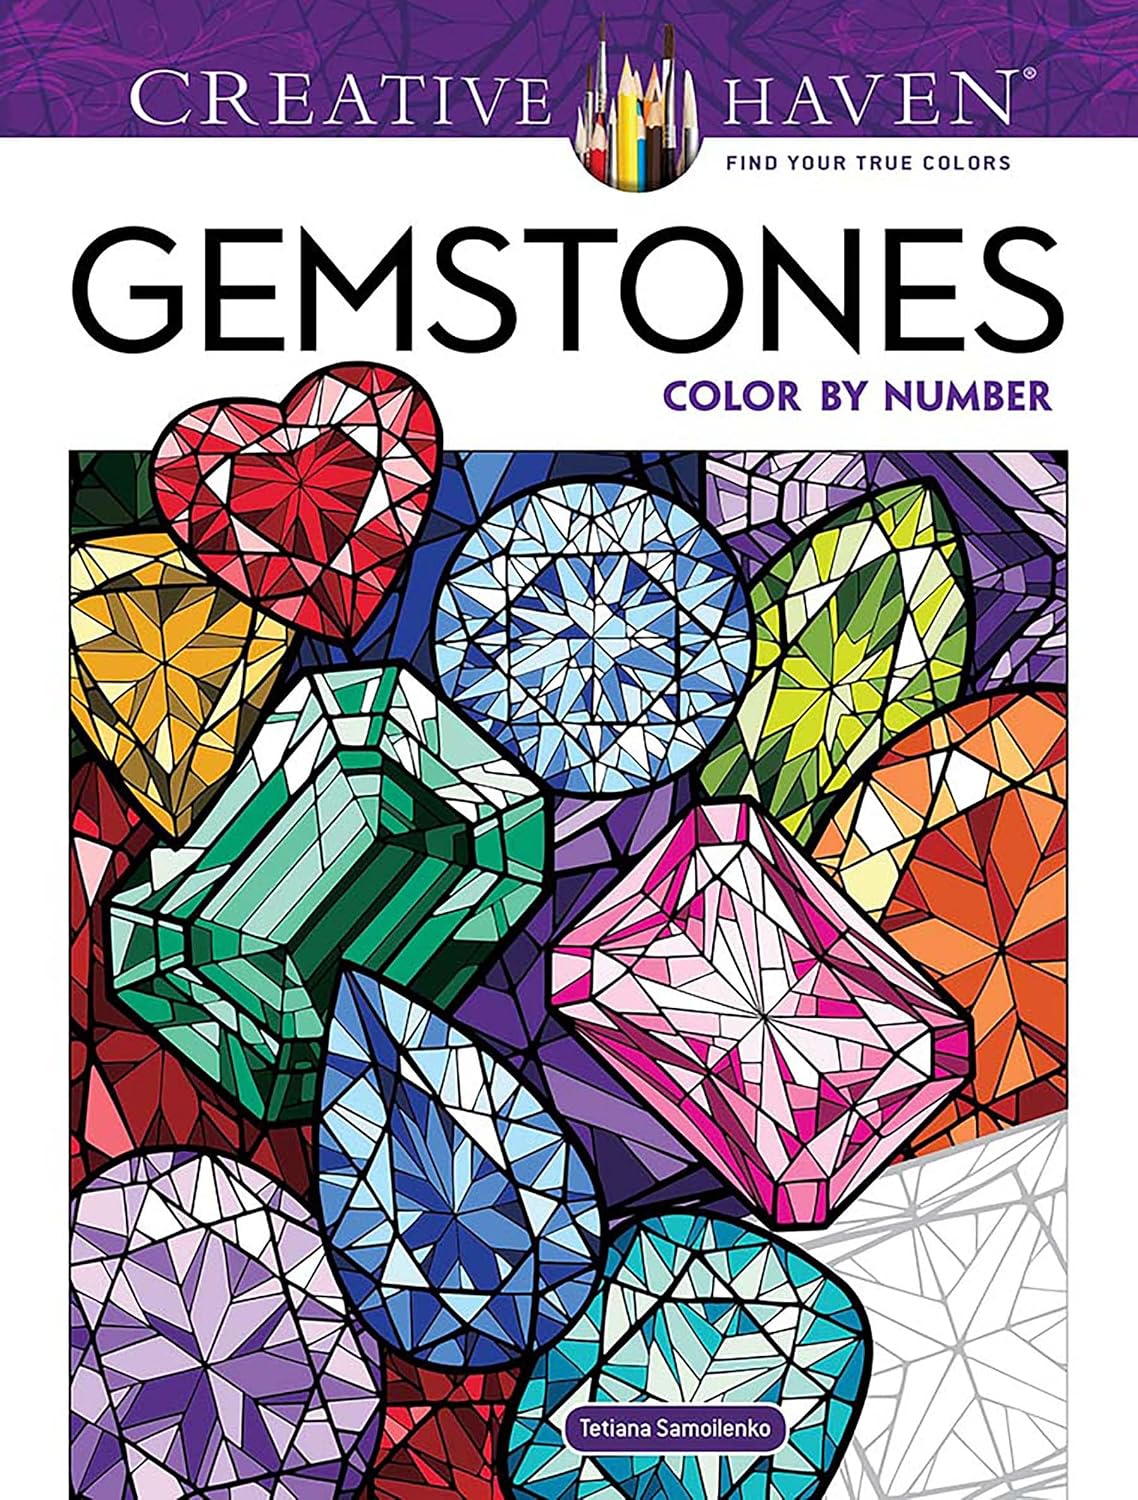
Creative Haven Gemstones Color by Number ($10.29 verified today): the training-wheels gem book — the color map is printed, so you can focus entirely on pressure and gradients while the book handles hue choices. The single-sided Creative Haven pages also take light layering without ghosting. Con: the numbers show through light colors if you go too thin.
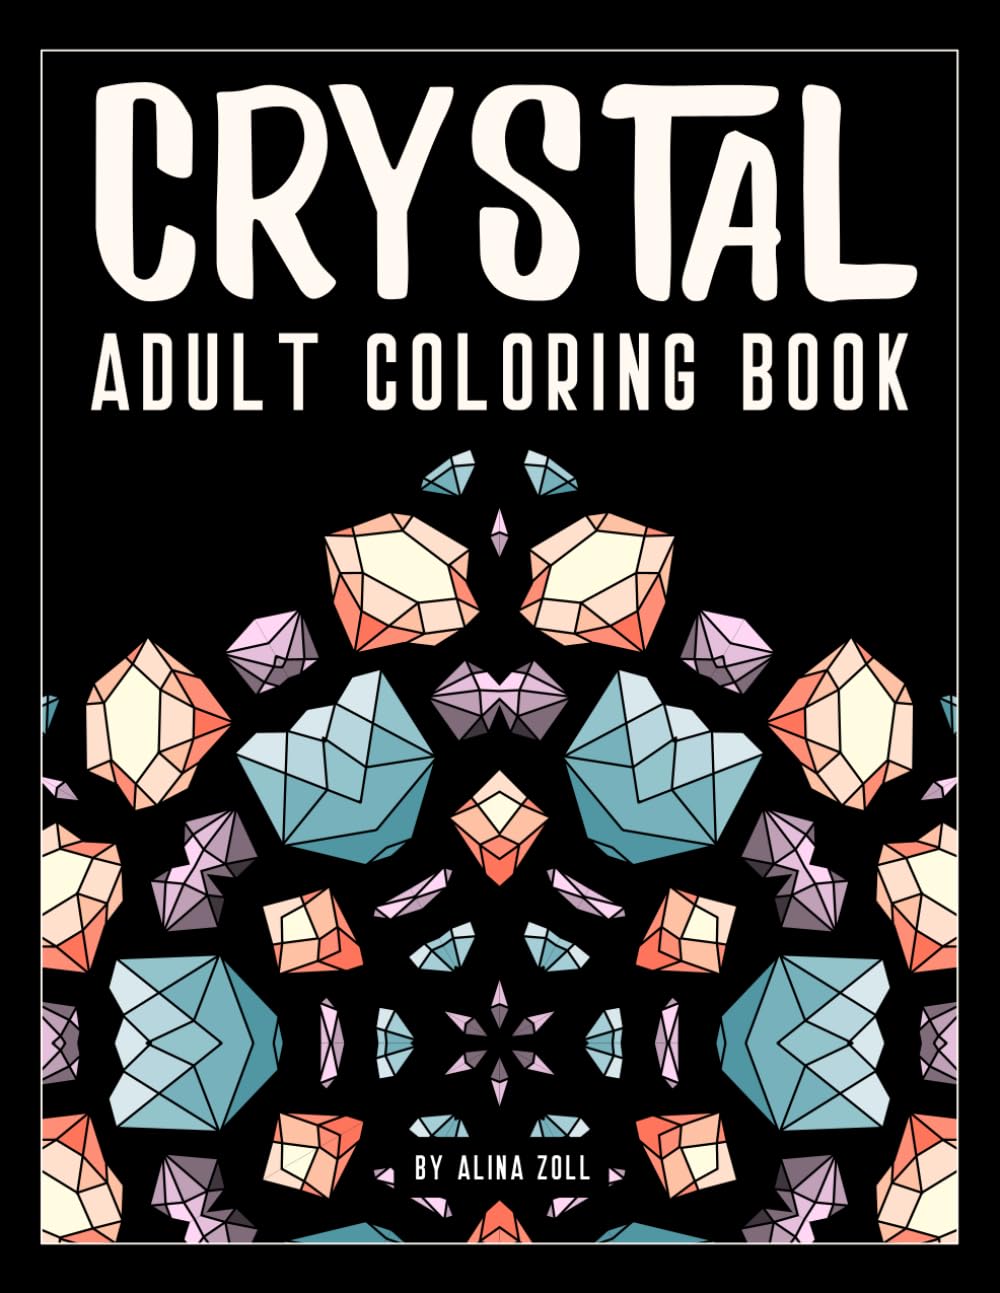
Crystal Adult Coloring Book: 50 Gem Coloring Pages ($9.99 verified today): the blank-canvas gem book — mandala-style gem designs with no color guidance, which is where the three-tone method above gets stress-tested. Con: the designs are intricate enough that a single stone can take an hour; it is a slow-book, not a fast one.
Deep-focus coloring hits different with an audiobook — Audible’s free trial is here.
Common Mistakes
Coloring every facet: the untouched paper IS the light. If you fill the light-facing facets with color, no blender can bring the sparkle back.
Too many hues per stone: three tones of one family beats six colors every time. Gems read as expensive when coherent.
Heavy pressure early: the wax binder flattens the tooth and caps how dark your darks can go. Light layers, darken at the end, blend last.
Skipping the final darks: a gem with no near-black crevices looks dusty. One pass of your darkest tone in the cracks is what makes the other facets look lit.
Budget Note
The cheapest setup that still works: any soft-core pencil set you own (Crayola works for practice — the method matters more than the brand), the $9.79 blender pair, and the $5.99 white pen. That is under $16 of accessories that upgrade every coloring book you already own. The paper matters more than the pencils — the paper guide covers tooth and weight if you are printing your own pages.
ColoredCalm is reader-supported. As an Amazon Associate, I earn from qualifying purchases. That means if you buy through one of the links above, I get a small commission at no extra cost to you. I only recommend supplies I actually color with.
Related guides
- How to Burnish Colored Pencils Without Turning Your Page to Plastic
- Color by Number for Adults: Why Structured Coloring Is Making a Comeback
- How to Blend and Shade Colored Pencils Like a Pro
- Smooth Gradients: Pressure, Direction, and the Two-Pencil Method
- How to Color Rain and Wet Streets With Colored Pencils
🎨 Get Your Free Stress Relief Coloring Guide
Join our newsletter and get this free printable plus weekly tips.
Frequently Asked Questions
What colors make a gemstone look shiny?
Three tones from one color family — a light, a mid, and a dark — plus untouched paper or white-gel highlights on the light-facing facets. The shine comes from contrast between the untouched light zones and the saturated darks, not from using many colors.
How do I color gemstones without them looking muddy?
Layer light to dark with light pressure, cap yourself at three tones per stone, and blend seams with a colorless blender instead of adding more color. Mud almost always comes from too many hues, heavy pressure, or filling in the facets that should stay light.
Do I need special pencils for gems?
No — the method matters more than the brand. Soft-core pencils (like Prismacolor Premier) make light-pressure layering easier, but any set you own can produce a convincing gem. A colorless blender pencil and a white gel pen are the two cheap accessories with the biggest effect.
Should gems be colored on black paper?
Black paper gives gems a natural glow and is very forgiving for dark stones — you build color for the lit facets and let the paper be the shadow. On black paper the method inverts: leave the black for the darkest crevices, layer saturated color on the mid facets, and the white gel pen becomes your light source.
How do I keep white highlights white on a coloring book page?
Place them last, after all color and blending is done, and let the gel ink set for a minute. One hard dot plus a short streak per stone is enough — more highlights than that and the gem looks wet rather than polished.
Liked this guide? Get the next one in your inbox — the coloring starter checklist is free too.
✓ You're in — check your inbox.
No spam. Unsubscribe anytime. We never share your email.
Prices move fast. Start your Amazon trip from our Shop & Support page and your purchases support ColoredCalm at no extra cost to you.
Price Check
Prices verified via our product tracker. Updated Oct 31.
As an Amazon Associate we earn from qualifying purchases.