This article contains affiliate links. We may earn a commission from qualifying purchases.
Some content on this site is AI-assisted and reviewed by our editorial team.
Glass is where beginner pages go to die. You color the vase blue, then blue again, and by the third layer you have a solid blue blob that could be a cup, a rock, or a very patient jellyfish. I did it for months. The problem is not your pencils — it is that you are coloring the glass instead of coloring what the glass does to everything around it. Transparent objects are mostly borrowed color, and once you flip your thinking, they become one of the most satisfying things on the page.
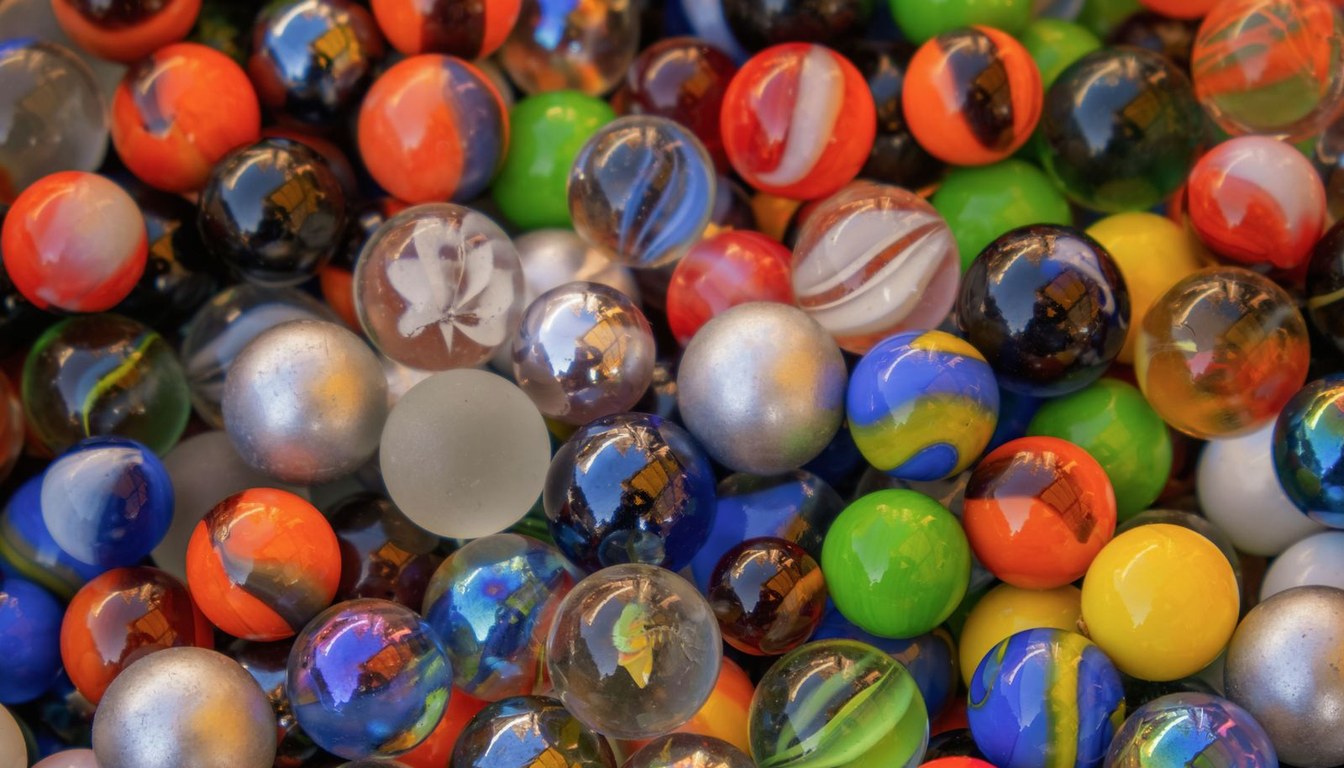
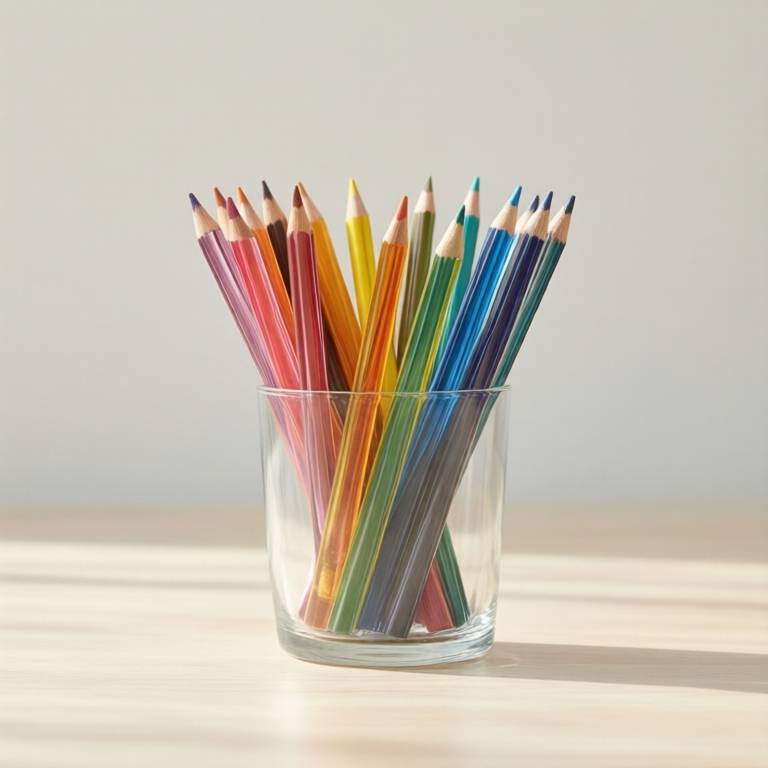
This method works with any brand of pencils — the marbles above make perfect practice subjects because every one shows you the four things glass always does: lets color through, bends it, reflects the room, and saves a bright white sparkle for last.
The Light-First Method, Step by Step
1. Map the light before you touch a pencil. Study your reference and find the three to five brightest shapes on the glass — rim highlights, a window reflection, the sparkle off the base. Circle them very lightly. Those shapes stay the color of your paper. You do not color them; you defend them.
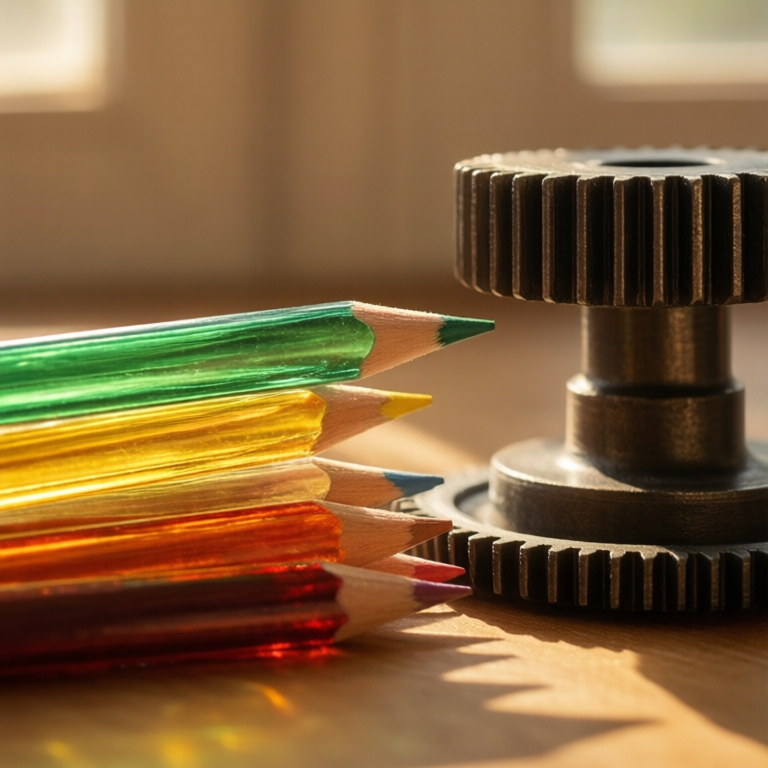
2. Color everything BEHIND the glass at full strength. Glass is a window, so paint the view first. If marbles sit on a wooden table, fully color the table where it shows through the jar, in two or three layers at normal pressure. Color the stems that go into the vase completely. Do not be shy — this is 80% of the finished piece.
3. Glaze the glass color at 20–30% pressure. Now add the glass itself: one light layer of a cool blue-gray or pale green over the background you just colored, barely pressing the pencil. Hold the pencil far back on the barrel and use the side of the tip. One layer. Look. Only add a second glaze if the glass genuinely needs more body — glass usually does not.
4. Sharpen the silhouette with the blender, not with darker pencil. The edges of glass should be crisp but light. A colorless blender pencil pressed along the inner edge cleans up wobble and leaves a subtle brightness that reads as thickness. This is also the step that makes the through-color look liquid.
5. Pop the speculars last, with the gel pen. The brightest highlights on glass are not pencil at all. Fine white gel pen over the defended paper — a crescent along the rim, a dot on the sparkle — is what makes glass snap. Keep these marks small: a few confident strokes beat a cautious outline every time.
The Supplies That Carry This Method
Prismacolor Colorless Blender Pencils — The Edge Tool
Prismacolor Premier Colorless Blender Pencils (2-pack) run about $9.74 and are step four in a tube: pigment-free wax cores that melt and smooth whatever they touch. They are the difference between a glaze that looks brushed on and one that looks like glass. Fair warning — they eat themselves fast, so the two-pack is the right buy, and they arrive as plain wooden pencils, not a fancy boxed set.
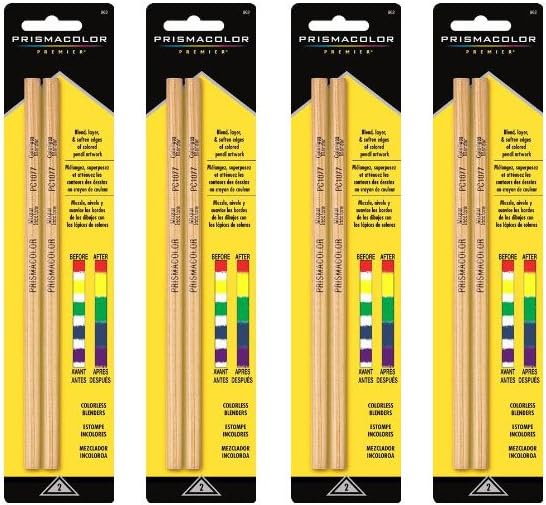
My take: not optional. This is the single tool that most upgrades glass (and skin, and water) for under ten dollars.
Sakura Gelly Roll White — The Sparkle Pen
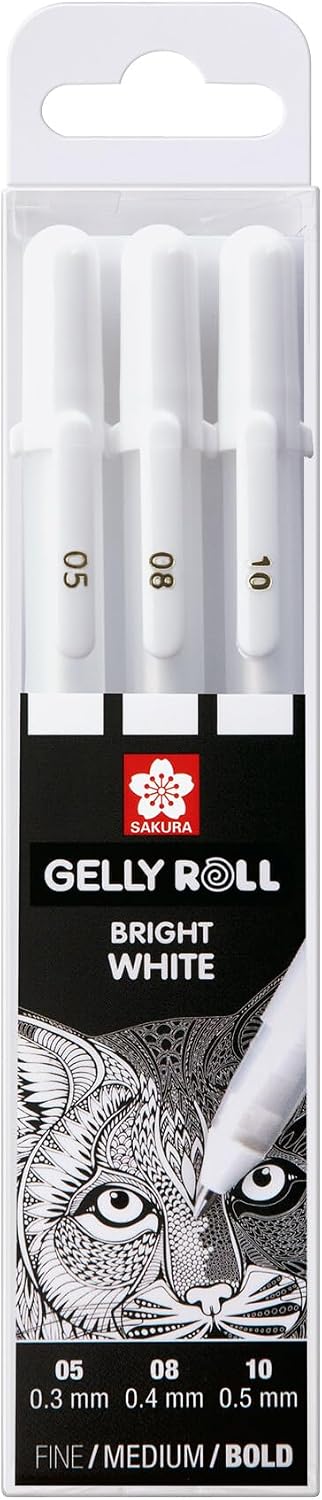
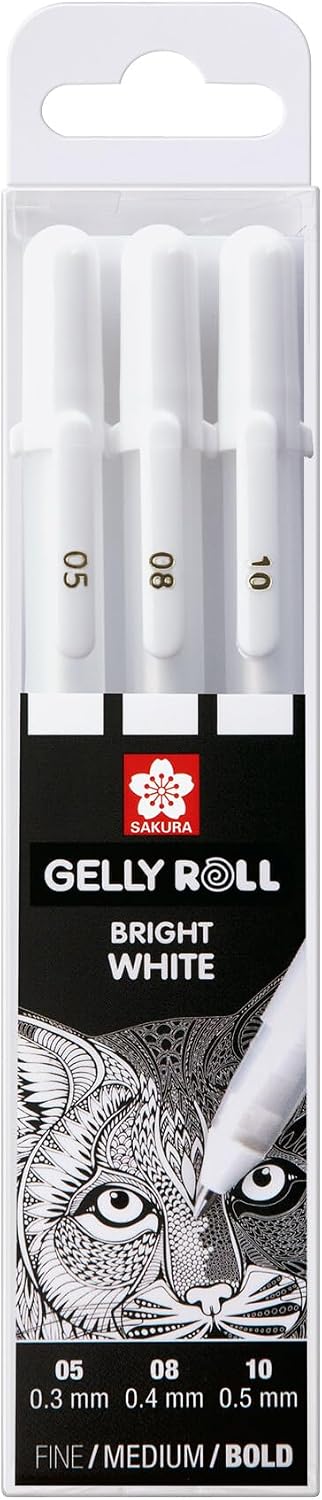
Gelly Roll Classic White, 3-pack (assorted tip sizes) is about $5.99 and is the specular machine. The 05 fine tip draws rim lines a pencil can never reach; the 10 bold tip lays the big window reflection. Wait a few seconds for the ink to sit before judging it — it dries brighter than it goes on. The con: on soft paper the boldest tip can leave a slight blob, so test on scrap first.
My take: the cheapest tool on this page and the one that gets the most oohs when someone flips through the book.
Prismacolor Premier 72 — The Wax-Soft Workhorse
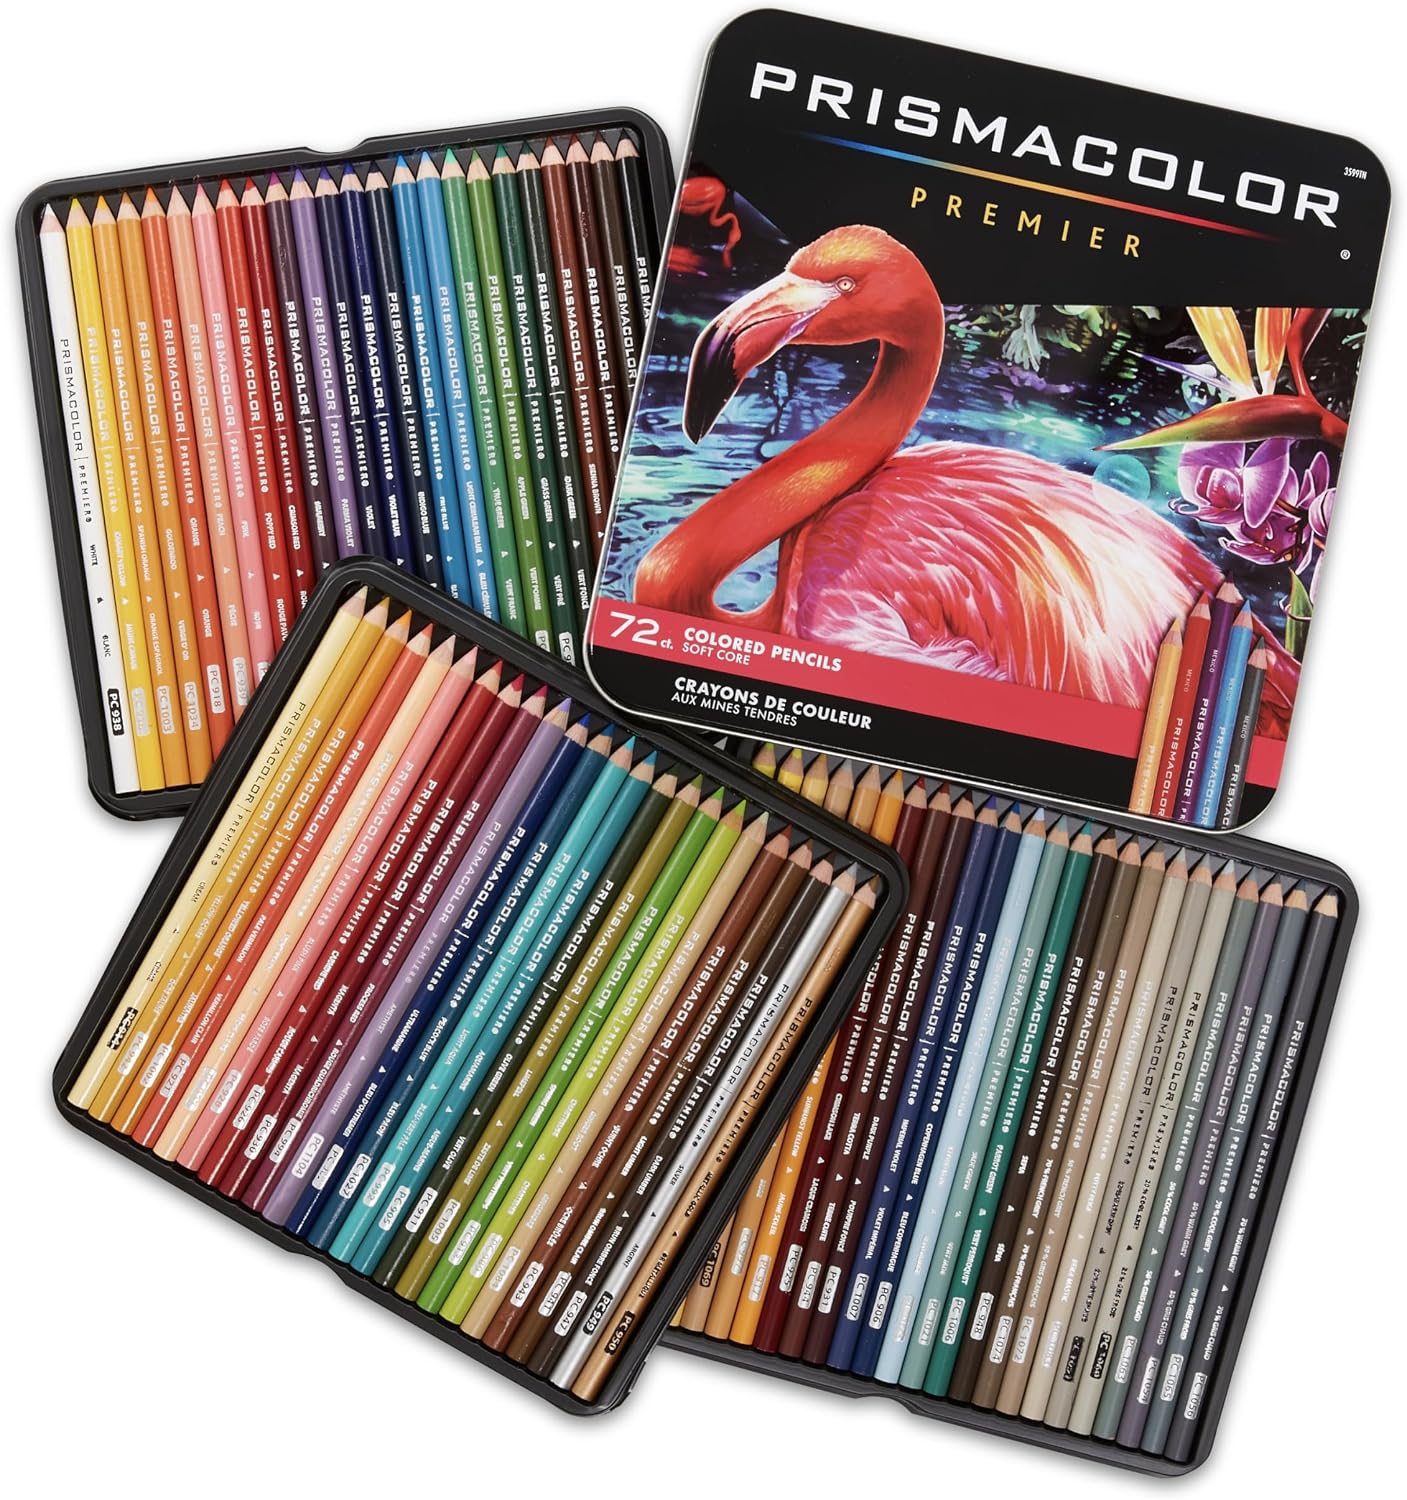
Prismacolor Premier, 72 count at about $74.99 is the splurge that makes glazing effortless — buttery soft cores that lay down color at whisper pressure, which is exactly what a 20%-pressure glaze needs. The cool grays and pale blues in this set are glass colors straight out of the tin. The con: those soft cores break inside the wood if you drop them or sharpen carelessly. Use a gentle hand sharpener, not an electric one.
My take: if you color weekly, buy these once. If you color monthly, read the next section first.
Crayola Adult 100-Count — The Budget Glazer
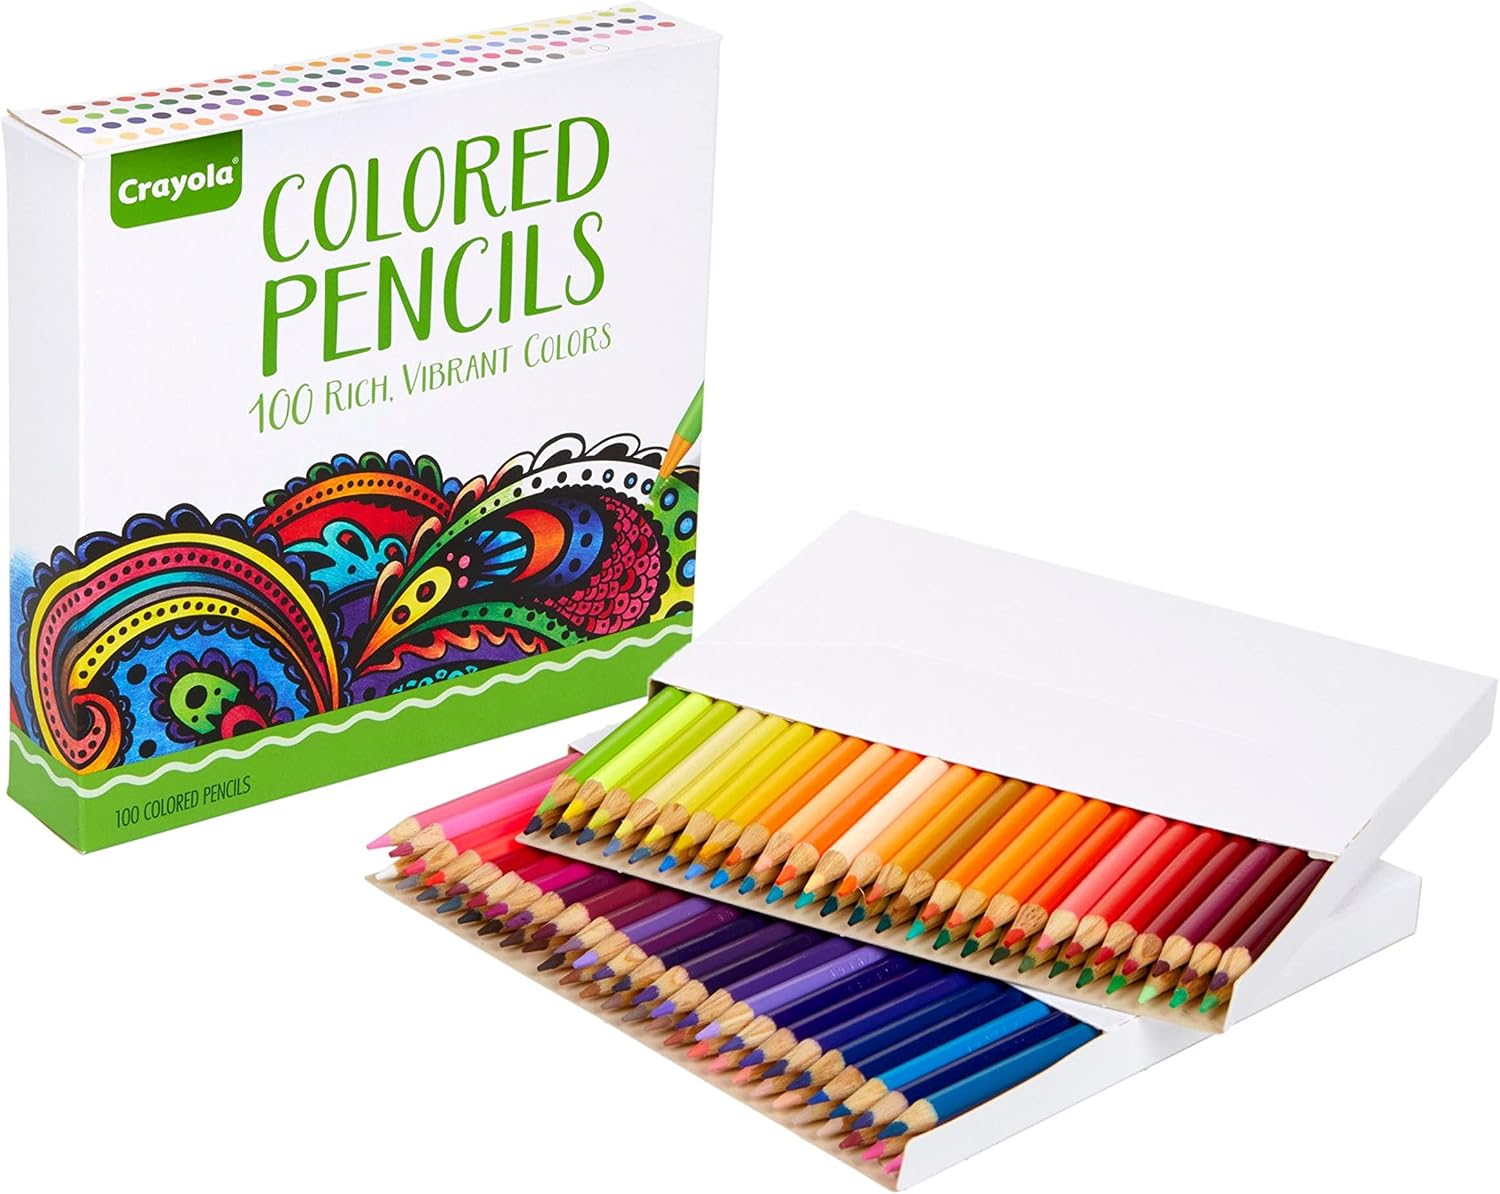
Crayola’s 100-count adult set dropped to about $16.00 at this week’s check — an absurd value for a hundred colors. The harder wax core means a light-pressure glaze goes on even lighter, so plan on an extra pass or two versus Prismacolor. For glass, that is actually manageable: glazes want control more than saturation.
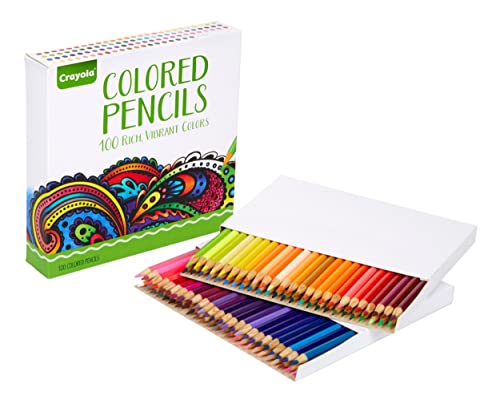
My take: the honest budget answer. Combined with the blender and the gel pen above, the whole glass setup lands under $32.
Practice Pages Worth Your Pencils
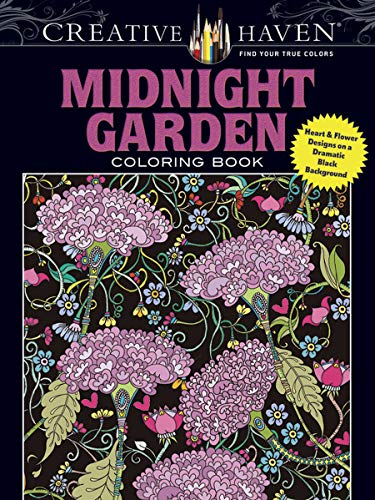
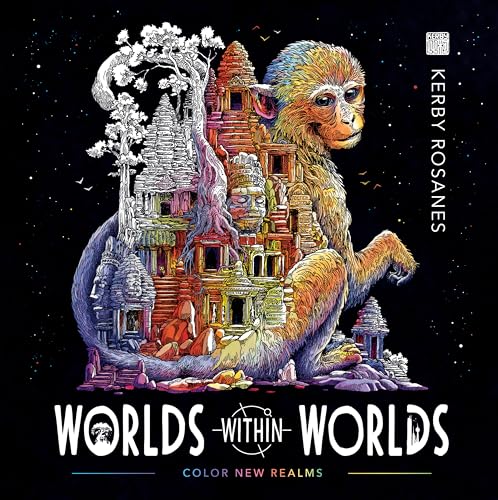
Two books earn a mention for this technique specifically. Creative Haven Midnight Garden (about $8.99) prints on black paper, which flips the whole method: you start dark and the highlights you add become the glass. It is specular training with training wheels. And Worlds Within Worlds by Kerby Rosanes (about $15) is stuffed with glass domes, jars, and lenses — the most transparent-object-dense book on my shelf.
Common Glass Mistakes (I Made All Four)
Coloring the glass a solid color. Glass has almost no color of its own. If your glaze layer is doing more than 20% of the visual work, you have a blob again.
Ignoring refraction. A straw in a glass of water bends where it enters the liquid. If your reference shows a bend and your page does not, the eye catches it instantly.
Outlining the glass in black. Glass edges are lighter than what is behind them, not darker. A black outline is the fastest way to make glass look like a sticker.
Skipping the background. Glass over empty paper is unanswerable — there is nothing to see through. Always finish what sits behind the glass before you glaze it.
The Budget Note
The cheapest honest setup for glass practice: the Crayola 100 set (about $16) plus the Gelly Roll white 3-pack (about $6) plus one blender 2-pack (about $10). Under $32 total, and every step of this method works with it — you just add an extra glaze pass where the softer sets need one.
Deep-focus coloring hits different with an audiobook in your ears — Audible’s free trial is here if you want to test that pairing.
Keep reading: the four-zone eyes method uses the same defend-the-white logic, and the two-pencil gradient drill is the pressure-control practice that glazing depends on. If hair frustrates you next, the shadow-first hair method is the companion piece.
ColoredCalm is reader-supported. As an Amazon Associate, I earn from qualifying purchases. That means if you buy through one of the links above, I get a small commission at no extra cost to you. I only recommend supplies I actually color with.
Related guides
- The Swatch-First Method: Color Charts That Stop Bad Surprises by Layer Three
- The Shadow-First Method for Realistic Hair
- Realistic Eyes: The Four-Zone Method
- Color Theory for Coloring Books: A Practical Guide to Choosing Colors That Work
- Flowers: Petal Strokes, Overlap Shadows, and the 3-Tone Rule
🎨 Get Your Free Stress Relief Coloring Guide
Join our newsletter and get this free printable plus weekly tips.
Frequently Asked Questions
How do you color glass with colored pencils?
Glass is mostly borrowed color. Color what is BEHIND the glass at full strength first, then glaze one light layer of a cool blue-gray over it at 20-30 percent pencil pressure, keep the brightest highlights the color of the paper, and add final sparkles with a white gel pen.
What pencils are best for transparent objects?
Soft-core pencils like Prismacolor Premier make low-pressure glazing easiest, but harder sets like the Crayola 100-count work too — just plan on an extra light pass. The colorless blender pencil matters more than the pencil brand for crisp glass edges.
Why does my glass look like a solid blob?
Because the glass color is doing too much work. If your glaze layer exceeds about 20 percent of the visual weight, the transparency is gone. Reduce pressure, hold the pencil far back on the barrel, and let the background show through.
Do I need a white gel pen for highlights?
For the brightest highlights, yes — pencil white cannot reach the pop of a Gelly Roll on white paper, and on black paper nothing else works. A $6 three-pack covers rim lines and specular sparkles for months of pages.
What should I practice glass coloring on?
Marbles, jars with stems, and drinking glasses — anything that shows through-color, refraction, and a bright sparkle. Creative Haven Midnight Garden on black paper trains the highlight-first approach, and Worlds Within Worlds is dense with glass domes and jars.
Liked this guide? Get the next one in your inbox — the coloring starter checklist is free too.
✓ You're in — check your inbox.
No spam. Unsubscribe anytime. We never share your email.
Prices move fast. Start your Amazon trip from our Shop & Support page and your purchases support ColoredCalm at no extra cost to you.
Price Check
Prices verified via our product tracker. Updated Oct 17.
As an Amazon Associate we earn from qualifying purchases.