This article contains affiliate links. We may earn a commission from qualifying purchases.
Some content on this site is AI-assisted and reviewed by our editorial team.
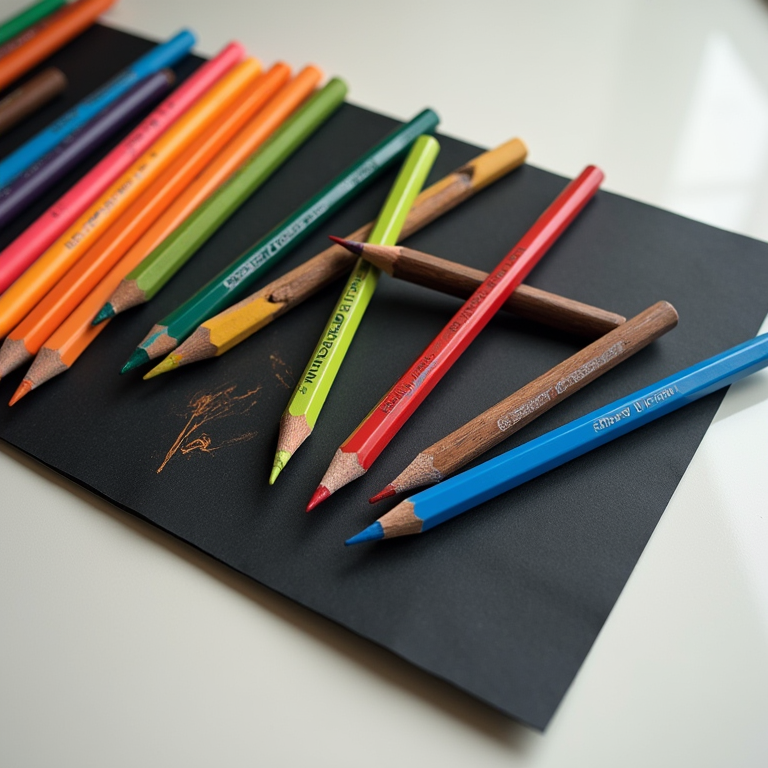
Your first attempt at coloring on black paper goes something like this: you pick a bright yellow, lay down what feels like plenty of pigment, and stare at a scratchy, grayish smudge that looks nothing like the glowing artwork in the sample photos. Black paper does something strange to your color instincts — every color you thought you knew reads darker, duller, and less cooperative than it does on white. It is not your pencils. It is a different set of rules, and they are learnable in one sitting.
This guide walks through the actual technique: how to build a base, which pressure to use at each stage, how many layers you really need, and where a white gel pen earns its keep. If you want the short version of the shopping list, it is a black paper pad, your existing pencil set, and a white gel pen — under $15 total beyond what you already own.
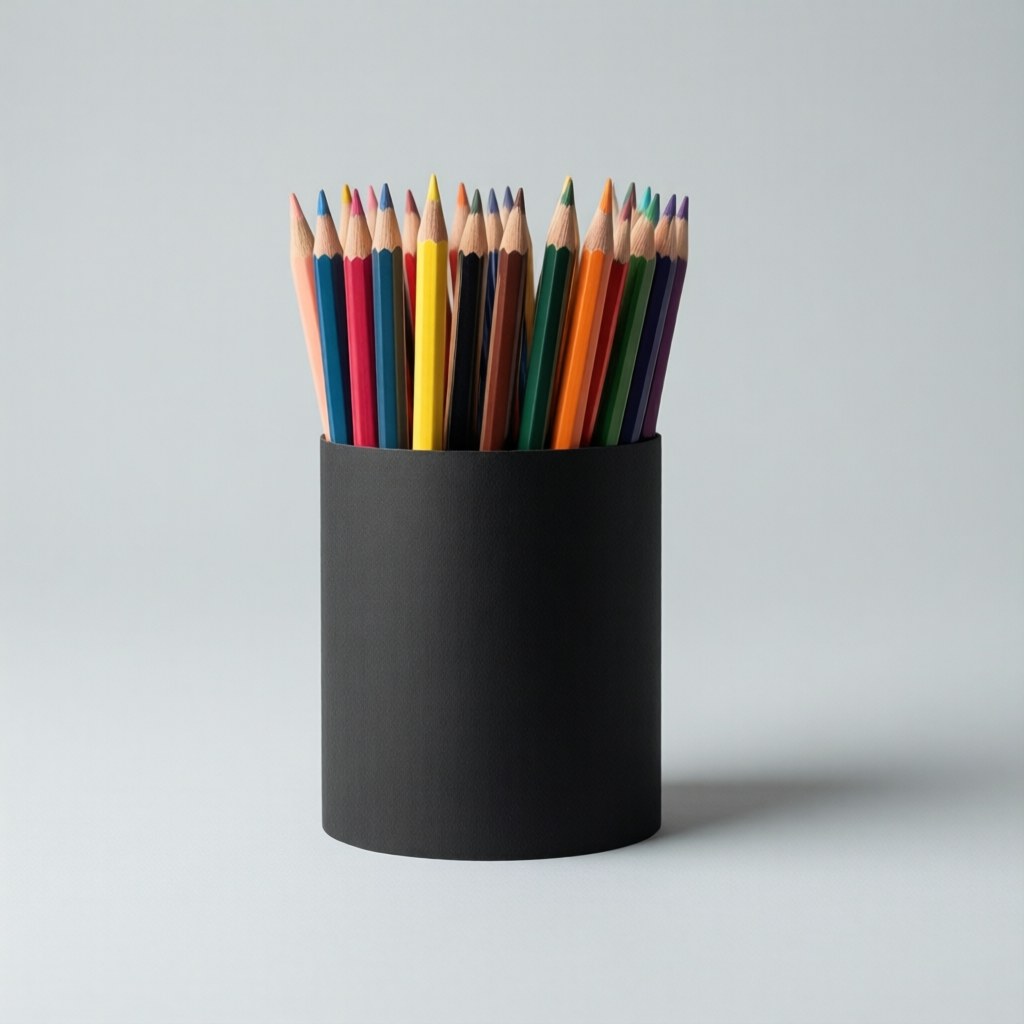
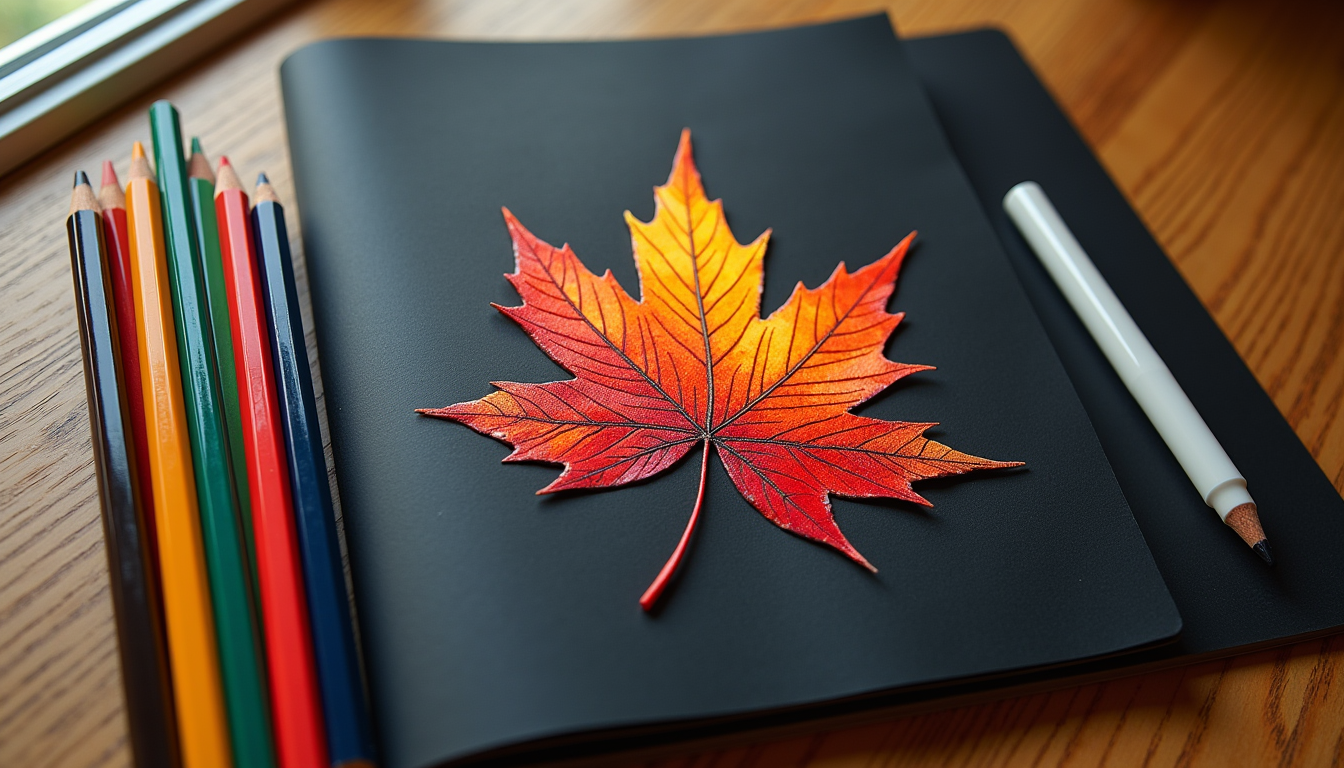
Step 1: Pick Paper With a Little Tooth — Then Map Your Lights First
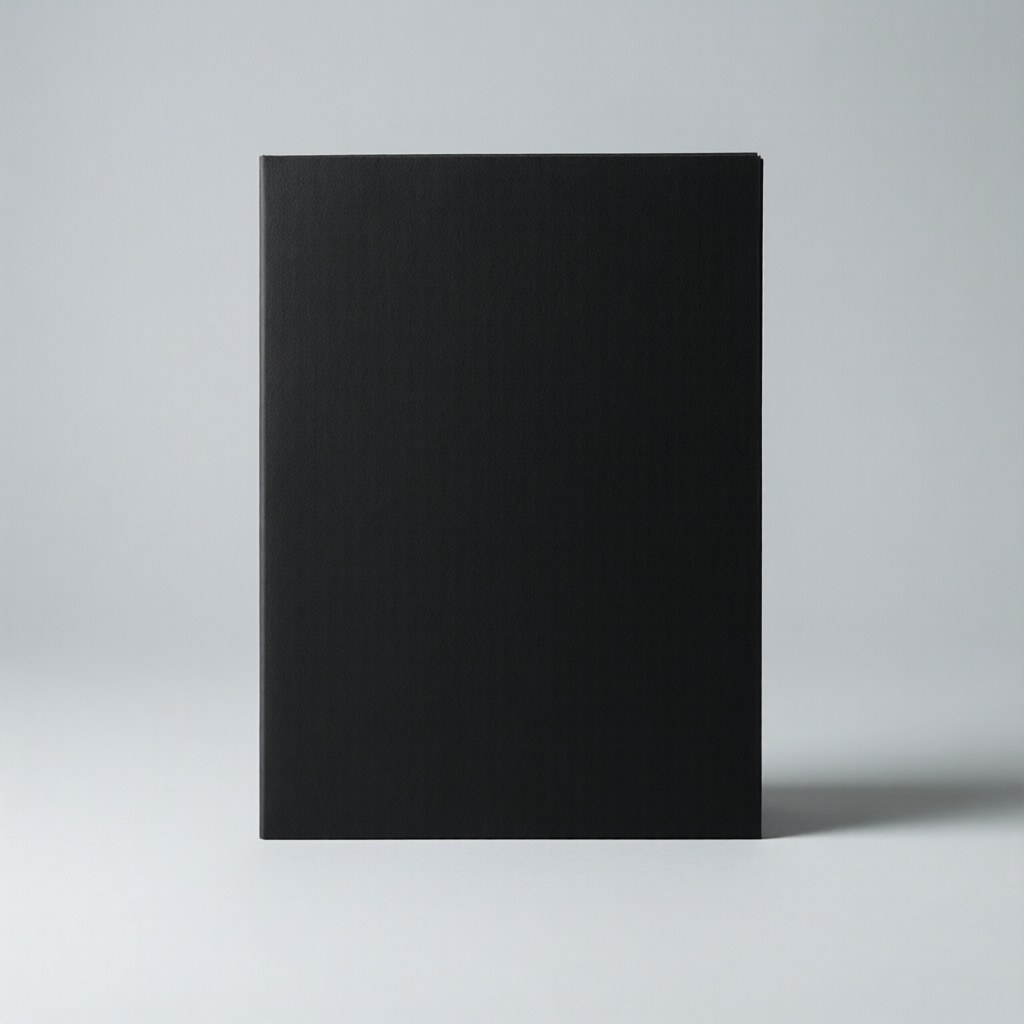
Not all black paper behaves the same. The Strathmore 400 Series Artagain pad in Coal Black is the reliable starting point: 60 lb, lightly textured, acid-free, 24 sheets, usually about $9–13.
Con: it is a glue-bound pad, so sheets tear out at the glue line rather than perforating cleanly, and 24 sheets go fast once you get hooked. The light texture also fills with pigment after four or five layers — you will not get the ultra-smooth blends of a hot-press surface.
My take: the standard first pad for a reason. Buy the 9×12, work through it, and only then decide whether you want a heavier board.
Before any color goes down, decide what will be the brightest element of the piece. On white paper you plan your darks; on black paper you plan your lights, because the paper itself is doing the job your darkest pencils normally do. Sketch the subject with a white or cream pencil instead of graphite — graphite looks faint and grayish on black and fights your colors later.
Step 2: Build a Light Base With Low Pressure (2–3 Out of 10)
Your first layer is a whisper, not a statement. Use the lightest version of each color — a light cream where skin will go, a pale yellow where the lemon will glow — and apply it with a pressure you would rate 2 or 3 out of 10. Small circular strokes (scumbling) give you the softest, most even base on this texture; long linear strokes are better for petals and fabric. Keep the pencil point sharp so pigment settles into the tooth instead of skipping across the peaks.
The trap here is impatience: pressing hard on layer one packs wax into the paper tooth immediately, and once that tooth is full, nothing after it sticks. Three to five soft layers will always beat one heavy one on black paper.
Step 3: Layer Mid-Tones With the “One Step Lighter” Rule
Colors read roughly one to two steps darker on black paper than they do on white, so choose mid-tones one step lighter than your instinct says. Build the second and third layers at 4–5 pressure, moving in the direction of the form — curved strokes around a sphere, short strokes following fur, vertical strokes on a candle flame’s glow. Warm hues (yellows, oranges, warm reds) pop hardest against black; cool blues and violets need an extra layer or a lighter value to keep from sinking into the paper.
Blending between layers works the same as on white paper: let colors overlap while the tooth still has room, and save any burnishing for the very end. A colorless blender or a white pencil burnished across the final layer is what creates that luminous, almost backlit look — but burnished layers are locked in, so it is the last thing you do, not the middle.
Step 4: Finish With Highlights — Pencil First, Gel Pen Last
Burnish your brightest areas with a white Prismacolor Premier pencil (PC938) at firm pressure — usually about $9–12 for the open 12-pack, and worth it as a single since you will go through white faster than any other color on dark paper.
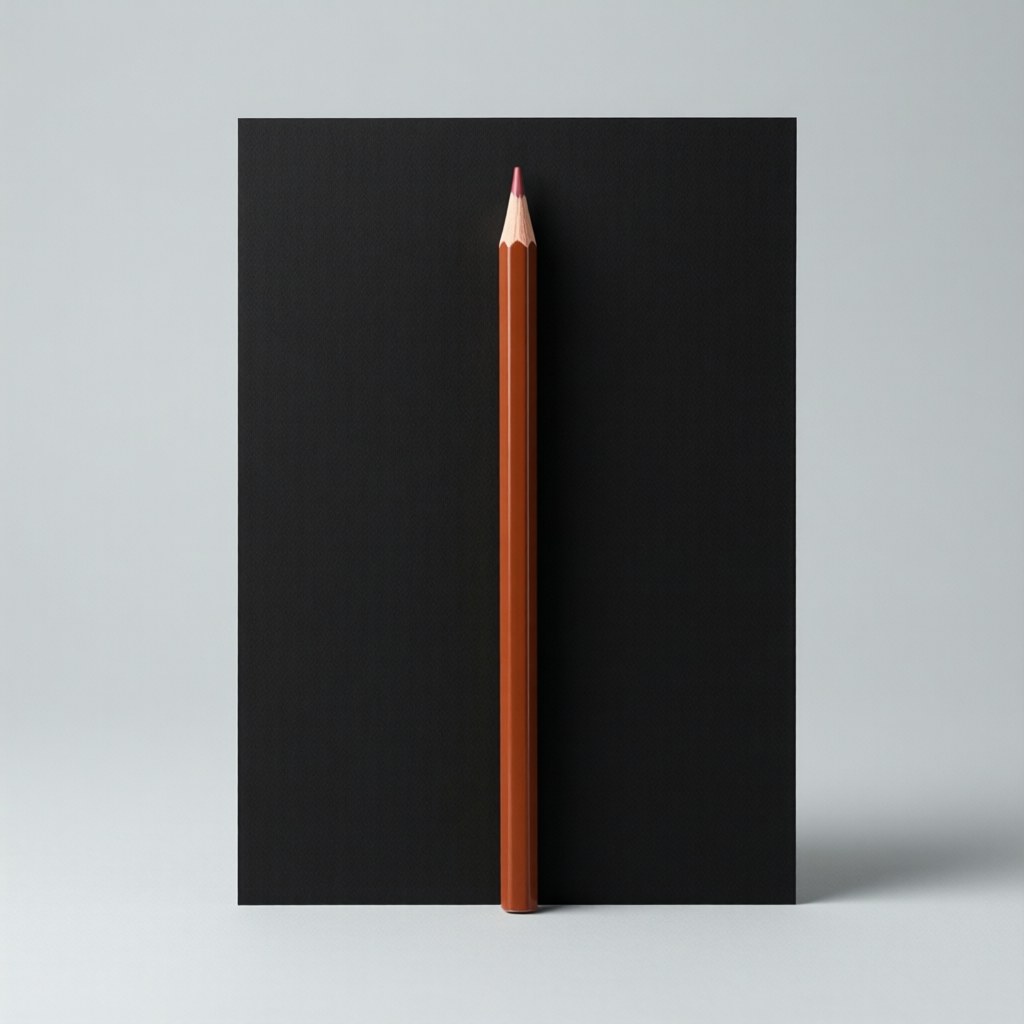
Con: the soft core sheds crumbs that need a brush sweep, and no white pencil ever reaches true, opaque white on black — it tops out at a soft glow. It also wears down fast on abrasive dark paper.
My take: the workhorse finisher. Burnish, then stop touching the page — burnished wax smears if you keep working over it.
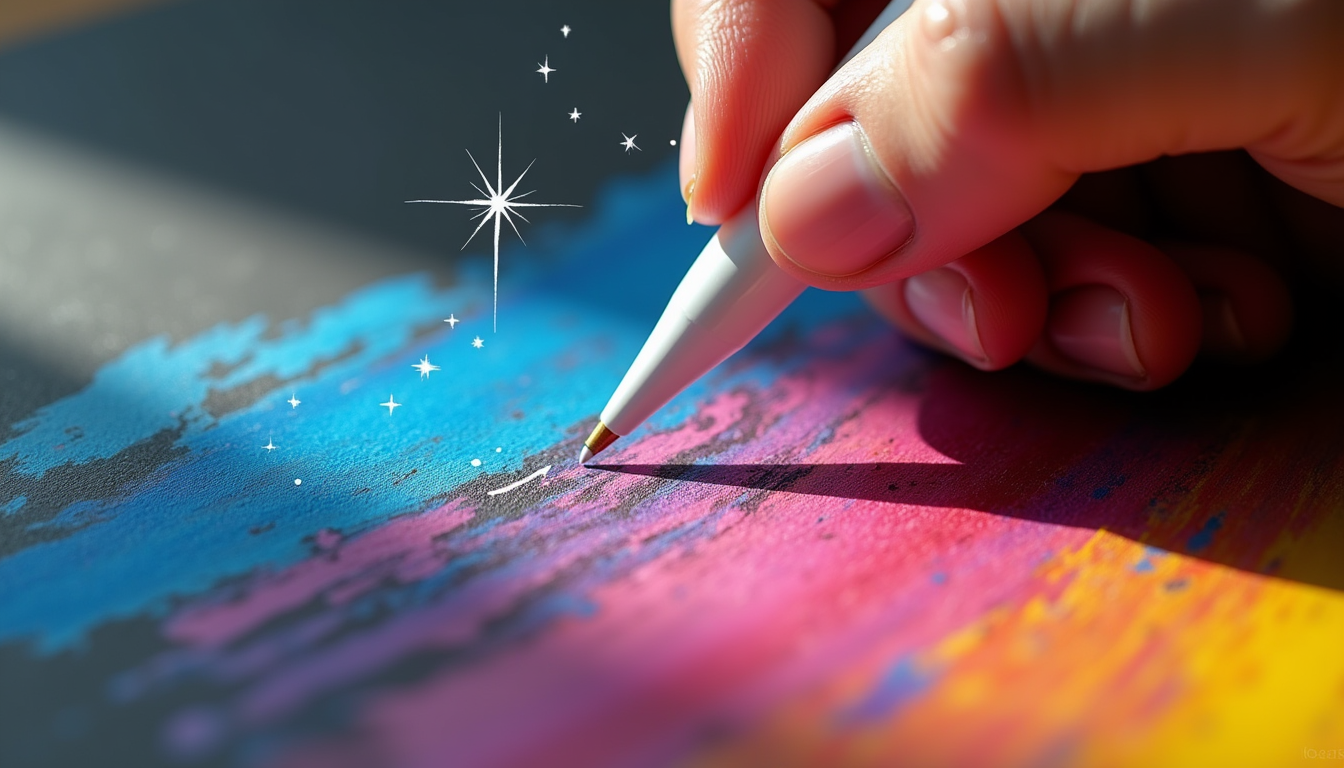
For the true whites — stars, sparkles, cat whiskers, dew drops, tiny catchlights — switch to the Sakura Gelly Roll Classic white 3-pack, which gives you fine (0.5mm), medium (0.8mm), and bold (1.0mm) tips for about $5–7.
Con: the ink sits on top of the page rather than soaking in, so it smears if you touch it wet and can crack along a fold if the page gets bent hard. Gel pen over wax-heavy areas can also bead slightly — let the pencil layers settle before drawing on them.
My take: this pen is the single biggest “wow per dollar” upgrade for black paper. Fine tip for whiskers and stars, bold for the moon. Add it after all pencil work is done.
Step 5: Fix Mistakes the Dark-Paper Way
Regular vinyl erasers leave gray ghosts on black paper — every erased spot shows as a lighter smudge. Two better tools: a kneaded eraser dabbed straight down (press, lift, never scrub), and low-tack tape or mounting putty to lift stray pigment cleanly. A white gel pen also doubles as a spot-fixer: a small drawn-over correction on a stray mark is invisible in the finished piece, which is a luxury you do not have on white paper.
Common Mistakes on Black Paper
- Testing colors on white scrap. White paper lies to you. Keep a black paper test strip beside your pad and swatch every pencil on it before committing.
- Burnishing too early. Once you burnish, the tooth is gone and no new layers will take. Burnish only on the final pass, on the areas that are actually finished.
- Fighting the paper for darks. Black paper is not for deep shadows — let the paper BE the shadow and spend your pencils on mid-tones and lights. Fighting it with black pencil just grays everything.
- Skipping the light source plan. On black paper, your light areas carry the whole piece. Decide the light direction before layer one, or the glow reads scattered and flat.
The Budget Setup That Still Works
One Artagain pad (about $9–13), the pencils you already own, one open-stock white pencil (about $2–3 if you can find single pencils locally, or the 12-pack linked above), and the $6 Gelly Roll 3-pack. That is a complete black-paper kit for under $25, and the pad plus pen alone covers most beginners’ first month. If wax bloom shows up on your finished pieces — it happens faster on dark paper because you are layering more heavily — the fixes are the same ones from our wax bloom guide. And since soft cores take real abuse on this abrasive surface, keep them sharp with a proper sharpener — see our sharpener guide before your cores start snapping.
ColoredCalm is reader-supported. As an Amazon Associate, I earn from qualifying purchases. That means if you buy through one of the links above, I get a small commission at no extra cost to you. I only recommend supplies I actually color with.
🎨 Get Your Free Stress Relief Coloring Guide
Join our newsletter and get this free printable plus weekly tips.
Price Check
Prices verified via our product tracker. Updated Sep 27.
| Amazon.com: Strathmore 400 Series Artagain Pad, Coal Black | $13.35 | 4.7★ (1,456) |
| Amazon.com: SAKURA Gelly Roll Classic White Gel Pen Set, A | $5.99 | 4.4★ (17,921) |
| Amazon.com : Prismacolor 3365 Premier Soft Core Colored Pe | $17.90 | 4.8★ (1,627) |
As an Amazon Associate we earn from qualifying purchases.