This article contains affiliate links. We may earn a commission from qualifying purchases.
Some content on this site is AI-assisted and reviewed by our editorial team.
There’s a specific disappointment every colorist knows: the mushroom page that was supposed to be the coziest thing in the book comes out flat. The caps read like gray blobs, the gills smear into mud, and the red fly agaric looks painted on instead of grown. After a season of cottagecore pages, I can tell you it’s almost never the pencils. It’s the order of operations. Real mushroom caps are domes with a rim, and the moment you shade them like spheres — all-over shadow first, highlight second — the dome collapses into a disc.

The cap-first method fixes the order: rim, dome, then gills, and never all-over shading first. It works in any pencil brand you own — the walk below is done in everything from a $16 school set to oil-based artist pencils — and it turns autumn-foraging pages into the mushroom patches Pinterest thinks you should be coloring.
Step 1: The Rim First, Always
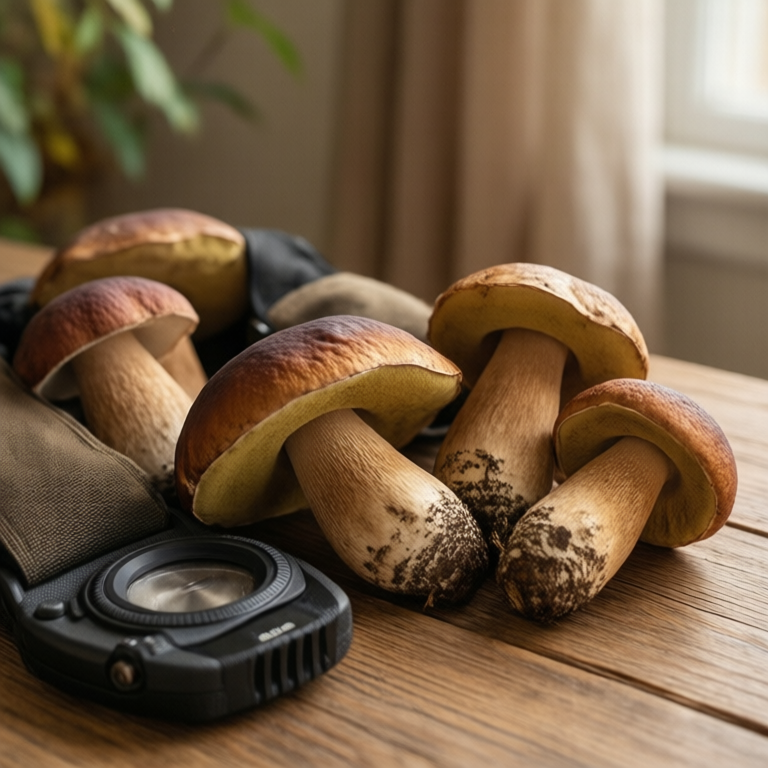
Every mushroom cap has an underside rim where the cap curls under toward the gills. That edge is where the light dies first, and it’s the line most beginners skip. Before any color touches the dome, lay a crisp dark rim around the underside of the cap with your darkest cap color — burnt umber or dark sepia for brown caps, a red-violet for the fly agaric. This single line is what makes the cap read as an object sitting in space instead of a shape drawn on paper.
Step 2: The Dome, Two Layers, Never One
Now the dome itself. The trick is that mushroom caps are not spheres — they’re domes, which means the highlight sits high and off-center, toward the light source, and the darkest cap tone hugs the rim you just drew. Work in two thin layers: a light base layer over the whole dome following the curve, then a second layer building the shadow toward the rim edge. Soft-wax pencils like Prismacolor blend the two layers together in a single pass; harder cores like Crayola’s adult sets need a third or fourth light pass to get the same melt — and that’s fine, the paper doesn’t care about speed, it cares about pressure.
Step 3: Gills Last, One Stroke at a Time
Gills are the texture that sells the mushroom. They radiate from the stem, and each one is a single stroke from stem to rim — no scribbling, no back-and-forth. Use a sharpened hard pencil for these, not your blender-soft wax core. If you can see the stroke wobble, sharpen and slow down. The spacing between strokes is what makes the pattern read; crowding them into a solid dark block is how gills turn to mud. Leave the paper white between strokes on pale mushrooms — that white is doing shading work.
Step 4: The Wet-Look Highlight Trick
Fresh mushrooms shine. After the dome layers are down, take a 2.3mm precision-tip eraser — the Tombow Mono Zero is the standard — and lift small spots of pigment off the dome, high and off-center. That lifted white reads as wet surface, and it’s the difference between a colored-in mushroom and one that looks picked that morning. Work gently: the goal is to lift color, not gouge the paper.
The Pencils That Render Fungi Best
The method works with anything sharp, but the sets below are the ones that make the walk easier. Prices move, so treat these as the order-of-magnitude ballpark.
Prismacolor Premier Soft Core, 72-Count — The blending benchmark
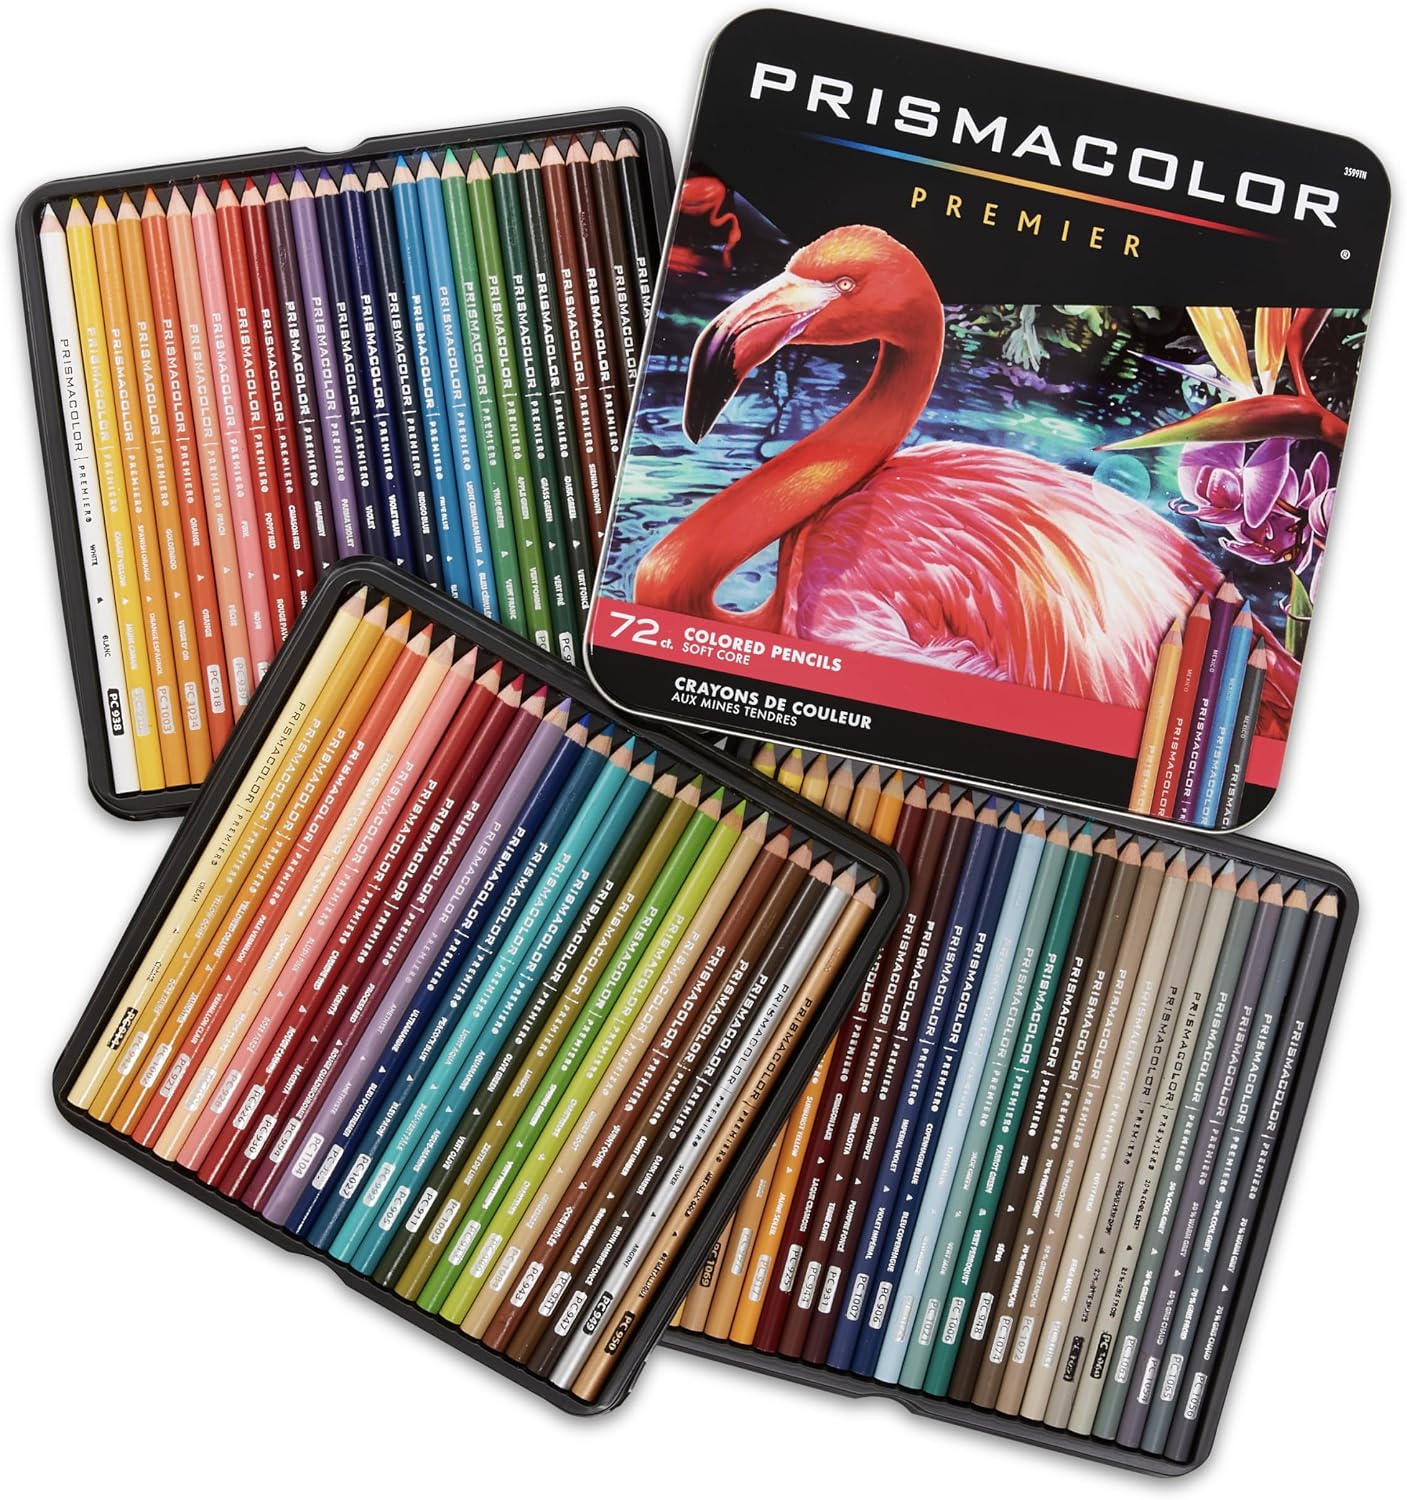
Soft wax cores melt the dome’s two layers together in a single pass, and the 72-count tin has every earth tone a mushroom patch asks for. About $74, and the tin is what most colorists graduate into once blending starts to matter. The softness that blends is also the con: tips snap on fine gill work, so keep a sharp point and a light hand for Step 3. Prismacolor Premier 72.
My take: The dome-layer tool — nothing blends a cap gradient faster.
Faber-Castell Polychromos, Tin of 24 — For crisp gill lines
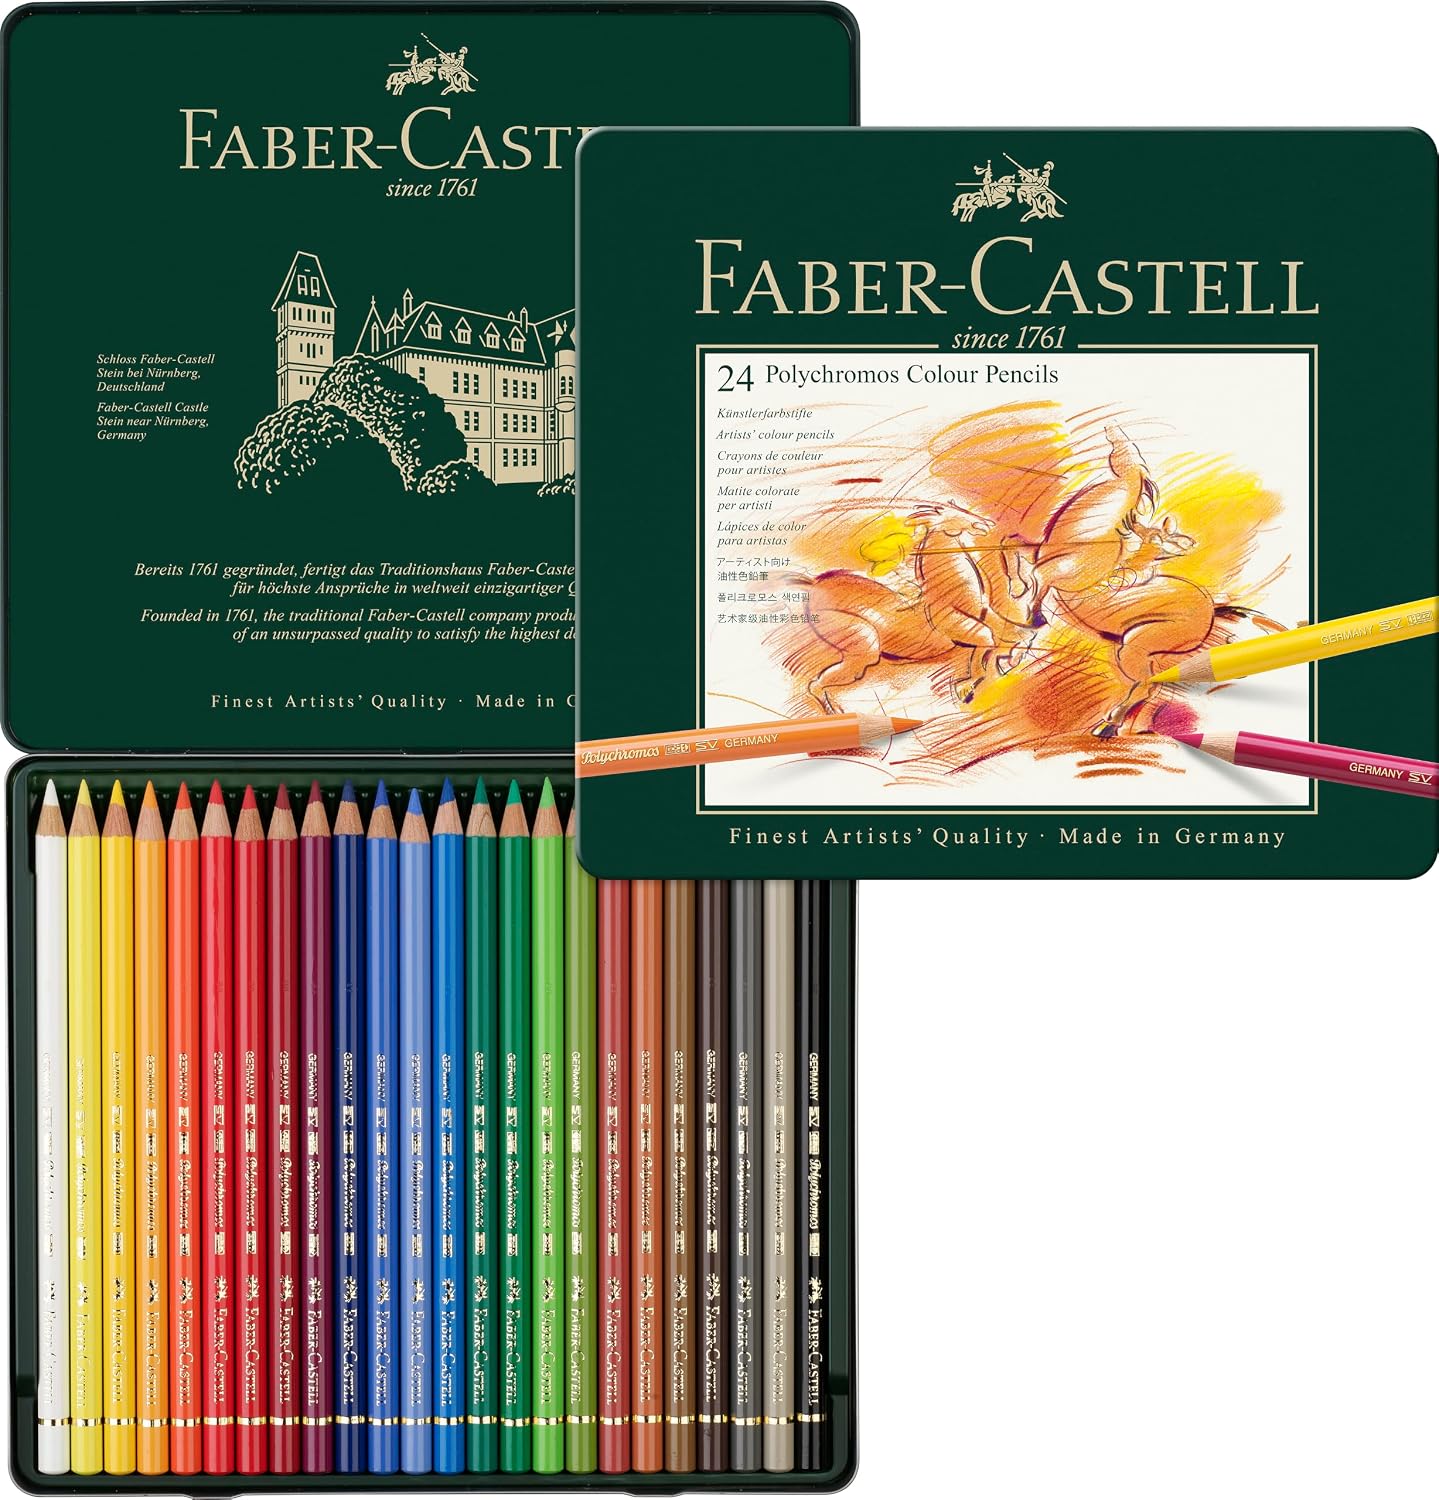
Oil-based cores hold a needle point through dozens of gill strokes — that’s the whole sales pitch, and it’s real. Break-resistant SV-bonded leads, smudge-proof, water-resistant, made in Germany. The 24-color tin runs about $44 right now (list is higher), and the earth-tone selection covers caps and stems without needing the big tin. The con is price per pencil — about triple student brands — so it earns its slot as the detail tool, not the whole kit. Polychromos 24.
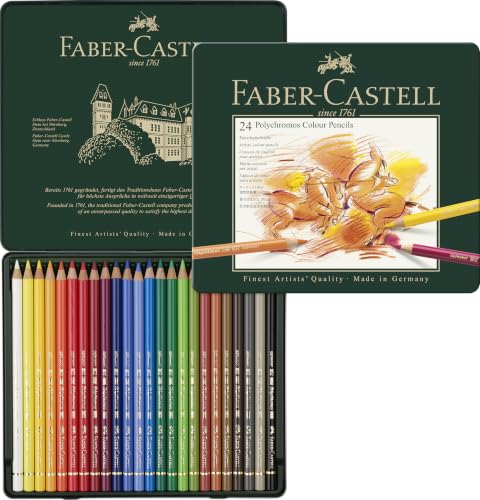
My take: Buy it for the gills and the caps’ crisp rim line; skip it if you only color in soft scenes.
Crayola Adult Colored Pencils, 100-Count — The budget fungi set
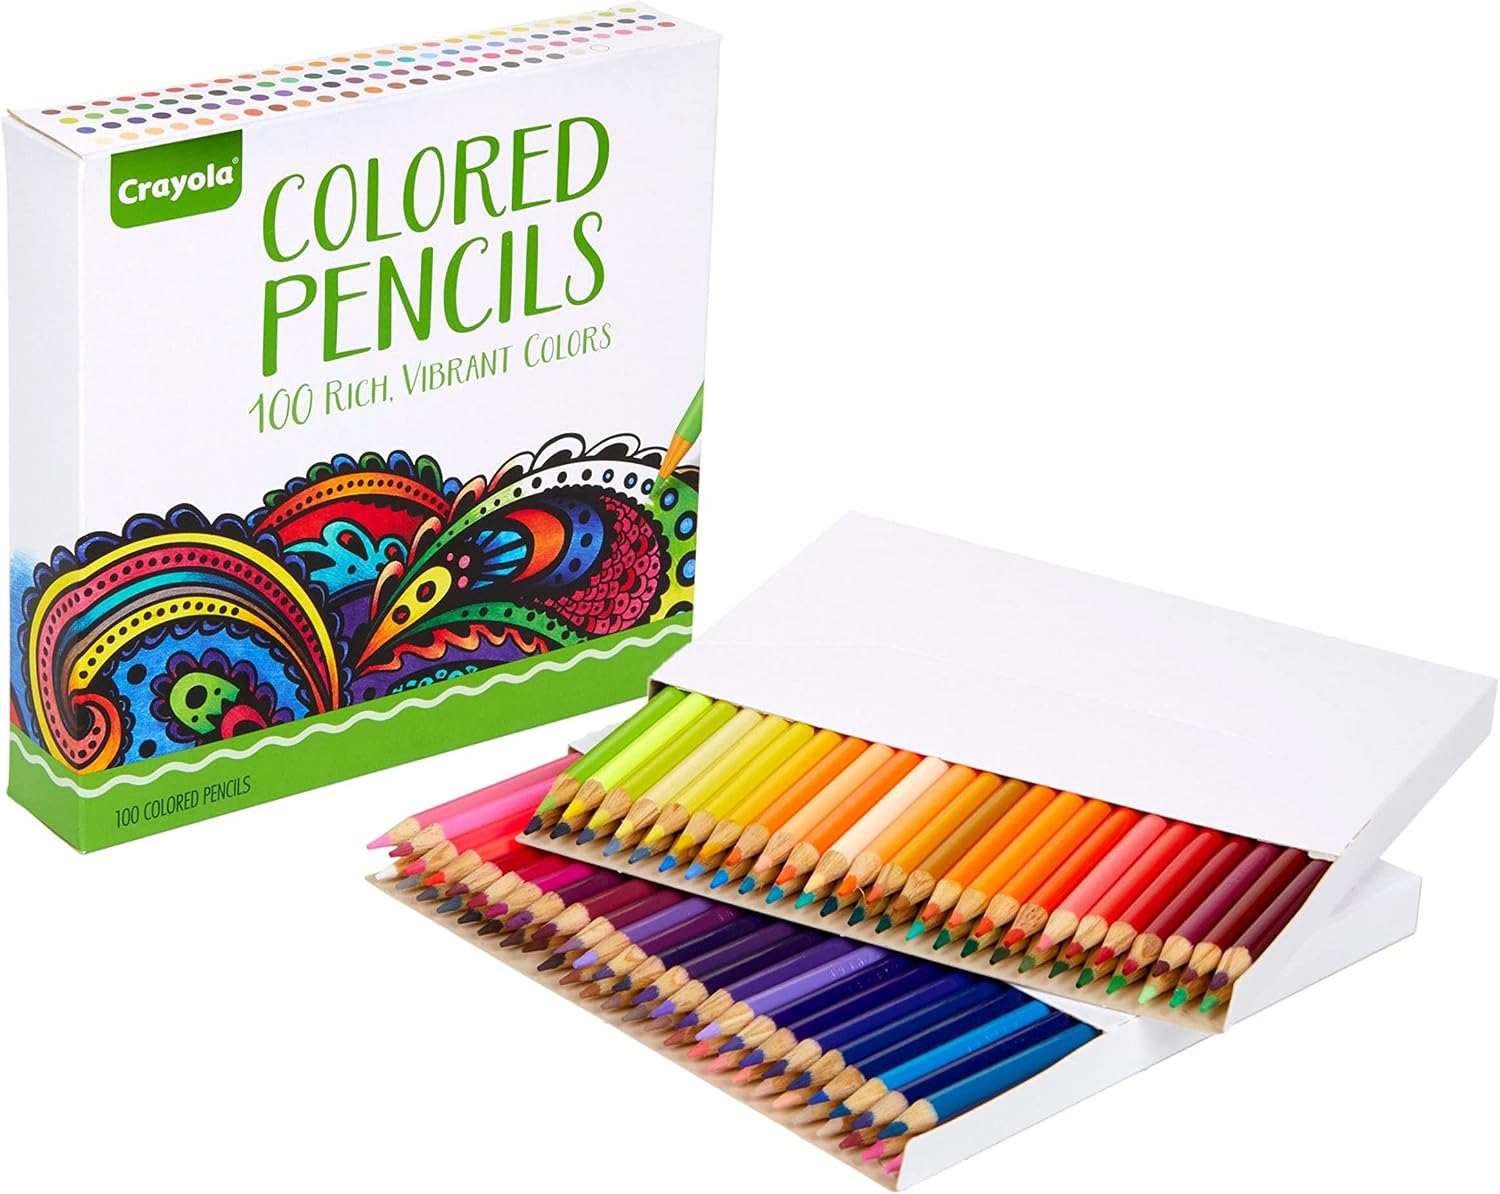
A $16 set with 100 colors, designed for adult coloring books, with strong durable leads and a resealable box. The harder cores mean the dome takes three or four light layers where Prismacolor takes two — but that’s the entire honest tradeoff, and for the price of one artist tin you get the full palette plus storage sleeves. Crayola Adult 100.
My take: The best first fungi set, and the one I recommend to every beginner who isn’t sure yet whether mushrooms are their thing.
Tombow Mono Zero Precision Eraser — The highlight tool
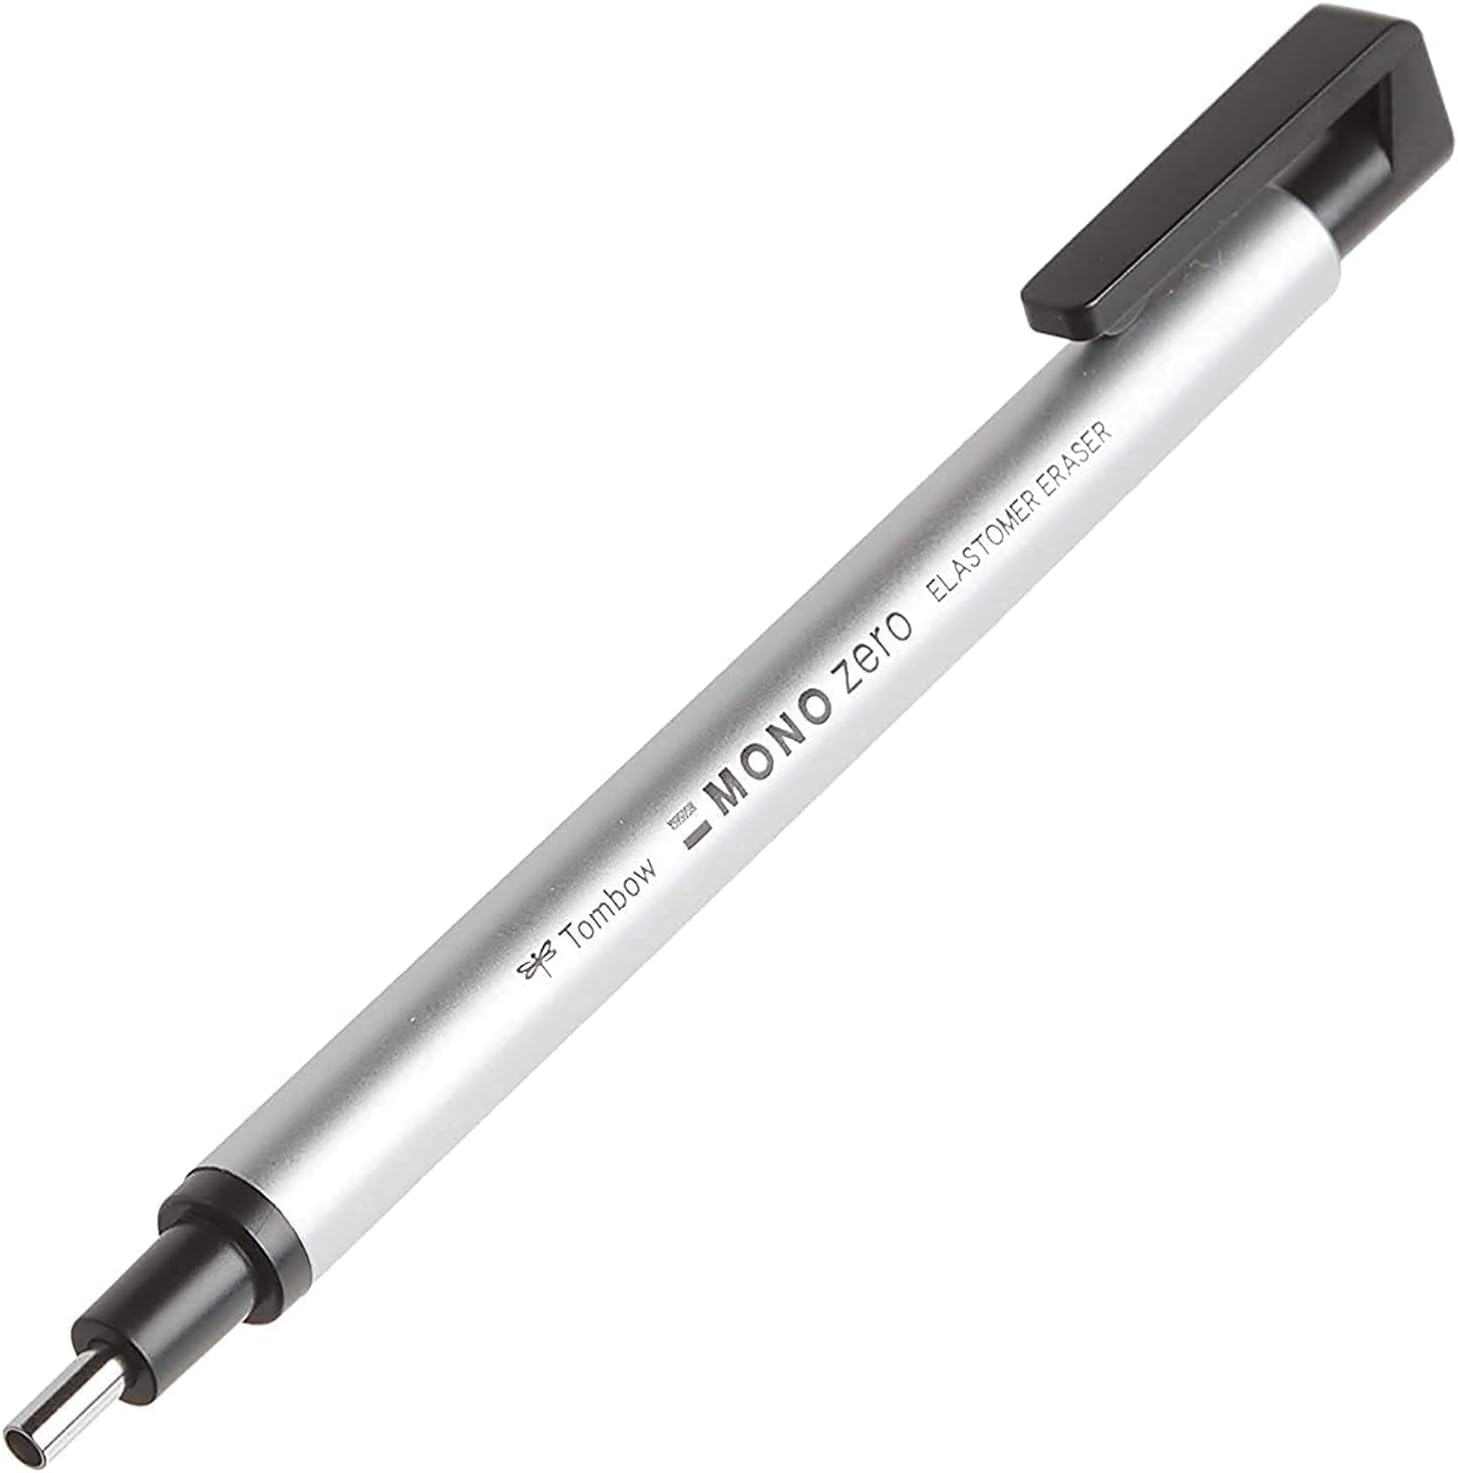
The 2.3mm round tip lifts single spots of pigment for the wet-look shine in Step 4 without touching neighboring color. About $6, and it’s the cheapest upgrade with the biggest visible payoff in the whole method. The con is eraser dust management on soft-wax layers — tap, don’t sweep. Tombow Mono Zero.
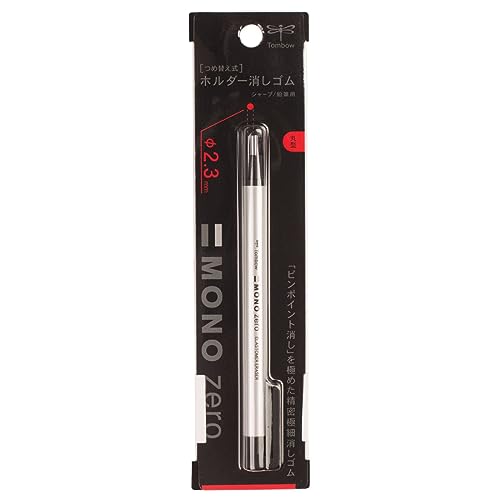
My take: Not optional once you’ve seen what a lifted highlight does to a cap.
Common Mistakes
Shading the cap like a sphere. Spheres shade smooth from every angle; domes have a rim and an off-center highlight. If your caps look flat, the rim line is missing.
Gills before the cap. Gills drawn first get smeared by dome work. Cap, dome, then gills — always in that order.
Burnishing too early. Burnish after the layers are built, not between layer one and two. Early burnishing closes the paper tooth and later layers stop sticking.
Skipping the white spots. The reserved white between gills and the lifted highlights are the entire wet-mushroom illusion. Color every square millimeter and the mushroom dries out.
Budget note: The whole method works on a $16 Crayola set plus a $6 eraser — $22 total. The upgrades (Prismacolor $74, Polychromos $24-tin $44) buy speed and blending, not ability.
Keep reading
For the aesthetic around the mushrooms, the cottagecore coloring guide is the companion piece, and the crumb method for gingerbread and baked goods uses the same reserved-white trick on a different kind of December page.
Deep-focus coloring hits different with an audiobook — Audible’s free trial is here.
ColoredCalm is reader-supported. As an Amazon Associate, I earn from qualifying purchases. That means if you buy through one of the links above, I get a small commission at no extra cost to you. I only recommend supplies I actually color with.
Related guides
- Snow and Ice: The Light-First Winter Method
- Gemstones and Crystals: The Light-First Method
- Cottagecore Coloring: How to Bring the Cozy Rural Aesthetic to Your Coloring Pages
- Smooth Gradients: Pressure, Direction, and the Two-Pencil Method
- How to Frame and Display Finished Coloring Pages
🎨 Get Your Free Stress Relief Coloring Guide
Join our newsletter and get this free printable plus weekly tips.
Frequently Asked Questions
How do you color mushroom caps with colored pencils?
Work rim-first: draw the dark underside rim of the cap before any dome color, then build the dome in two thin layers with the highlight high and off-center, then add gills last as single strokes. Never shade the whole cap all-over first — mushroom caps are domes with a rim, not spheres.
What colors make mushrooms look realistic?
Earth tones carry most real mushrooms: burnt umber, raw sienna, walnut brown and warm greys for caps and stems, with a red-violet reserved for fly agaric. The realism comes less from the colors than from the reserved white between gill strokes and the lifted wet-look highlights on the dome.
How do you add texture to toadstools with pencils?
Texture is stroke discipline: one stroke per gill from stem to rim with a sharpened hard-core pencil, layered cap shading instead of scribbling, and a 2.3mm precision eraser lifting small spots of pigment for the wet shine. Oil-based pencils like Polychromos hold the needle point gills need.
Liked this guide? Get the next one in your inbox — the coloring starter checklist is free too.
✓ You're in — check your inbox.
No spam. Unsubscribe anytime. We never share your email.
Prices move fast. Start your Amazon trip from our Shop & Support page and your purchases support ColoredCalm at no extra cost to you.
Price Check
Prices verified via our product tracker. Updated Oct 31.
| Prismacolor Premier Colored Pencils, Soft Core, 72 Count | $74.49 | 4.8★ (29,632) |
| Faber-Castell Polychromos Artists' Color Pencils - Tin of | $49.34 | 4.7★ |
| Crayola Adult Colored Pencil Set 100ct, Premium Coloring P | $16.00 | 4.7★ (55,732) |
| Tombow Mono Zero Eraser, Round 2.3mm : Pen Style Erasers : | $5.80 | 4.8★ (4,352) |
As an Amazon Associate we earn from qualifying purchases.