This article contains affiliate links. We may earn a commission from qualifying purchases.
Some content on this site is AI-assisted and reviewed by our editorial team.
Every colored pencil set promises 72 vibrant colors. Open the tin, and half of them look the same. You pick a pencil because it looked right in the store, you lay down three layers, and by layer three the color has shifted darker or muddier than you expected — and there is no going back. Every book says “test on scrap” but nobody explains what a real swatch system looks like, or why it matters more than which pencil brand you buy.
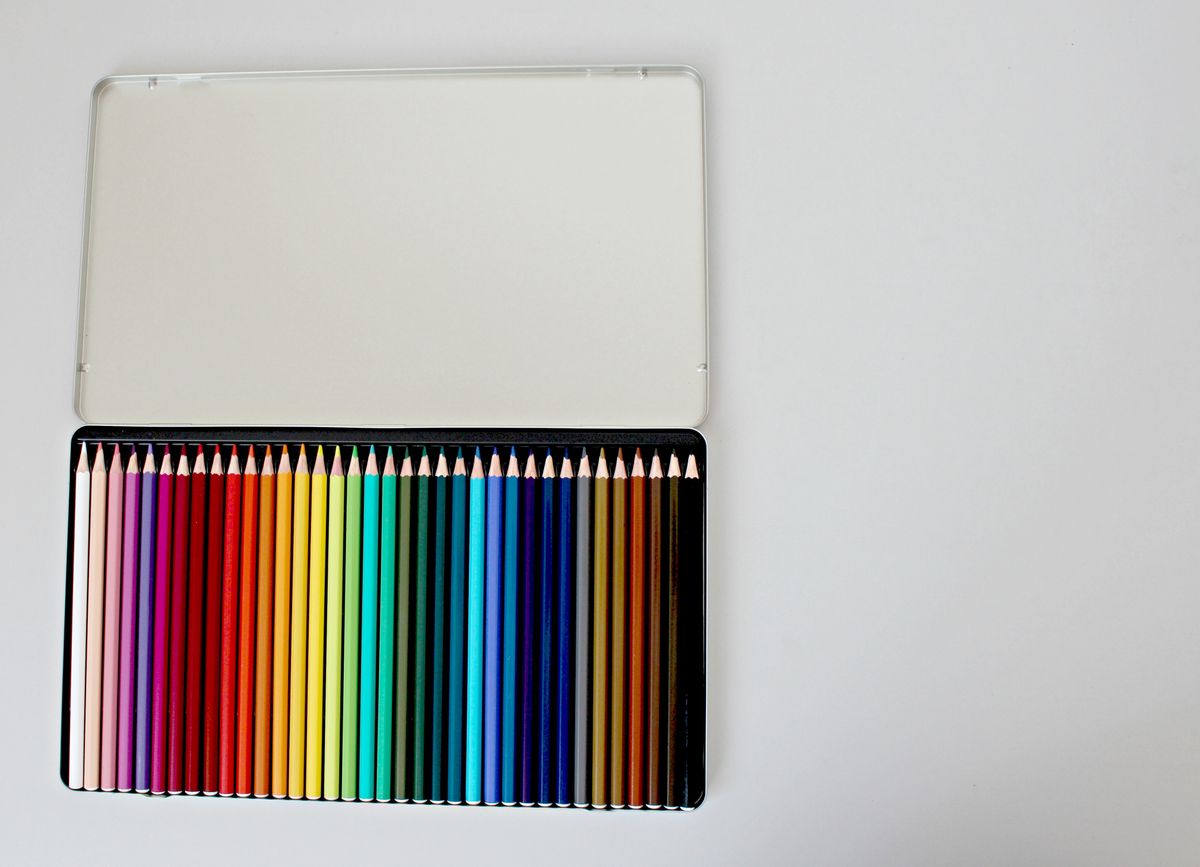
Here is the method I use: a two-pass chart (one light, one burnished) plus notes on every pencil, done in one evening per set. It removes nearly every bad surprise before you commit to a page.
What the Swatch-First Method Actually Is
The idea is simple: before you color anything in a new book, you make a reference chart of every pencil in the set. Not a coloring page — a systematic record of how each color actually looks on paper, in two pressures, with a label. This takes one evening for a 72-pencil set. Once it is done, you never guess again.
The chart lives next to your coloring desk. When you need a specific warm brown for cocoa, you check the chart, see that your Sienna Brown reads warmer than your Chestnut at light pressure but shifts cooler when burnished, and you pick with confidence instead of testing five pencils on the margin of your page and leaving ghost marks.
Step 1: The Paper
Use Bristol, not your coloring book. Strathmore 400 Series Bristol Pad 9×12 — about $9 for a vellum-surface pad that takes layered swatches without pilling under burnish. Bristol is smoother than most coloring-book stock, which means your real pages will read slightly darker than the swatch. That is fine — the chart is for relative comparison, not absolute matching.
Cut sheets into thirds or quarters. One 9×12 sheet gives you four swatch panels. Label each panel with the pencil set name and date, so six months from now you know which chart goes with which set.
Step 2: The Two-Pass Swatch
For every pencil in the set, make two swatches side by side:
Light pass: Hold the pencil at a shallow angle and lay down a single layer with light pressure. This shows the color at its most transparent — what you get on the first layer of a real page. You will be surprised how different some pencils look light versus the cap color.
Burnished pass: Press hard and layer the same color three or four times until the paper tooth is filled and the color is at full saturation. This is what the pencil looks like at maximum intensity — the color you get on layer five when you really commit. The gap between light and burnished tells you how much the color will shift as you build layers, which is where most surprises come from.
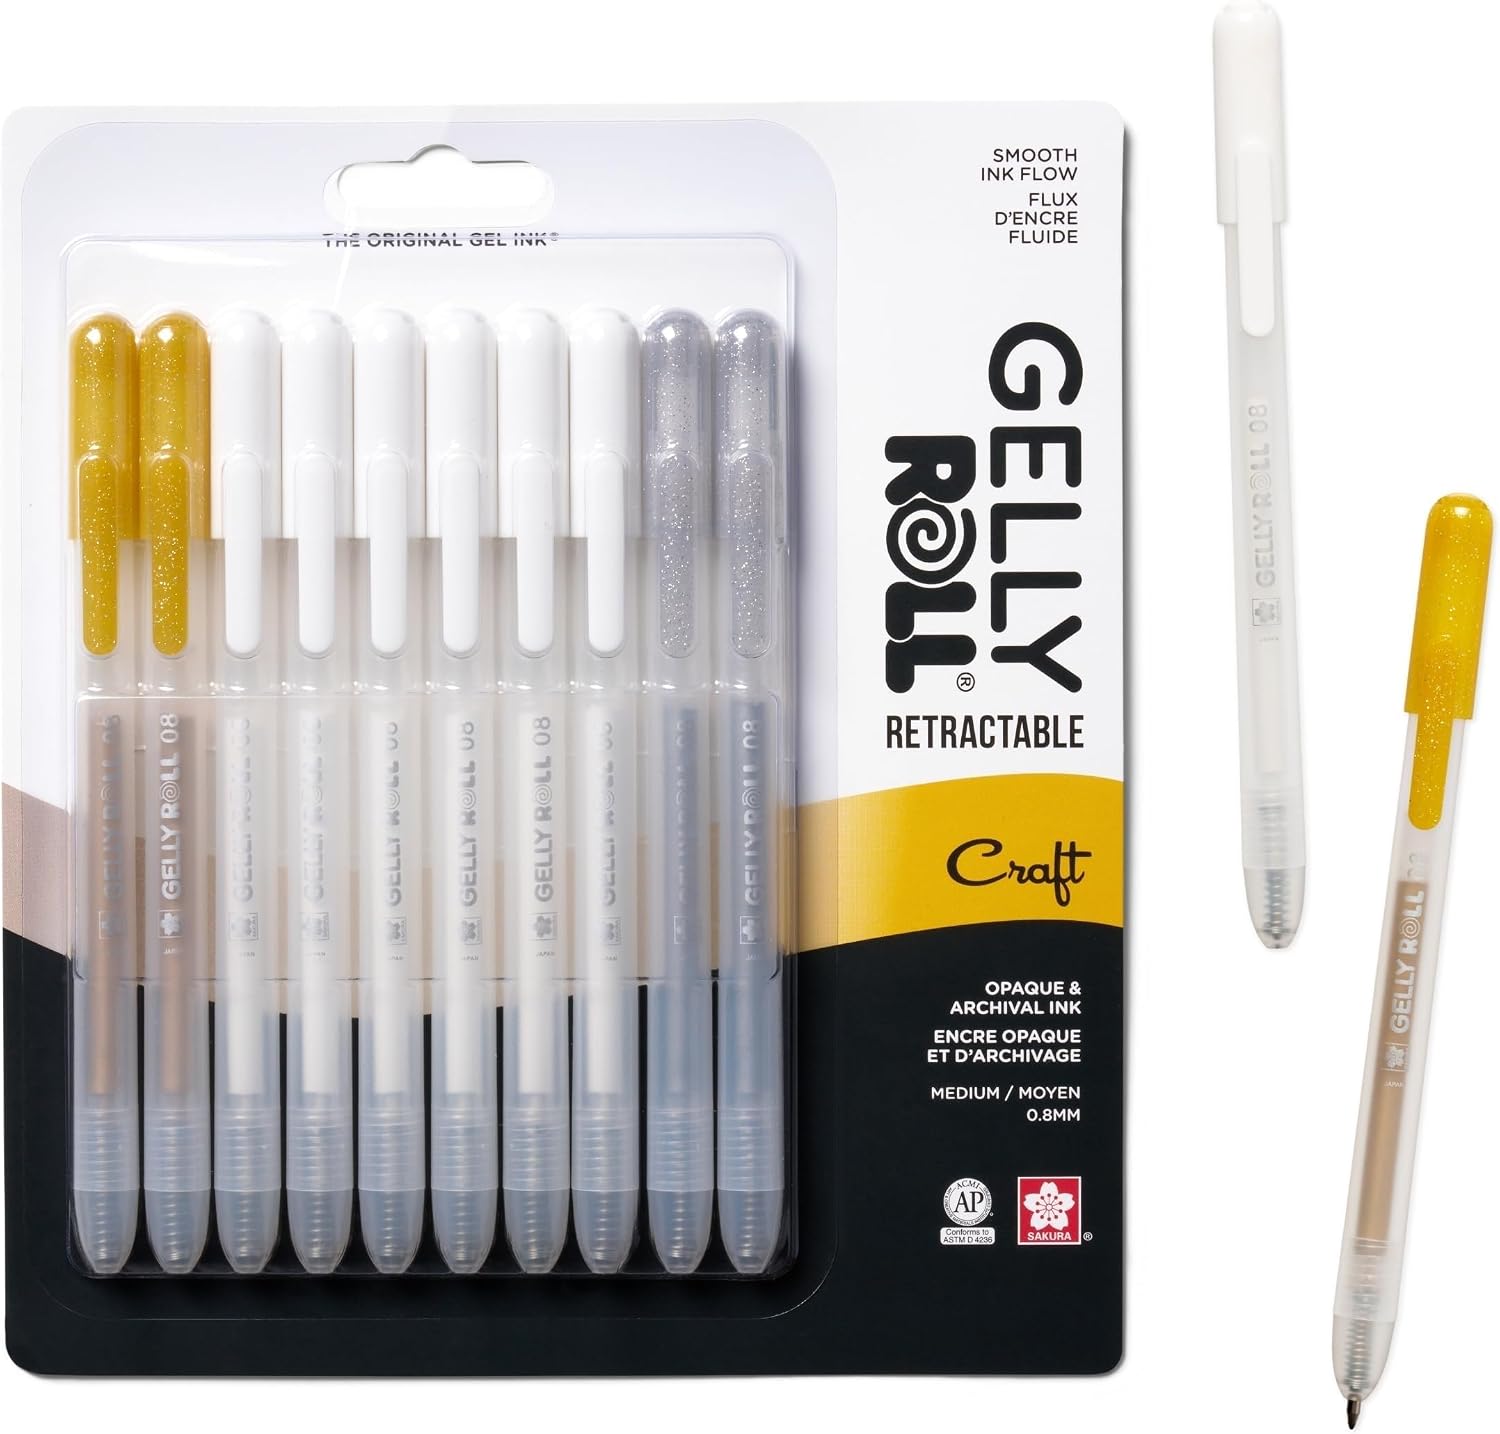
Write the pencil number and name below each pair. Use the Sakura Gelly Roll white gel pen for dark swatches where regular ink vanishes.
Step 3: Label and Annotate
Sakura Gelly Roll Retractable Gel Pens 10-Pack — about $18 for white, gold, and silver retractables that write legible notes on black and dark-swatch rows where regular pens vanish. Label every swatch with the pencil number. Then add one-word notes where the color surprises you: “shifts cool,” “grainy,” “wax bloom,” “darker than cap.” These notes are the point of the chart — three months from now you will not remember which pencil had the weird green shift, but the chart will.
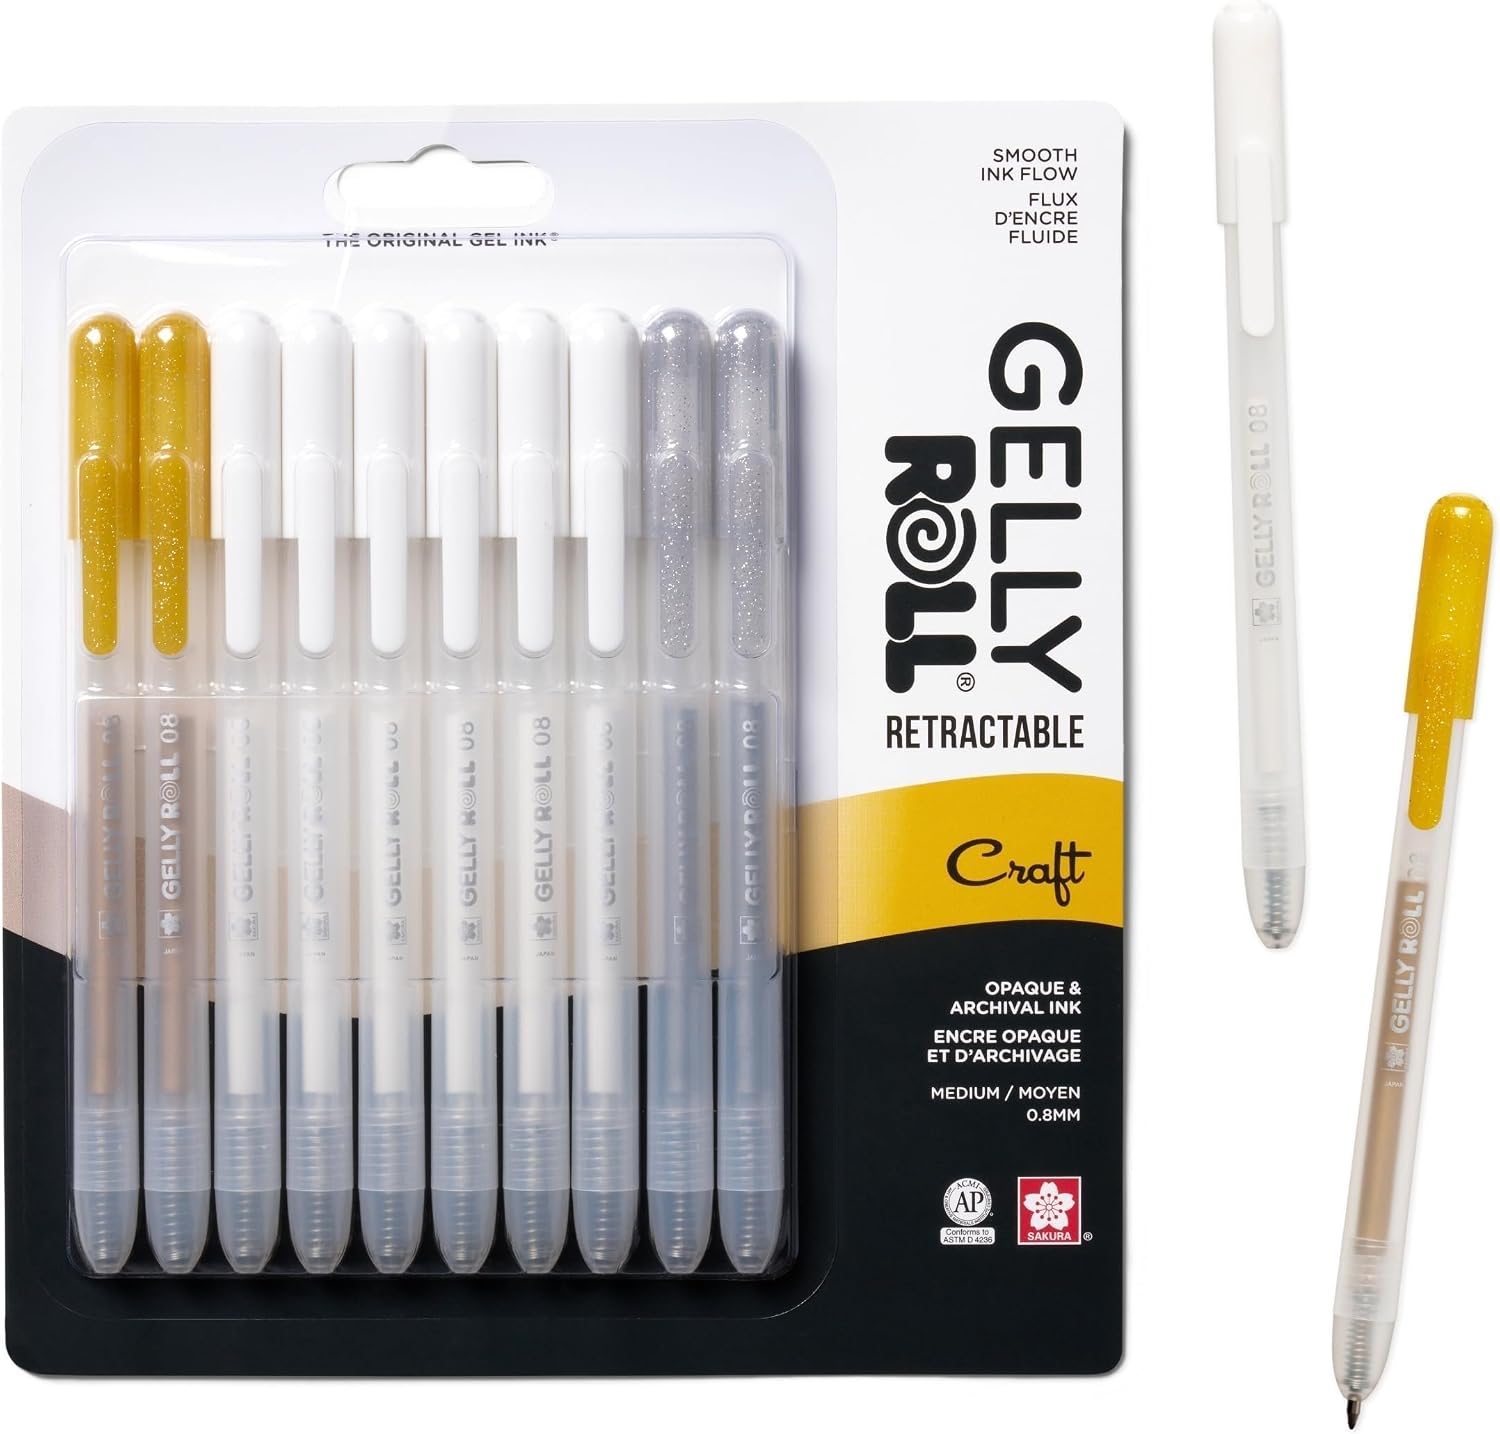
The gel pen needs a dry base or it smears. Let each swatch sit for 30 seconds before labeling — pencil pigment sets fast, but heavy burnish leaves a wax layer that gel ink slides across.
Step 4: The Sets That Benefit Most
Some sets need a chart more than others. The sets with the worst labeling problems benefit the most:
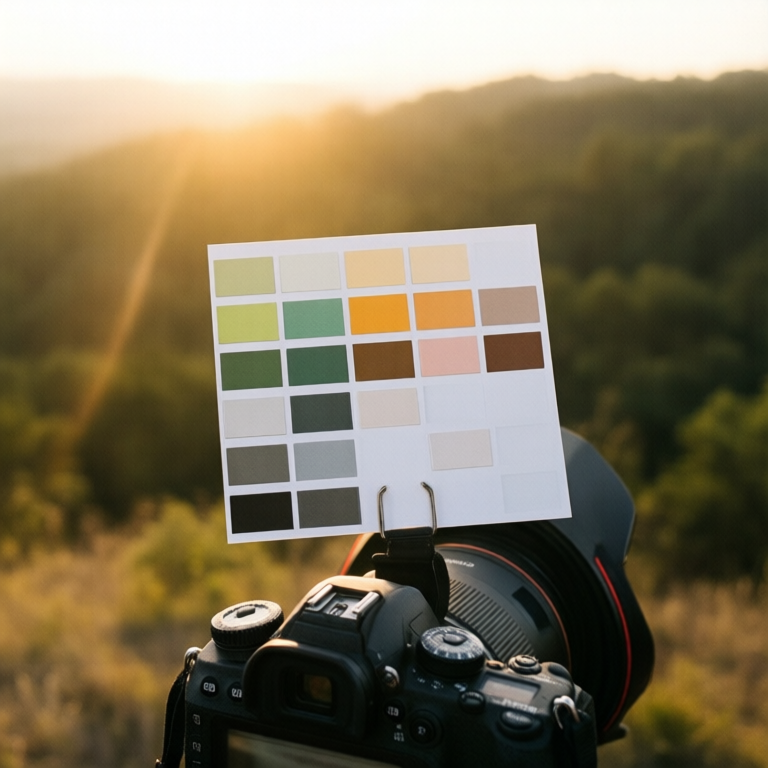
Arteza Colored Pencils 48-Count — about $20 for a budget set with real labeling problems, which is exactly why it benefits most from a chart. Expect a handful of near-duplicate hues that the chart exposes immediately. Two pencils that look identical on the cap may separate by 15 degrees of warmth once you swatch them. Without the chart, you will use them interchangeably and get inconsistent results. With it, you know which one is the warm variant and which is the cool.
Ohuhu 72-Color Gel Pen Set — about $20 to $25 for 72 gel colors whose true wet shade never matches the cap. This is the classic case for swatching. Gel pens dry a shade different from how they go down, and the cap color is a suggestion, not a guarantee. Swatch every pen, let it dry for 60 seconds, and compare to the cap. You will find at least five pens where the cap and the actual color are different families entirely. Store the chart with the set, and check caps before storage — Ohuhu caps crack and dry out if stored loose.
Prismacolor Premier 72-Count — even premium sets benefit. Prismacolor’s soft cores shift dramatically between light and burnished passes. The swatch reveals which “yellows” lean green, which “blues” lean purple, and which pencils are secretly the best skin-tone bases hiding under a label that says something else.
Common Mistakes
Swatching on the wrong paper: A swatch on printer paper tells you nothing about how the pencil behaves on Bristol or coloring-book stock. Use the paper you actually color on, or accept that Bristol swatches read lighter than your real pages.
Skipping the burnished pass: The light pass alone is half the chart. The burnished pass is where the surprises live — the color that looks soft and warm at light pressure and turns dark and cool under heavy layering. Without both passes, you are still guessing.
Not labeling dark swatches: A pen that disappears on dark swatches means you cannot read your own chart. White gel pen on dark rows is not optional — it is the only way the chart stays usable six months later.
Charting once and never again: Pencils change over time. Wax bloom develops. Cores dry out slightly. A chart made when the set is new is still useful, but redo it if you notice a pencil behaving differently months later.
Budget Note: The Cheapest Chart That Works
You do not need the Sakura set to start. A $9 Strathmore Bristol pad and a ballpoint pen get you a functional chart — you lose the dark-swatch labeling, but the two-pass swatches are the real value. If you have one set of colored pencils, one evening, and $9, you have everything you need. The Gelly Roll pens are the upgrade for when you are charting a second or third set and need to label dark rows.
Deep-focus coloring hits different with an audiobook — Audible’s free trial gives you your first listen free. (I get a commission if you sign up through that link.)
Keep reading: How to color cozy cafe scenes · Grip-friendly coloring supplies for arthritic hands
ColoredCalm is reader-supported. As an Amazon Associate, I earn from qualifying purchases. That means if you buy through one of the links above, I get a small commission at no extra cost to you. I only recommend supplies I actually color with.
My take: The swatch chart is the highest-leverage hour in coloring: two passes per pencil on Bristol, labeled, done in one evening — after which you never guess at layer-three shifts again. Bristol reads slightly lighter than book stock, which is fine because the chart is for relative comparison. Cap color has always been a rumor; this is the data.
Related guides
- Color Theory for Coloring Books: A Practical Guide to Choosing Colors That Work
- How to Color Metallic and Shiny Effects with Colored Pencils
- The Detail-Pencil Method: Tiny Spaces Without Snapped Leads
- Best Adult Coloring Books for Stress Relief (2026 Guide)
- 5 Coloring Techniques That Actually Improve Your Pages
🎨 Get Your Free Stress Relief Coloring Guide
Join our newsletter and get this free printable plus weekly tips.
Frequently Asked Questions
What is the swatch-first method for colored pencils?
A two-pass reference chart of every pencil before you color anything: one light-pressure swatch showing the color at its most transparent, one burnished swatch at full saturation. The gap between them tells you how the color shifts as you layer — which is exactly where mid-page surprises come from.
Why should I make color swatches of my pencils?
Because cap color lies — pencils shift darker or muddier by layer three, and the chart replaces testing five pencils in your page margin and leaving ghost marks. One evening per set buys permanent confidence, and the chart lives next to your desk for every future color decision.
What do I need to make a color swatch chart?
A Bristol pad — Strathmore 400 Series 9x12 vellum is ~$9 — cut into panels, one evening, and every pencil labeled with number and name. The Sakura Gelly Roll white pen (~$18 for the 10-pack) is the upgrade for labeling dark swatch rows where regular ink vanishes.
Liked this guide? Get the next one in your inbox — the coloring starter checklist is free too.
✓ You're in — check your inbox.
No spam. Unsubscribe anytime. We never share your email.
Prices move fast. Start your Amazon trip from our Shop & Support page and your purchases support ColoredCalm at no extra cost to you.