This article contains affiliate links. We may earn a commission from qualifying purchases.
Some content on this site is AI-assisted and reviewed by our editorial team.
You blended a section, it looked like velvet, and then it looked like plastic. That is the burnishing trap: heavy pressure welding wax pigment into a glossy, unworkable glaze that cannot take another layer. Every beginner does it once, usually on a face or a flower they cared about. The fix is not another blender pencil — it is understanding that burnishing and blending are two different jobs with two different tools, and they happen at different points in a page.
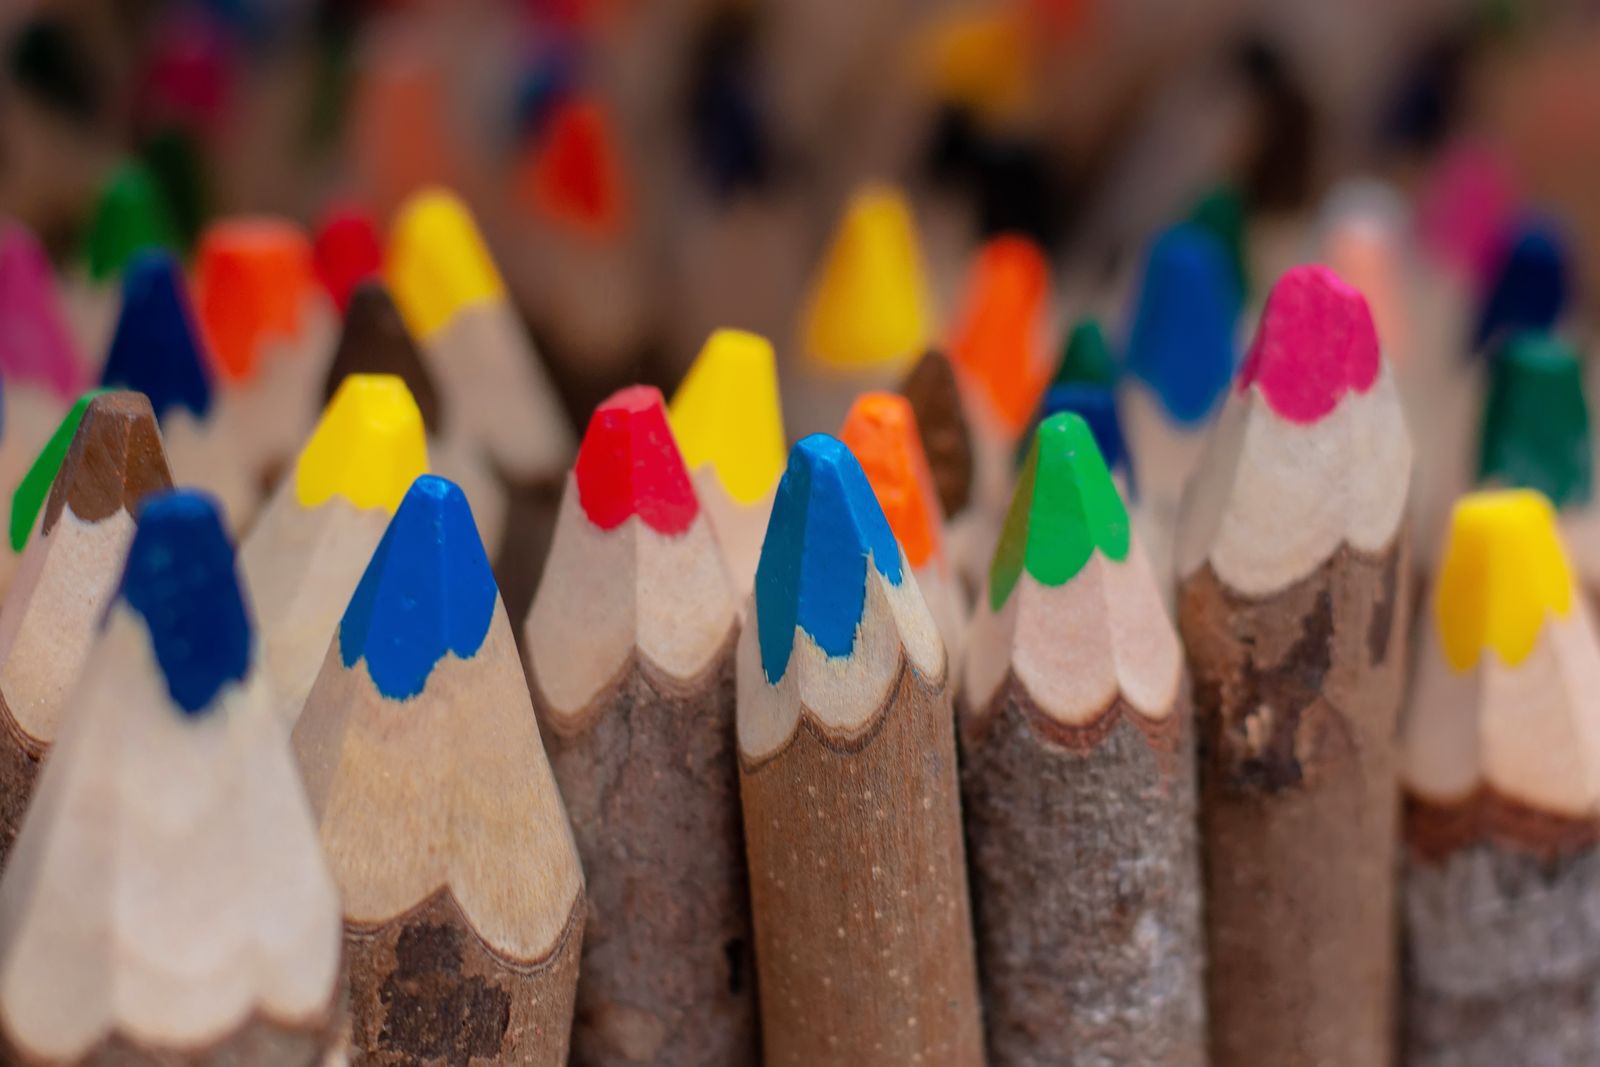
Here is the practical difference, when to use each, and the supplies that survive both.
Blending: Building Soft Transitions While the Tooth Is Alive
Blending is what you do during a page: light-to-medium pressure, circular or directional strokes, layering colors into each other while the paper’s tooth still grips pigment. The paper tooth is your fuel tank — every layer flattens it a little, and blending spends that tooth slowly. Use light pressure and let the pencil do the work, sharpen often enough to avoid scoring, and stop one layer earlier than you think. A blended section still looks slightly open and velvety, with visible texture under the color. That openness is not a flaw — it is what lets you come back tomorrow with a shadow layer.

Burnishing: The Final Press That Makes It Smooth
Burnishing is the last step on a finished section: heavy pressure — the kind that whitens your knuckle — that crushes the tooth flat and welds the pigment layers into one smooth, glossy surface. It is a finishing move, not a technique you apply mid-page. Burnish a section and you are done with it: nothing more will stick well, and if the color is wrong you cannot fix it, only restart. The classic beginner sequence — blend, looks great, press harder, blend again — is how a good page turns to plastic in three minutes.
When to Use Which (The Three-Step Rule)
Step 1 — Build: 3-5 light layers with your actual colors, blending with light pressure between layers. This is where 90% of the quality of the page is decided.

Step 2 — Decide: look at the section and ask if it needs smoothness or depth. Skies, skin, and glass want burnishing. Fur, wood, and fabric usually look better left open and textured.
Step 3 — Burnish once, on purpose: if you burnish, do it at the very end, with a colorless blender or a light pencil of the same color family, in one deliberate pass. Then leave the section alone.
Prismacolor Premier Colorless Blender Pencils (2-Pack) — The Burnishing Tool, Not a Blending Tool
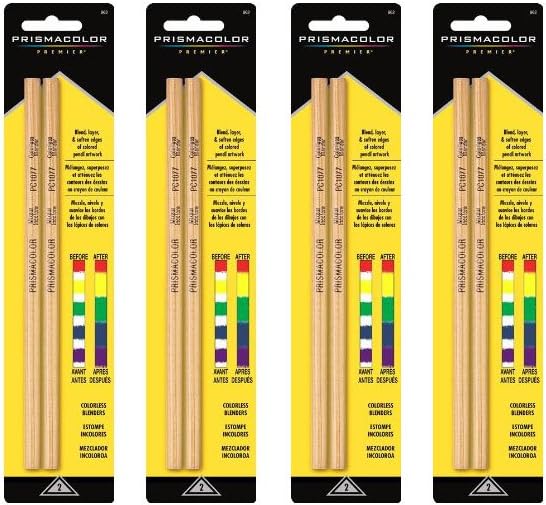
About $10 for two. A colorless blender pencil is wax without pigment — under heavy pressure it is the cleanest burnishing tool there is, because it melts existing layers together without adding color. Used with light pressure it also smooths small seams mid-page. The cons are real: it removes pigment as fast as it moves it (heavy strokes can erase your shadows), the wax core breaks if you bear down while it is sharp, and the core is soft enough that a heavy hand eats a pencil fast. Sharpen to a blunt point before burnishing, and buy the 2-pack because you will break one.
My take: a 2-pack costs about ten dollars and covers every burnishing job you will ever have. There is no reason to own more blender than that.
Copic Ciao 36-Color Alcohol Marker Set — The Other Path to Smooth
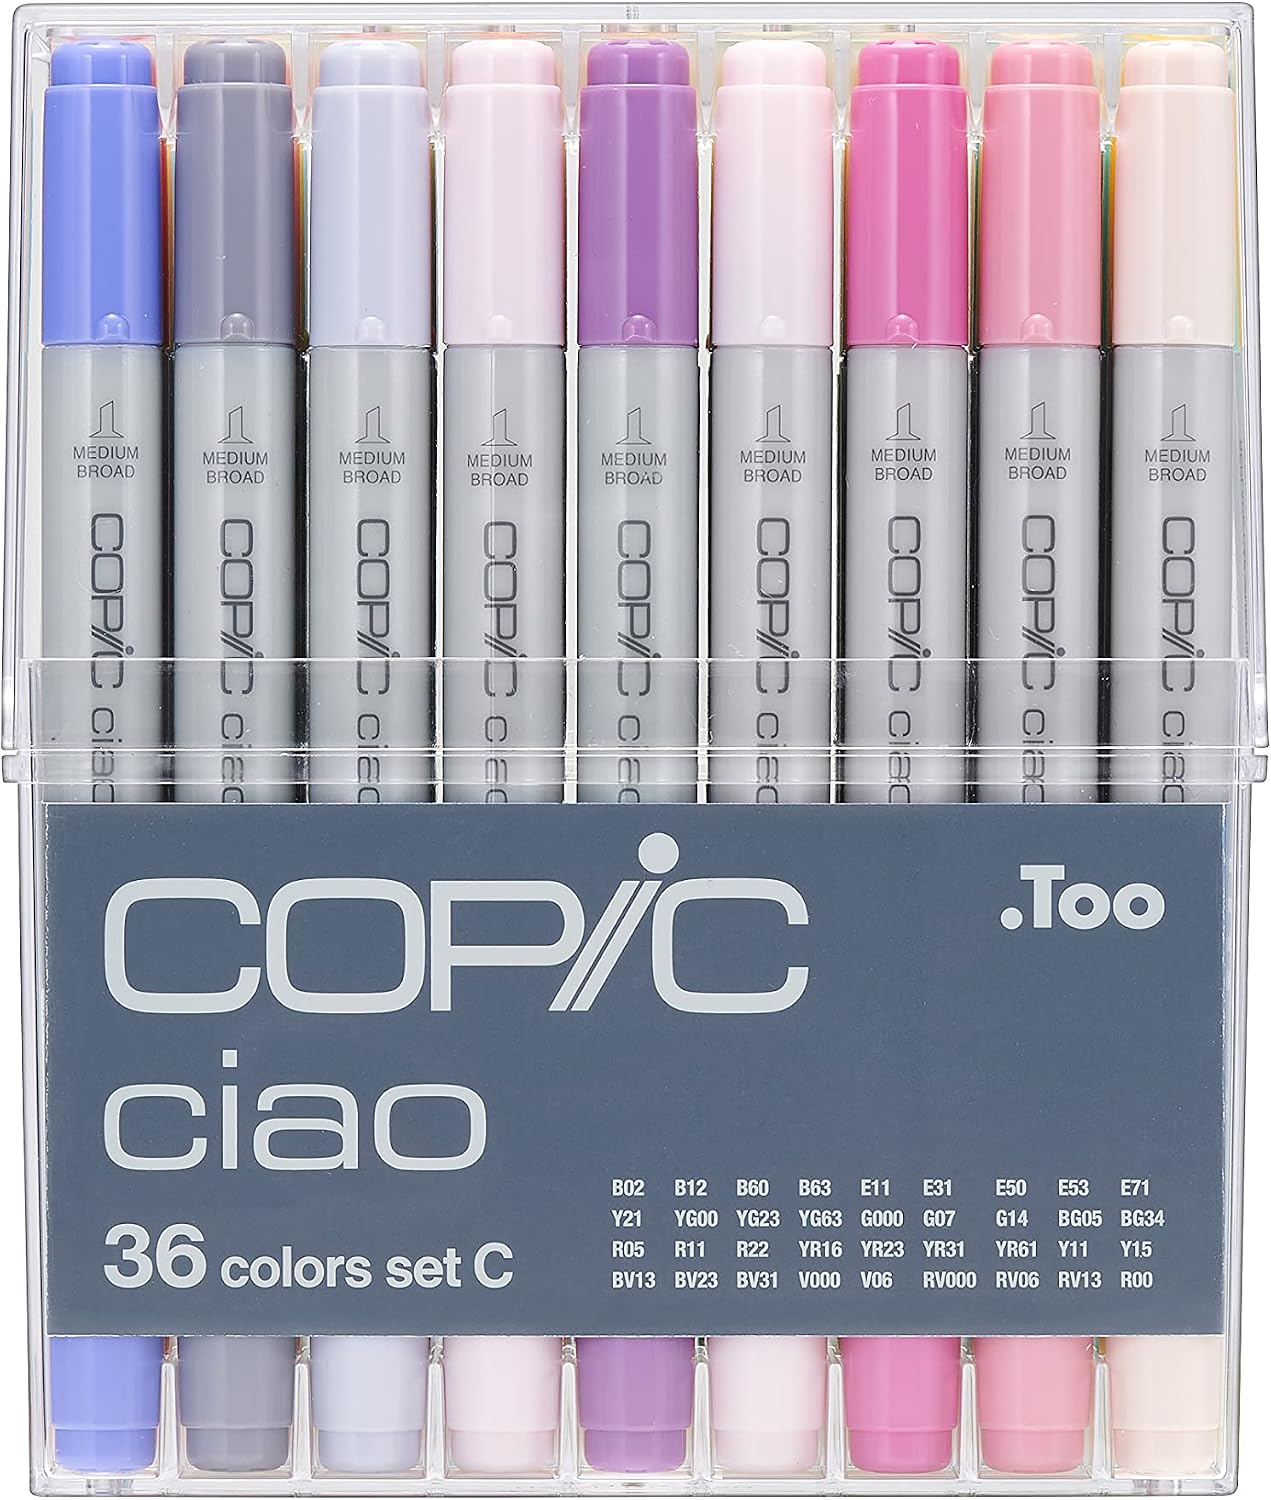
About $140. This is the honest comparison point: if what you actually want is completely smooth, zero-texture color, alcohol markers deliver it in a way colored pencils cannot — and this 36-color Ciao set is the entry that professionals actually recommend, with refillable nibs and replaceable tips. But it is a different medium with a different skill set, and mixing marker with pencil work is its own learning curve. The con: 36 colors forces more layering/blending decisions than a 72-pencil set, and at $140 it is 14 times the price of the blender 2-pack for a medium you may not want.
My take: only go here once you know you want marker-smooth pages, not just smoother pencil. Otherwise the blender 2-pack plus patience gets you 80% of the way for 7% of the money.
Common Mistakes (And Ones That Aren’t)
Burnishing mid-page: the number-one killer. Burnished zones reject new layers — plan them as final steps only.
Blender on every seam: over-blended pages look airbrushed and lifeless. Some seams are supposed to be visible; that is what texture reads as.
Heavy pressure early: heavy pressure on layers 1-2 flattens the tooth before the color is built. Light hands early, heavy hands only at the end.
Bargain paper under heavy technique: burnishing needs 65 lb+ paper with real tooth. On thin pads it warps, pills, and tears at the corners. Upgrade paper before upgrading pencils.
Not a mistake: leaving sections unburnished. A page with open texture and one burnished focal point reads as intentional and skilled — not unfinished.
The Budget Note
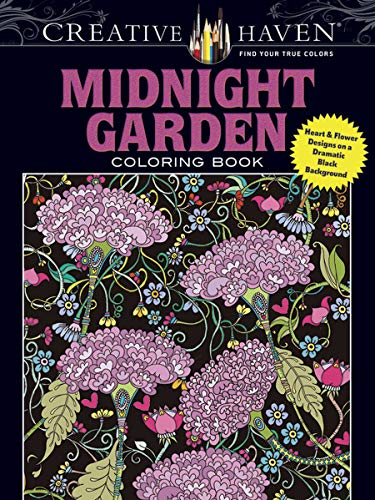
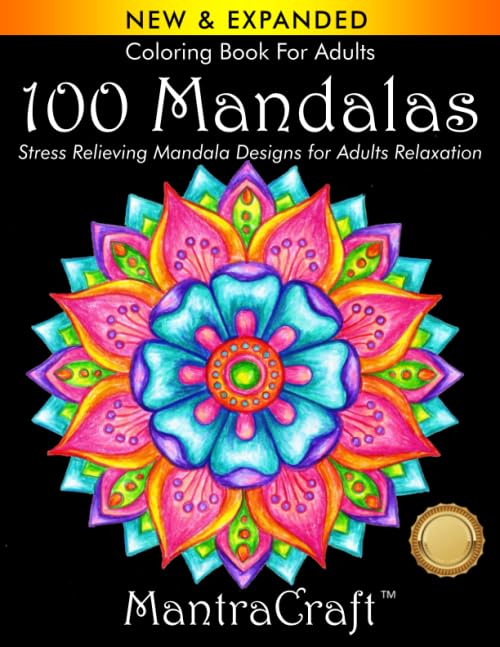
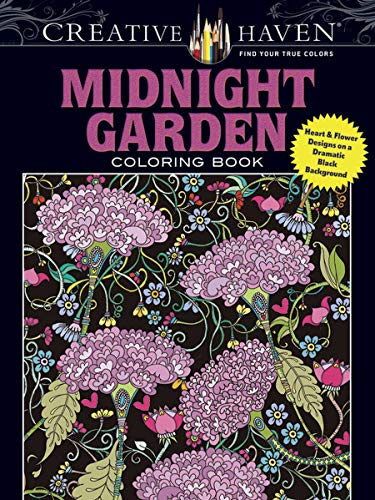
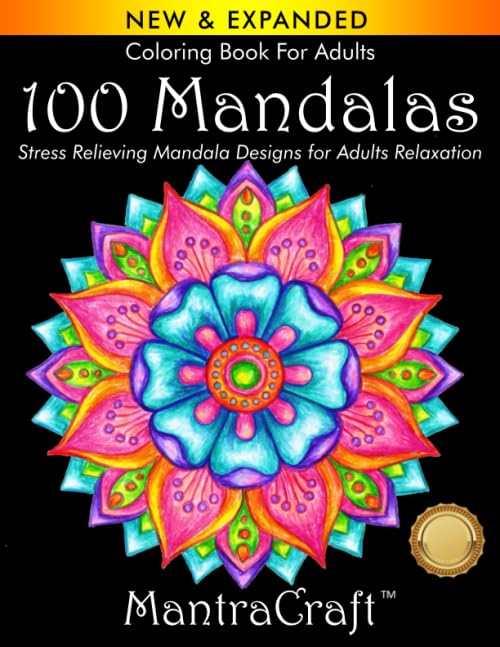
The cheapest honest setup for practicing both techniques: any decent wax-based pencil set you already own, one colorless blender 2-pack (about $10), and a mandala book with forgiving designs — 100 Easy Mandalas is about $10 and its bold outlines give burnishing a clean edge to stop at. Twenty dollars total teaches both techniques without risking a page you care about. When you want a project that rewards burnishing practice, Creative Haven Midnight Garden — black-background designs on about $8.50, currently listed with only one left in stock — makes highlights and burnished petals pop against the dark paper.
Deep-focus coloring hits different with an audiobook — Audible’s free trial is here.
Keep reading: the smooth gradients tutorial builds directly on this pressure control, and wax bloom prevention is the maintenance side of the same wax behavior.
ColoredCalm is reader-supported. As an Amazon Associate, I earn from qualifying purchases. That means if you buy through one of the links above, I get a small commission at no extra cost to you. I only recommend supplies I actually color with.
Related guides
- Coloring Supply Storage Solutions: How to Organize Your Colored Pencils, Markers, and Books
- How to Blend and Shade Colored Pencils Like a Pro
- Floral Coloring Books for Adults: How to Bring Flowers to Life on the Page
- Summer Coloring Setup: How to Create the Perfect Outdoor and Travel Coloring Station
- How to Color the Northern Lights Without Green Pencil Soup
🎨 Get Your Free Stress Relief Coloring Guide
Join our newsletter and get this free printable plus weekly tips.
Frequently Asked Questions
What is the difference between burnishing and blending?
Blending happens while you build a page: light-to-medium pressure layers melting into each other while the paper tooth still grips pigment. Burnishing is the final press — heavy pressure that welds the layers into one smooth glossy surface. Blend during, burnish once at the end.
When should I burnish colored pencil art?
At the very end of a section, on purpose, and never mid-page. Burnished zones reject new layers, so a section you burnish early is finished whether you like it or not. Burnish skies, skin, and glass; leave fur, wood, and fabric open and textured.
Do I need a colorless blender pencil?
One 2-pack is plenty. It is wax with no pigment, built for exactly one job: heavy-pressure burnishing that smooths existing color without adding any. It removes pigment as fast as it moves it, so use it deliberately — and buy the 2-pack because you will break one.
Why does my colored pencil art look like plastic?
Too much pressure too early, then blending again on top. That sequence welds the wax pigment into a glaze that cannot take more color. Use light pressure for your first 3-5 layers and save heavy pressure for one final deliberate pass.
Can I fix a burnished section I don't like?
Not really — a burnished surface is permanently sealed. You can scrape it back gently with a craft knife or try a wax bloom eraser, but the honest answer is that burnishing is a one-way door. That is why it belongs at the end of a section, never the middle.
Liked this guide? Get the next one in your inbox — the coloring starter checklist is free too.
✓ You're in — check your inbox.
No spam. Unsubscribe anytime. We never share your email.
Prices move fast. Start your Amazon trip from our Shop & Support page and your purchases support ColoredCalm at no extra cost to you.
Price Check
Prices verified via our product tracker. Updated Oct 5.
As an Amazon Associate we earn from qualifying purchases.