This article contains affiliate links. We may earn a commission from qualifying purchases.
Some content on this site is AI-assisted and reviewed by our editorial team.
Blending Tools for Colored Pencils: What Actually Works (and What Doesn’t)
I spent six months coloring with Prismacolor Premier pencils before I realized my patchy, streaky gradients weren’t a pencil problem. They were a blending problem. I was trying to smooth colors with a white pencil, which just made everything look chalky. The day I bought a proper colorless blender pencil, my coloring pages went from “kind of nice” to “I want to frame this.”
Disclosure: As an Amazon Associate, ColoredCalm earns from qualifying purchases. This post contains affiliate links, which means we may earn a commission if you click through and make a purchase, at no additional cost to you.
If you’re using decent colored pencils but your results still look uneven, the missing piece is probably a blending tool. There are four main types worth knowing about, and they each solve a different problem.
Colorless Blender Pencils
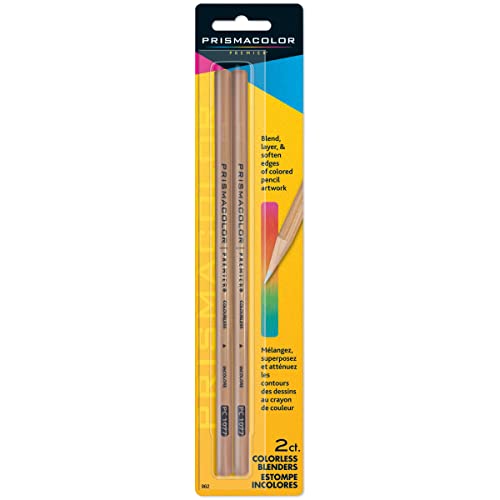
A colorless blender is a pencil shaped like a colored pencil but with no pigment. The core is pure wax (in Prismacolor’s case) or a synthetic binder. When you draw over two colors with it, the wax picks up pigment from both and smears them together, creating a smooth transition.
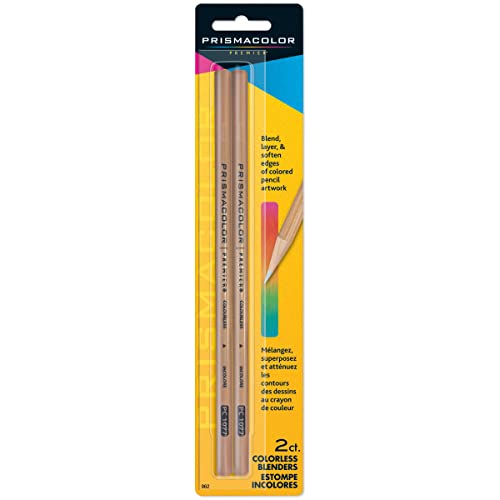
The Prismacolor Premier Colorless Blender is the one most colorists end up with, and for good reason. It works seamlessly with Prismacolor pencils since it uses the same wax formula. You can create gradients that look airbrushed with just two or three passes.
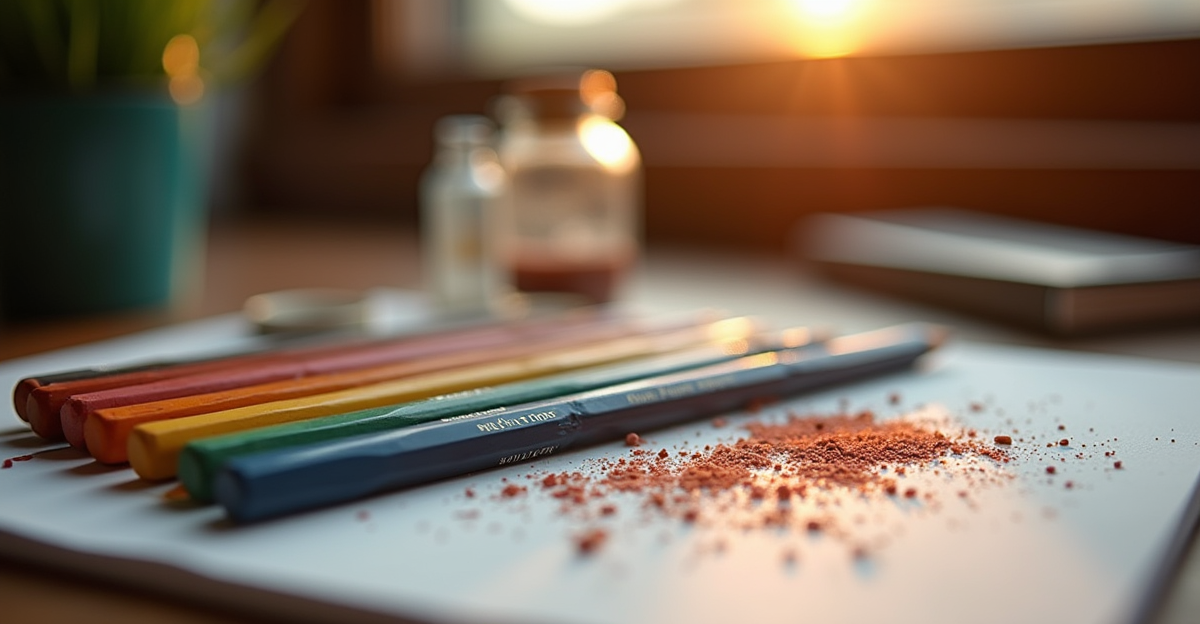
One thing I learned the hard way: don’t press hard on your first pass. Light pressure lifts pigment gradually. Heavy pressure smashes it into the paper tooth and makes it harder to adjust. If you overshoot, you can’t undo it.
If you go through blenders fast (they wear down quickly with regular use), the Prismacolor Colorless Blender 2-pack gives you a spare. I keep one sharpened to a fine point for small areas and one with a blunt tip for broad gradients.
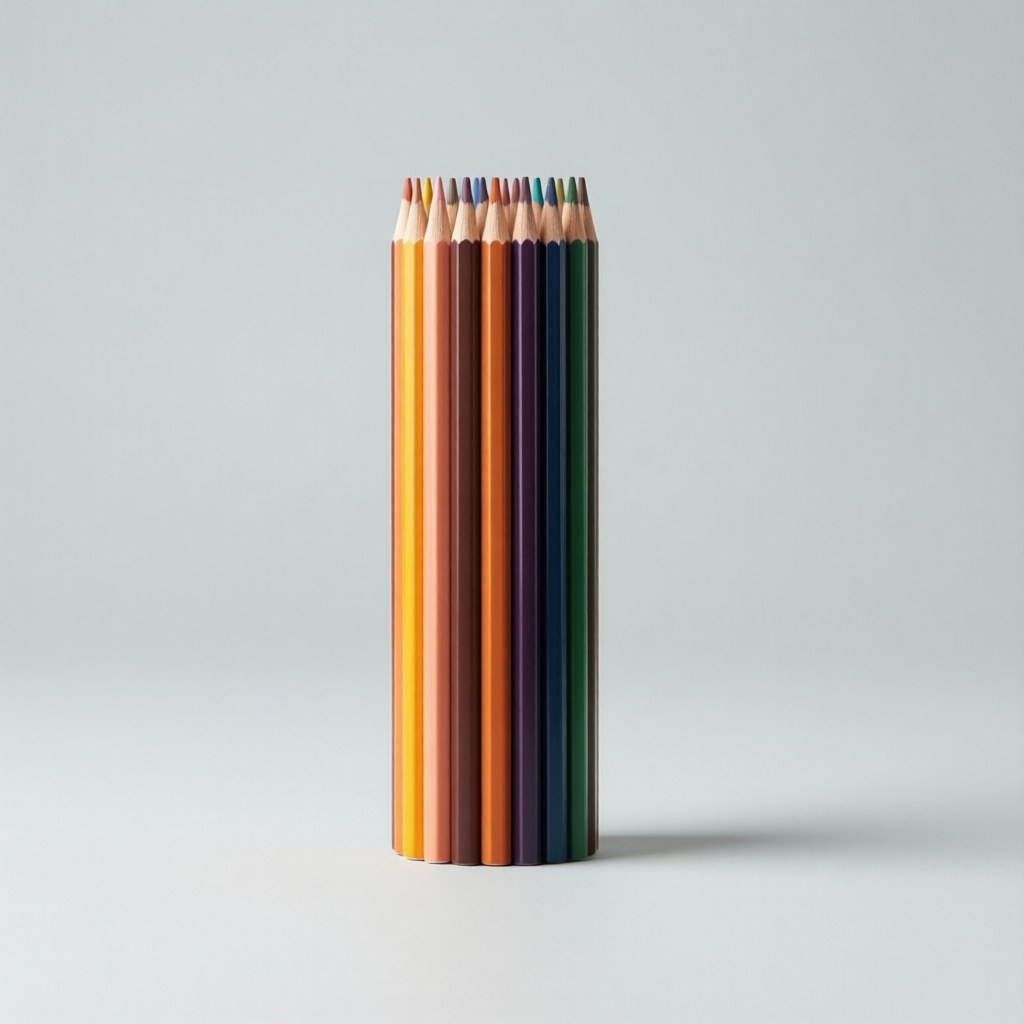
Colorless blenders work best with wax-based pencils like Prismacolor and Derwent Chromaflow. They’re less effective with oil-based pencils like Faber-Castell Polychromos because the oil-based cores resist wax blending.
Blending Stumps and Tortillions
Blending stumps are tightly rolled paper sticks with pointed ends. Tortillions are similar but looser and cheaper. Both are used to smudge graphite, charcoal, or colored pencil by rubbing the tip across the pigment.
The Mr. Pen 33-pack blending stumps set includes stumps in multiple sizes, tortillions, sandpaper sharpeners, a kneaded eraser, and a rub sponge. At under 10 dollars, it’s the most cost-effective blending setup you can buy.
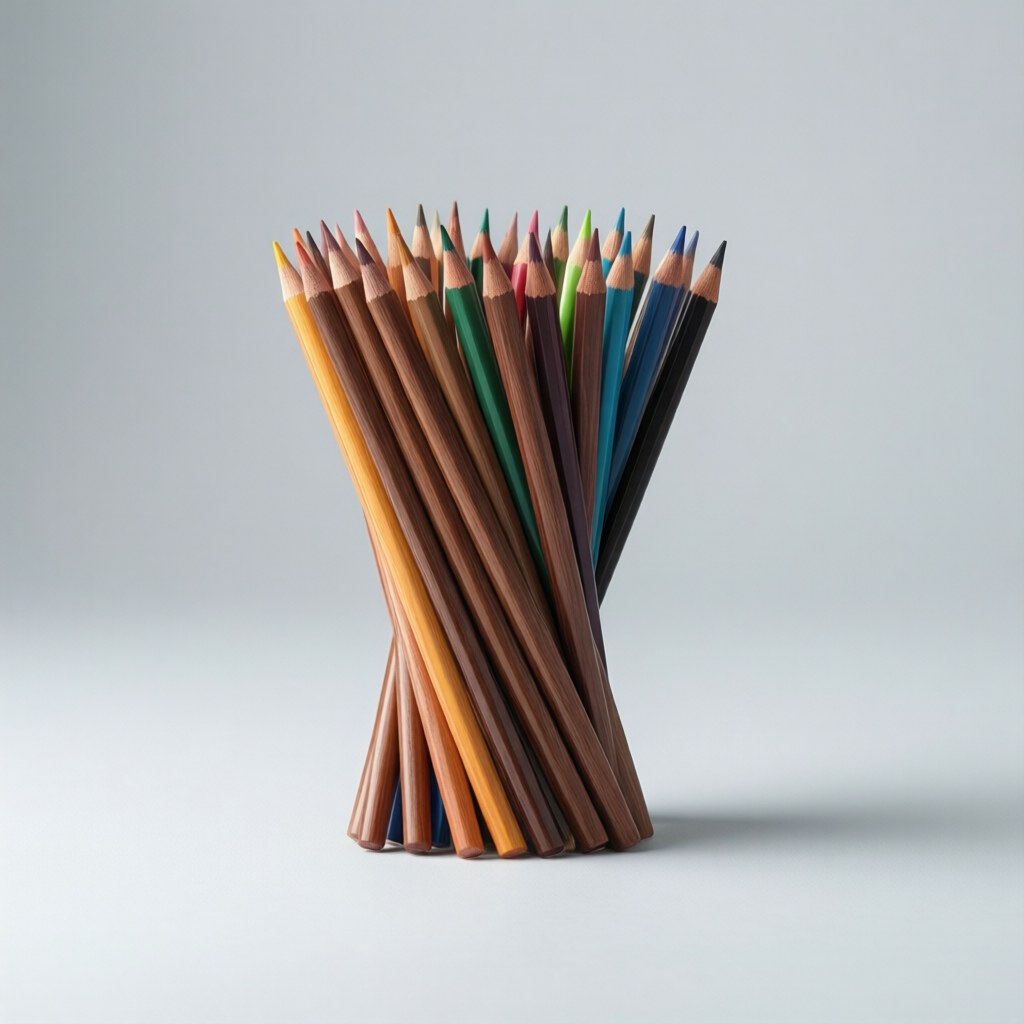
For coloring book work, stumps shine in small, detailed areas where a blender pencil is too wide. The pointed tip lets you blend a section that’s only a few millimeters across. They’re especially useful for creating smooth skin tones in portrait coloring or soft transitions in flower petals.
The downside: stumps don’t add any binder. They only move existing pigment around. If your coloring is already light, a stump won’t help much. And they get dirty fast. You clean them by rubbing on the included sandpaper, but after a few sessions, they’re permanently stained.
If you want a smaller set, the 24-pack blending stumps and tortillions is a good alternative with fewer extras.
Solvent Blending with Gamsol
Solvent blending is a different animal. Instead of mechanically moving pigment, you dissolve the binder holding the pigment together, letting colors flow into each other. The result looks closer to painting than drawing.
Gamsol by Gamblin is the solvent most colored pencil artists use. It’s an odorless mineral spirit, which means it evaporates quickly without leaving residue. You apply a small amount with a brush or cotton swab over areas you’ve already colored, and the colors melt together.
This technique works particularly well with oil-based pencils. Polychromos, which resist wax blenders, blend beautifully with a drop of Gamsol and a fine brush.
A few things to know before you try it:
- Use it in a ventilated space. “Odorless” means you can’t smell it, not that it’s harmless to breathe.
- Less is more. A tiny drop on a brush goes surprisingly far. Too much solvent will soak through your paper.
- It works on one layer at a time. If you want to add more color after blending, let the solvent dry first (about 30 seconds to a minute).
- Test it on a scrap page first. Some coloring book papers handle solvent well. Others pill or wrinkle.
I keep a small jar of Gamsol on my desk with a size 2 round brush dedicated to solvent blending. The 4.2 ounce bottle lasts months with regular use.
Budget Alternatives That Work
If you don’t want to buy specialized tools, two household items can get you most of the way there.
White colored pencils work as a poor man’s colorless blender. The white pigment mixes with whatever colors are underneath and softens transitions. It’s not as clean as a true colorless blender (you’ll always get a slight lightening effect), but for casual coloring, it’s fine.
Mineral oil or baby oil works as a solvent substitute. Put a tiny amount on a cotton swab and rub over colored areas. It dissolves wax-based pencil cores similarly to Gamsol, though it dries slower and can leave a slightly greasy residue on some papers. For practice pages or casual coloring, I’ve used it plenty of times.
Rubbing alcohol (70% isopropyl) also works in a pinch. It evaporates faster than oil and doesn’t leave residue, but it doesn’t blend as smoothly. It’s more of a “soften the edges” tool than a full blending solution.
Want to listen to books on the go? Try Audible Premium Plus FREE for 30 days and get 1 free audiobook on mindfulness, creativity, or anything else. Start your free trial
Bottom Line
Start with a colorless blender pencil if you use wax-based pencils like Prismacolor. It’s the single biggest upgrade you can make to your coloring results. Add blending stumps if you work on detailed designs. Try Gamsol if you use oil-based pencils or want painted-looking results. Skip the budget alternatives unless you’re just experimenting.
You can see more techniques in our colored pencil blending and shading guide, or compare pencil brands in our Prismacolor vs Polychromos breakdown.
🎨 Get Your Free Stress Relief Coloring Guide
Join our newsletter and get this free printable plus weekly tips.
Price Check
Prices verified via our product tracker. Updated Sep 27.
| Amazon.com : Mr. Pen- Blending Stumps for Drawing, 33 Pack | $8.95 | 4.7★ (3,373) |
| Amazon.com: Gamblin Gamsol Odorless Mineral Spirits Bottle | $12.44 | 4.7★ (3,400) |
As an Amazon Associate we earn from qualifying purchases.