This article contains affiliate links. We may earn a commission from qualifying purchases.
Some content on this site is AI-assisted and reviewed by our editorial team.
Snow is the easiest thing in the world to color badly. The instinct — “it’s white, so I’ll leave it white” — produces a page that looks unfinished, with a gray outline floating on blank paper. Then the overcorrection: pressing hard with gray until a fresh snowfall looks like a parking lot. The truth is that snow is never actually white. It’s blue at dawn, lavender in shadow at noon, peach at sunset, and warm gray where it meets a snowbank. The skill isn’t coloring snow; it’s coloring the light that’s landing on it. Here’s the method I teach, with the four-color kit that does 90% of the work.
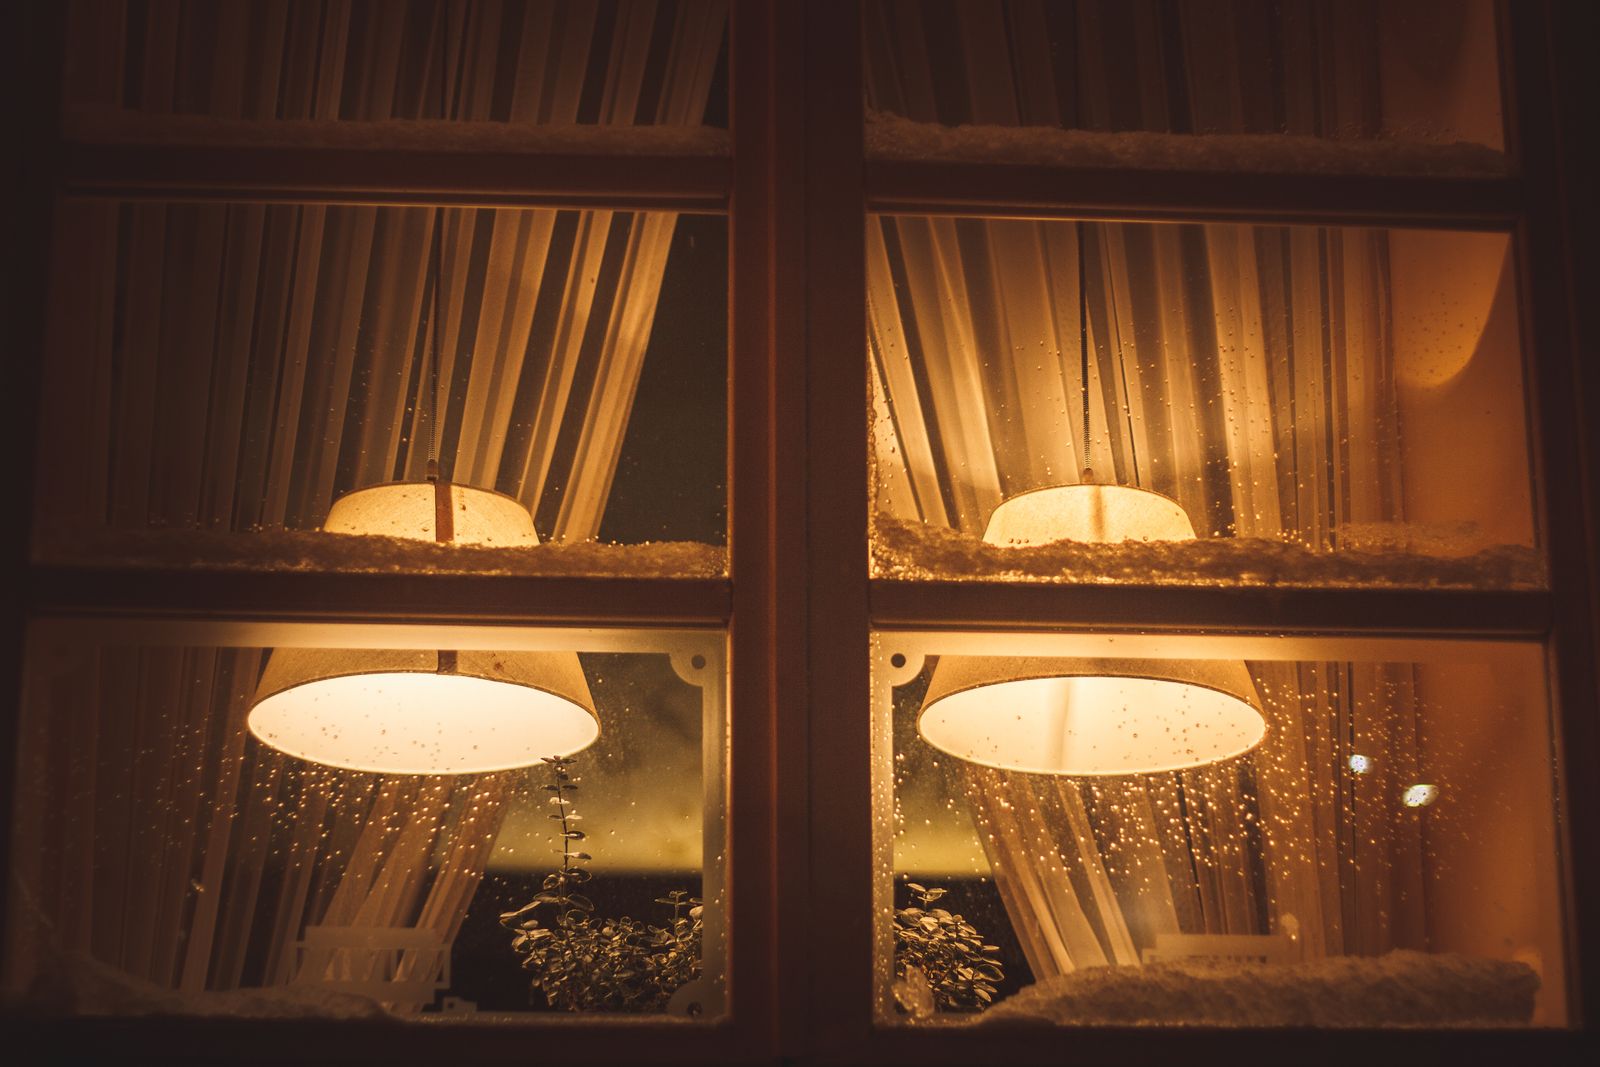
Step 1: Decide Where the Light Is Coming From — Before You Touch a Pencil
Every snow scene has exactly one boss: the light direction. Pick it before coloring anything — say, upper right. Now every snow surface in the page falls into one of three jobs: it faces the light, it tilts away from the light, or it sits in a cast shadow (under a tree, beside a house). Write “L” lightly in pencil at your light corner if the page doesn’t make it obvious. A snow scene colored without a decided light source is the #1 reason pages look “off” and its author can’t say why.

Step 2: Tint the Whole Snow Area — Never Leave It Paper-White
The counterintuitive move: snow gets a full, even tint first, not last. Pick your base — cerulean or a light blue-violet for a crisp day, a warm champagne for golden hour — and layer it over the entire snow area at pressure 2 out of 10, in small circles, until the white of the paper is gone but the tooth is barely dented. This ground layer is what makes later shadows read as “shadow on snow” instead of “gray patches on paper.” Skip it and every mark you make later has nothing to sit on.
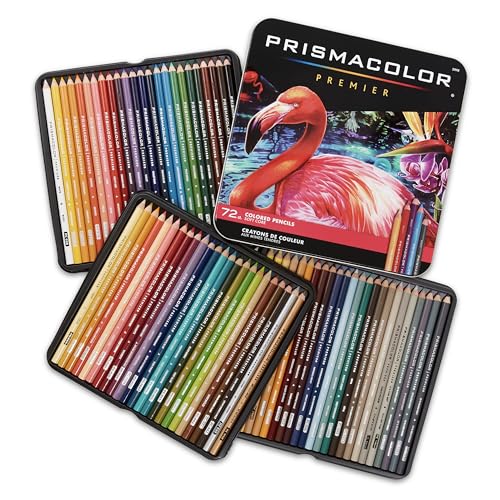
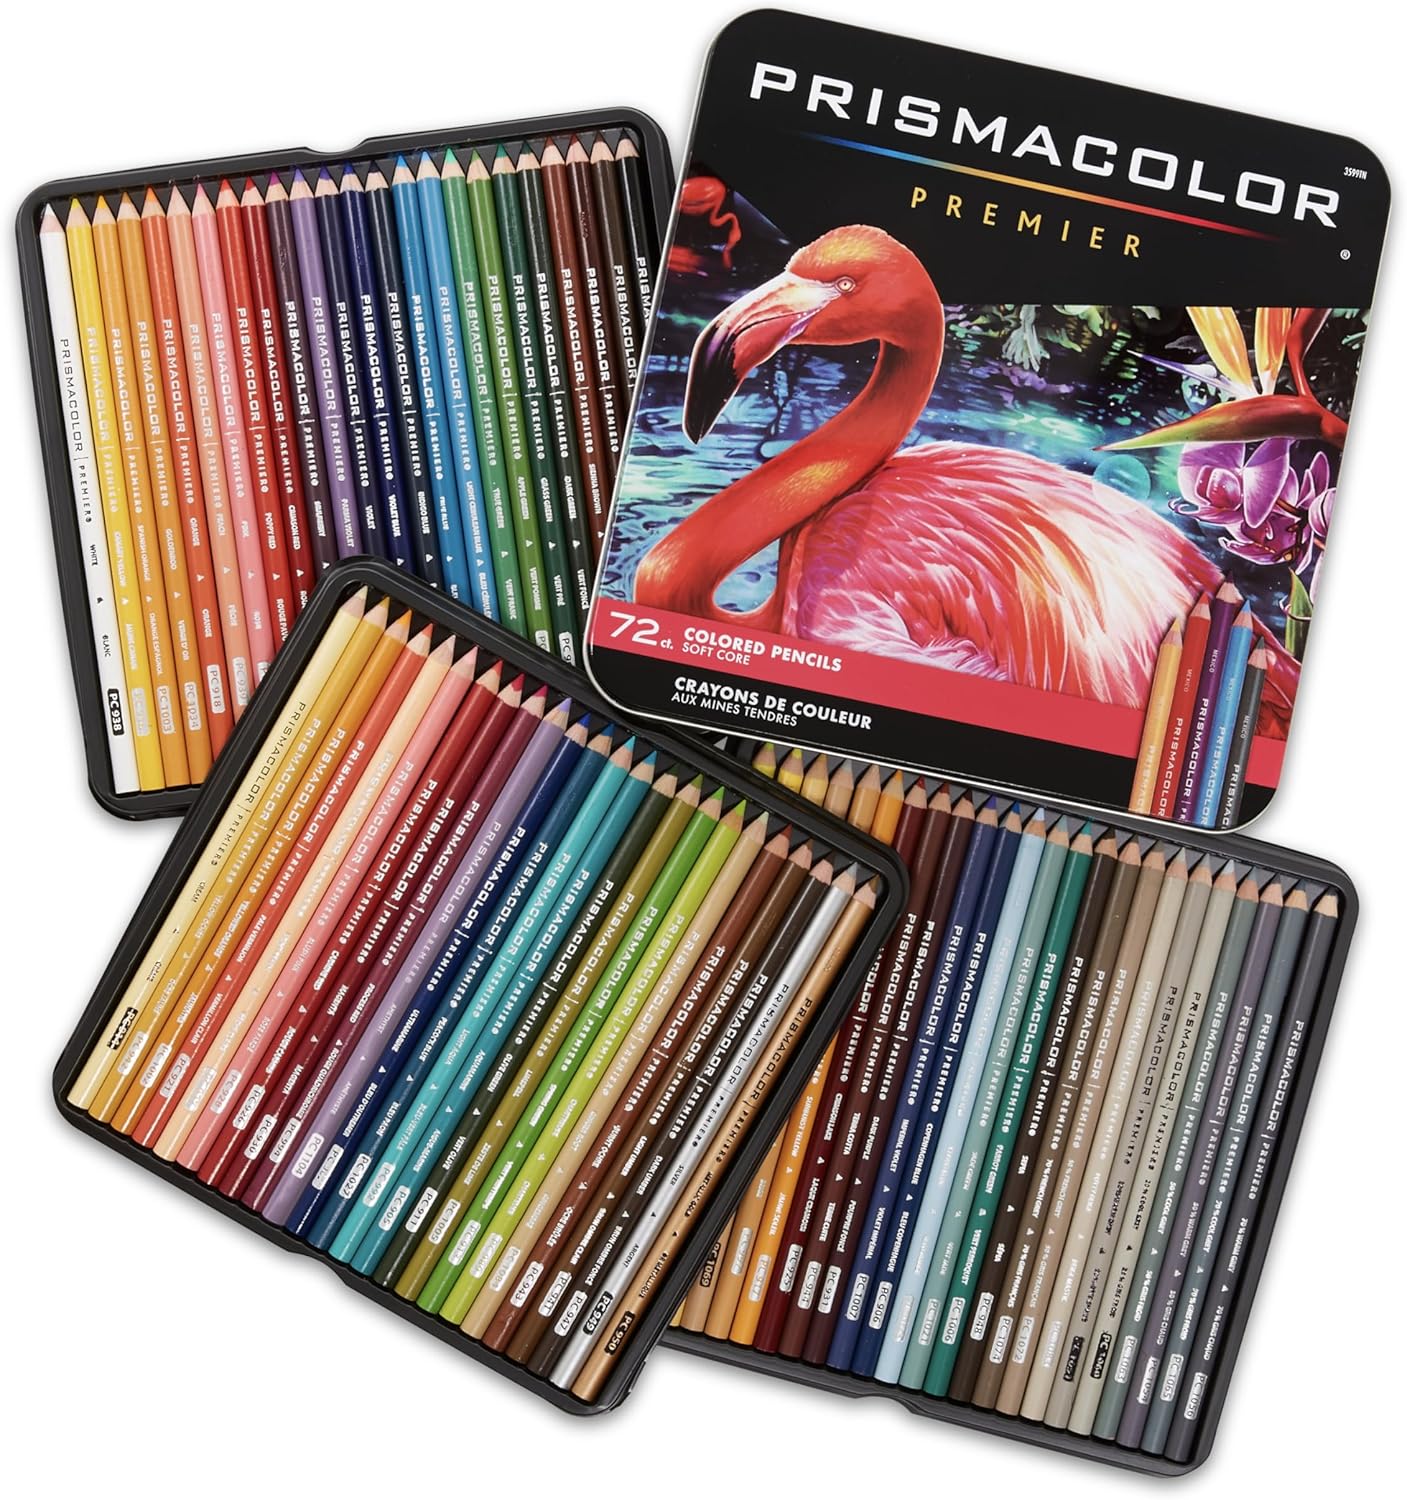
One brand note, because the base layer is where cheap pencils betray you: soft-core wax pencils tint large areas without streaking. I use Prismacolor Premier Soft Core 72 ($63.74 — under its $74.99 list right now) and the cerulean, light violet, and cream in that set cover this entire method. Cons: wax bloom on heavy layers (a soft cloth handles it) and a 72-set is overkill if you only color winter pages.
Step 3: Build Shadows in Temperature Layers, Not Darkness
This is the whole trick. Snow shadows are not darker gray — they’re colder or warmer than what surrounds them. Work in this order:
- Cool shadow pass: light blue-violet, pressure 3, on everything tilting away from your light. Keep it pale; you can always add, never take back.
- Warm bounce pass: where snow sits near a lit wall, a window, or the sunset sky, stroke a pale peach or cream over the shadow — reflected light warms snow from its neighbors.
- Cast shadows: the crispest marks on the page. Use your cool shadow color at pressure 4 with a sharp point, keeping the edge nearest the object hard and the far edge feathered with a colorless blender.
- Sparkle accents: a white gel pen or white pencil after everything else, on the tops of drifts facing the light. Five or six dots, no more.
Step 4: Ice and Frozen Water — The Light-First Method, Compressed
Ice is snow with structure. Leave the area around a frozen pond’s edge untouched-blue, then draw a handful of long, straight strokes the length of the pond in a pale gray-lavender — pressure 5, one pass, no scribble. Ice reads as ice because of long unbroken streaks, not shading. Then add dark slivers where the shore meets the ice and one white glare line at your light angle. That’s it; more layers make ice look like plastic. (This is the compressed version of the glass method — the full walkthrough is in my glass and transparency guide.)

Common Mistakes
Pressing gray into every shadow. Gray flattens snow into concrete. Reach for blue-violet first, warm peach second, gray almost never.
Coloring snow last. Snow tinted after the trees and sky never matches them. Snow first, then match everything else to it.
Outlining snow edges darkly. The printed line already exists — let the shadow side of each drift define the edge, and fade your outline with the blender until it’s a suggestion.
Skipping the sky. A blank sky makes tinted snow look like a mistake. Even a two-tone wash (horizon cream, top cerulean, blended in the middle) makes the snow area look intentional.
The Budget Setup
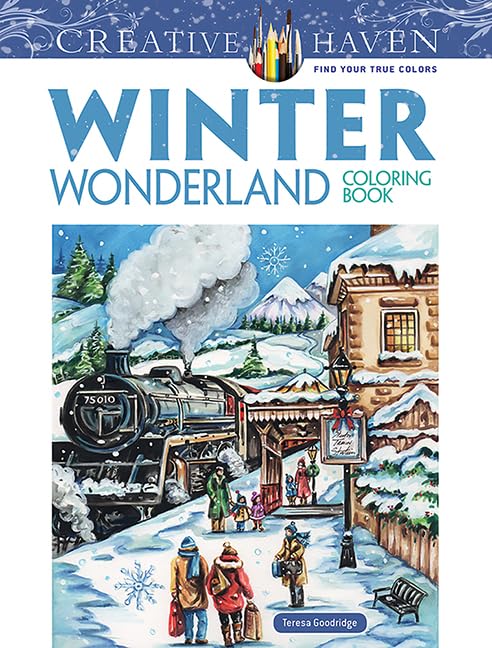
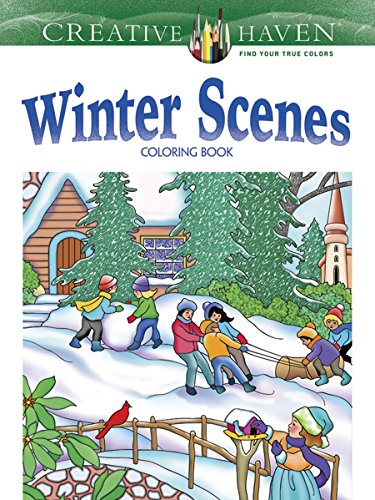
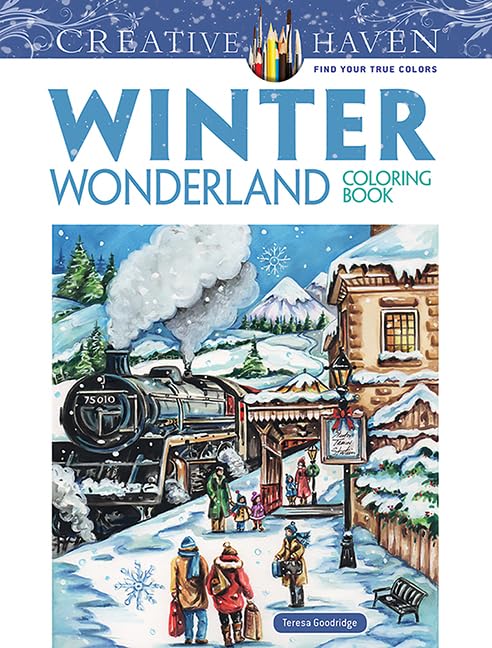
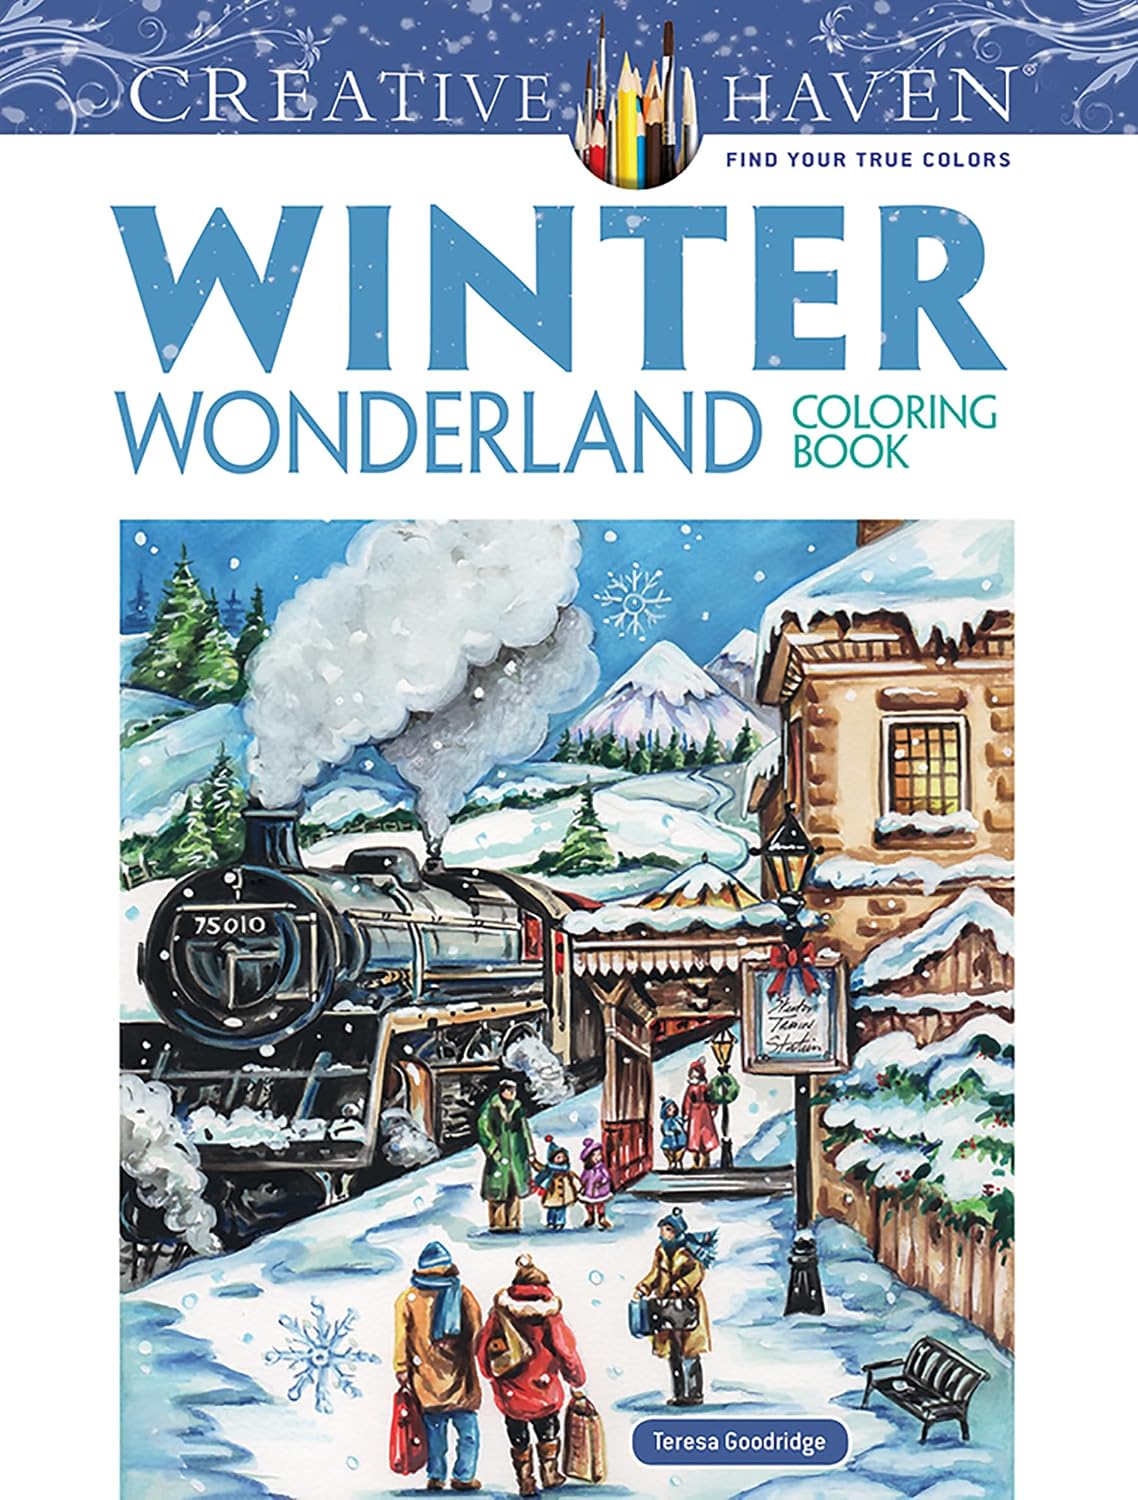
You don’t need 72 pencils for this. A 24-color set with a true cerulean, a blue-violet, a peach, a cream, and white covers every step here — under $20 does it. What you shouldn’t budget-cut: the white. A soft, opaque white pencil (like Prismacolor Premier White, about $17 for a 12-pack) is what makes snow sparkle dots sit on top of blue instead of disappearing into it. And the pages to practice on: Creative Haven Winter Scenes ($5.90 right now, list $8.99) and Winter Wonderland ($7.45) are both single-sided Dover books full of exactly these scenes — snow-laden trees, cozy windows, frozen ponds — for less than a coffee each.

Deep-focus coloring hits different with an audiobook in the background — Audible’s free trial is here if you want a winter novel queued up next to the pencil box.
Keep reading: the black-paper guide is the mirror-image skill (dark scenes, reserved whites) and the eyes tutorial shows the same temperature-over-darkness thinking on a small scale.
ColoredCalm is reader-supported. As an Amazon Associate, I earn from qualifying purchases. That means if you buy through one of the links above, I get a small commission at no extra cost to you. I only recommend supplies I actually color with.
My take: Snow is colored light, not white paper — leave it blank and you get an unfinished page, press gray and you get a parking lot. Tint the whole snow area first (cerulean for crisp days, champagne for golden hour), then build shadows in temperature layers — cool blue-violet where surfaces tilt away, warm peach where light bounces in — and let a white gel pen add the sparkle. The Prismacolor cerulean-light-violet-cream trio covers 90% of winter pages.
Related guides
- How to Color the Northern Lights Without Green Pencil Soup
- Smooth Gradients: Pressure, Direction, and the Two-Pencil Method
- Grayscale Coloring for Adults: How to Color Over Realistic Images for Stunning Results
- Fantasy Coloring Books for Adults: How to Bring Dragons, Fairies, and Mythical Worlds to Life
- Coloring for Chronic Pain Management: How Gentle Art Therapy Distracts and Soothes
🎨 Get Your Free Stress Relief Coloring Guide
Join our newsletter and get this free printable plus weekly tips.
Frequently Asked Questions
What colors should I use to color snow with colored pencils?
Snow is almost never white on paper. Use pale blue or blue-violet as your base tint, warm peach or cream where light bounces onto snow, and reserve pure white only for sparkle highlights.
Should I leave snow blank on the page?
No. Untinted paper next to colored elements reads as unfinished. Give the entire snow area an even pale tint first, then build shadows on top of it.
How do I color shadows on snow without making them look dirty?
Build shadows with temperature - cool blue-violet for away-from-light surfaces, warm peach near reflective walls - and use gray only as a last resort. Layer lightly; you can always darken.
What is the best white pencil for adding snow highlights?
A soft, opaque white pencil like Prismacolor Premier White sits on top of blue tint layers instead of disappearing into them. A white gel pen works for tiny sparkle dots.
How do I color ice so it looks like ice and not plastic?
Use a few long unbroken streaks in pale gray-lavender across the frozen surface, keep the surrounding snow lighter, and add one white glare line at your light angle. Resist heavy layering.
Liked this guide? Get the next one in your inbox — the coloring starter checklist is free too.
✓ You're in — check your inbox.
No spam. Unsubscribe anytime. We never share your email.
Prices move fast. Start your Amazon trip from our Shop & Support page and your purchases support ColoredCalm at no extra cost to you.
Price Check
Prices verified via our product tracker. Updated Oct 31.
| Prismacolor Premier Colored Pencils, Soft Core, 72 Count | $74.49 | 4.8★ (29,632) |
| 3365 White Colored Pencils 2x12 | $17.09 | 4.8★ (206) |
| Creative Haven Winter Scenes Coloring Book: Cozy Up to 31 | $8.99 | 4.6★ (991) |
| Creative Haven Winter Wonderland Coloring Book: From Ice S | $8.99 | 4.6★ (1,099) |
As an Amazon Associate we earn from qualifying purchases.