
This article contains affiliate links. We may earn a commission from qualifying purchases.
Some content on this site is AI-assisted and reviewed by our editorial team.

You just spent two hours on a coloring page. The shading is smooth, the colors sing, the whole thing makes you proud every time you glance at it. So what do you do with it? If you are like most colorists, it goes into a folder, a drawer, or a pile that eventually gets recycled.
Disclosure: As an Amazon Associate, ColoredCalm earns from qualifying purchases. This post contains affiliate links, which means we may earn a commission if you click through and make a purchase, at no additional cost to you.
Your finished pages deserve better. Whether you want to display them, share them, or turn them into something functional, here are ten creative ways to showcase your coloring work, plus a tip for each method.
1. Frame and Hang Them as Art
Framing finished coloring pages turns them into wall art, use standard-size frames, mat the page for a polished look, and hang in clusters of three to five for a gallery wall.
This is the most obvious option, but most people underestimate how good a framed coloring page looks on a wall. A well-colored page in a clean frame is indistinguishable from purchased art to most viewers.
How to do it right:
- Choose the right frame: Simple black, white, or natural wood frames work best. Avoid ornate frames, they compete with the detail in the coloring.
- Use mats: A white or off-white mat elevates any piece instantly. Standard frame sizes (8×10, 11×14, 16×20) are cheap and widely available.
- Protect with UV glass: Regular glass protects from dust, but UV-protective glass prevents colored pencil and marker from fading over time. Worth the upgrade if the piece gets direct sunlight.
- Create a gallery wall: Three to five framed coloring pages in matching frames create a striking, personal gallery wall that no store-bought art collection can match.
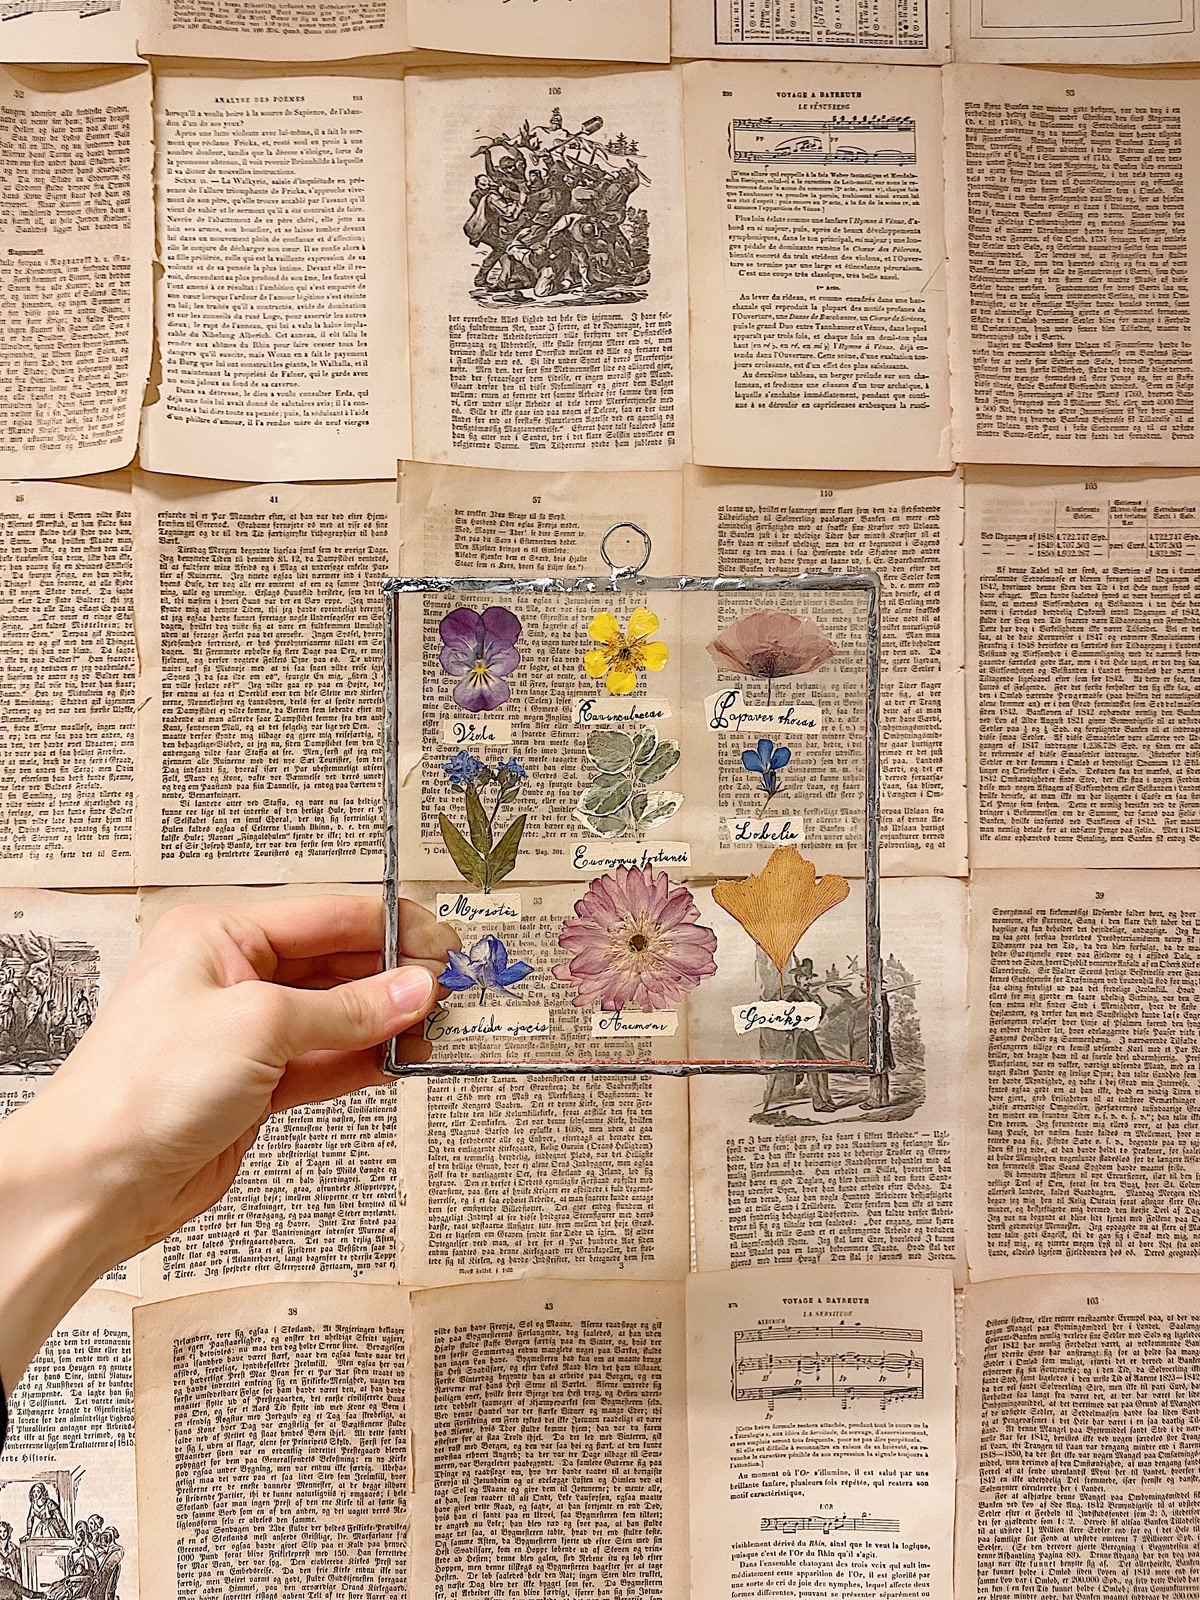
Gallery-style picture frame sets
Top Pick: Check Price on Amazon →
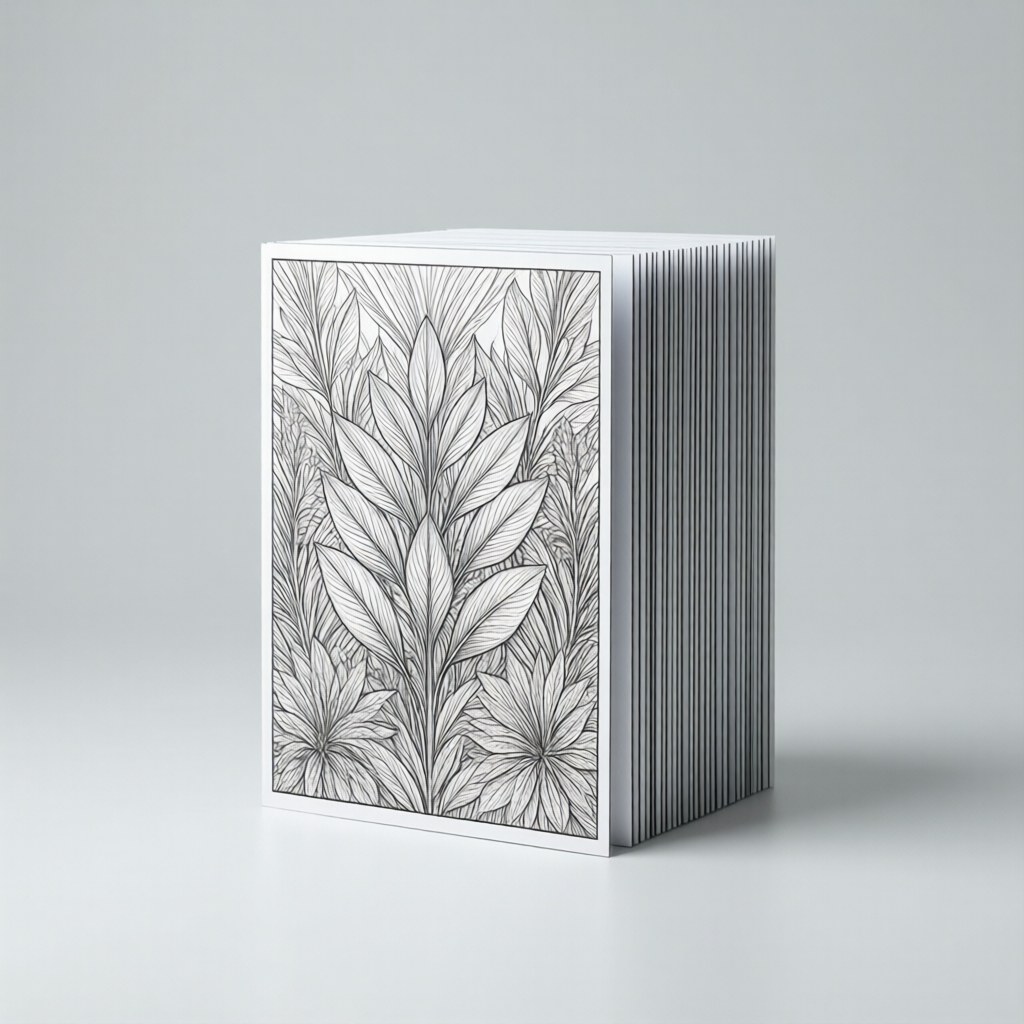
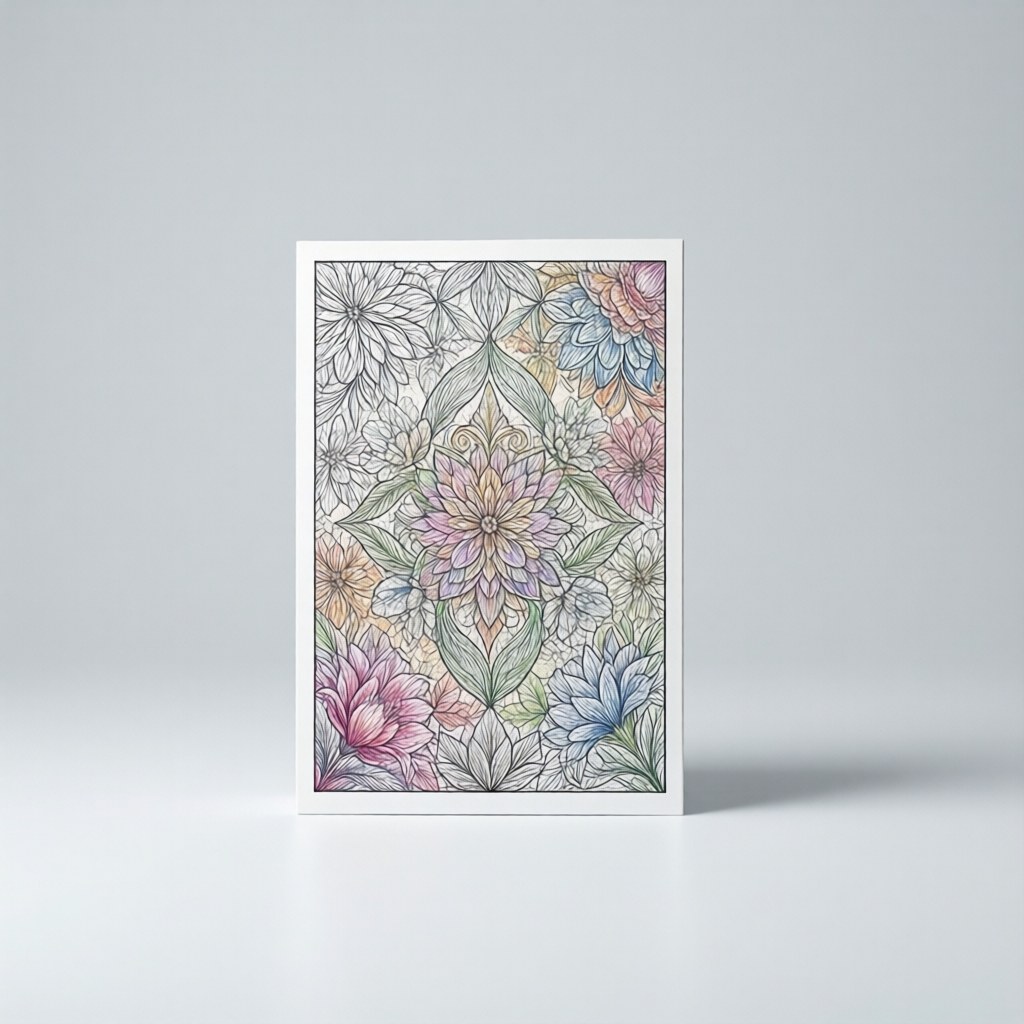
2. Turn Them Into Greeting Cards
Cut finished coloring pages to 5×7 inches, fold around cardstock, and attach with double-sided tape to create personalized greeting cards for any occasion.
A colored page makes a uniquely personal greeting card that no store-bought card can match. Birthday, thank you, sympathy, holiday, your coloring adapts to any occasion.
How to make coloring page greeting cards:
- Use cardstock: Cut Your Colored page to size and mount it on pre-folded card blanks (A2 size, 4.25 x 5.5 inches, is standard)
- Crop strategically: You don’t need the whole page. Cut out the best section, a single flower, a mandala center, an animal, and center it on the card
- Add a border: Mount the colored section on colored cardstock with a small border showing, then attach that to the card blank. The layered effect looks professional.
- Write inside: Use a fine-tip pen to write your message. A metallic gel pen on dark cardstock looks especially elegant.
Pre-folded card blanks and envelopes
Top Pick: Check Price on Amazon →
3. Create Custom Bookmarks
Cut narrow strips from finished coloring pages, laminate them, punch a hole at the top, and add a tassel to make durable custom bookmarks in under ten minutes.
Bookmarks are the perfect small-scale project for leftover coloring pages. They’re quick to make, genuinely useful, and make great gifts for fellow readers.
Bookmark how-to:
- Standard size: 2 x 6 inches (trim to fit standard paperback spines)
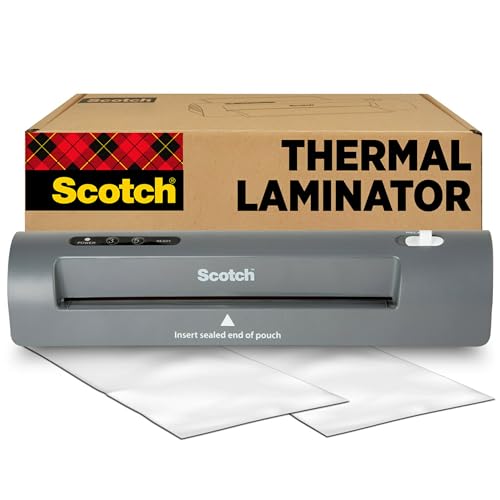
- Laminate for durability: A thermal laminator turns a fragile paper bookmark into something that lasts for years. Cold-laminating sheets work too.
- Add a tassel: Punch a hole at the top and thread embroidery floss or ribbon through for a decorative tassel.
- Batch production: One coloring page yields 4-6 bookmarks. Cut, laminate, add tassels, and you’ve got a full set of handmade gifts.
Thermal laminator for bookmarks and more
Top Pick: Check Price on Amazon →
4. Make a Coloring Portfolio Book
Use a 24-pocket portfolio book with sheet protectors to store finished coloring pages flat, organized by date or theme, and flip through your progress like an art catalog.
If you’ve been coloring for a while, you have a body of work. Why not make it official?
Creating a portfolio book:
- Use a portfolio binder: Clear-page presentation books (available in 8.5×11 and 12×12 sizes) let you slide pages in and out without adhesive
- Organize chronologically: Seeing your progress from early pages to recent work is genuinely motivating, the improvement is always more dramatic than you think
- Add dates and notes: Write the date, what pencils or markers you used, and any techniques you tried on a small sticky note attached to each page
- Share it: A portfolio book is the easiest way to show non-colorists what the hobby is really about. Leave it on your coffee table and watch people flip through.
Top Pick: Check Price on Amazon →
5. Decoupage Them Onto Functional Objects
Apply finished coloring pages to trays, boxes, or coasters using Mod Podge, seal with two to three thin coats, and let dry completely for durable decorative objects.
Decoupage, the art of gluing paper onto surfaces and sealing it, transforms coloring pages into functional art. It’s easier than it sounds and incredibly satisfying.
Best objects to decoupage:
- Wooden boxes and trays: A mandala-colored box becomes a jewelry holder, a keepsake box, or a gift container
- Wooden coasters: Small, round coloring sections (mandalas, flower centers) make beautiful coasters when decoupaged and sealed
- Notebook covers: Wrap a plain notebook in a colored page and seal with Mod Podge for a custom journal
- Plant pots: Decoupaged coloring pages on terracotta pots make unique, personal gifts
Decoupage basics:
- Apply Mod Podge to the surface, press your colored page flat, then seal with 2-3 more coats on top
- Sand the surface lightly before starting for better adhesion
- Let each coat dry completely before adding the next
- Use outdoor Mod Podge for items that will get wet
Top Pick: Check Price on Amazon →
6. Create Digital Prints to Sell or Share
Scan finished pages at 300 DPI, clean up edges in photo editing software, and print on quality paper to create shareable digital prints or greeting card designs.
If you’re proud of your coloring, digital scanning opens up a world of possibilities. A high-quality scan of a finished page can become prints, phone wallpapers, social media posts, or even products on print-on-demand platforms.
Scanning tips for coloring pages:
- Use 300 DPI minimum: This gives you print-quality resolution. Anything lower looks pixelated when enlarged.
- Scan before framing: If you plan to frame the original, scan it first. Once it’s under glass, scanning becomes much harder.
- Color-correct in post: Scanners often shift colors slightly. A quick levels adjustment in any photo editor brings them back to life.
- Crop clean: Remove the spiral binding edge or margin lines before sharing digitally.
What to do with digital scans:
- Print copies for friends and family (keeps your original safe)
- Post to Instagram, Pinterest, or coloring communities
- Upload to print-on-demand services for phone cases, tote bags, or posters
- Create a digital coloring portfolio on a personal blog or website
7. Design Custom Wrapping Paper
Use finished coloring pages as unique wrapping paper for small gifts, tape pages together for larger packages, or use single sheets for jewelry and book gifts.
A colored mandala or floral pattern scanned and printed at large scale makes gorgeous, one-of-a-kind wrapping paper. This is especially impactful for gifts to fellow art lovers, the wrapping becomes part of the gift.
How to make it:
- Scan your Best Coloring page at 300 DPI
- Use a free tool like Canva or GIMP to tile the image into a repeating pattern
- Print on kraft paper or wrapping paper sheets using a large-format printer (or a local print shop)
- Alternatively, print on standard letter paper and use multiple sheets for small gifts
8. Turn Pages Into a Custom Journal Cover
Wrap a finished coloring page around a plain journal cover, secure the edges inside with double-sided tape, and cover with clear contact paper for protection.
Take a plain composition notebook and transform it with your coloring work:
- Color a page specifically for the cover (or crop a finished page to size)
- Adhere it with double-sided tape or spray adhesive
- Cover with clear contact paper or laminate for protection
- Round the corners with a corner punch for a polished finish
This makes a thoughtful, personalized gift, especially when paired with a set of Prismacolor colored pencils.
Top Pick: Check Price on Amazon →
9. Host a Coloring Art Show (Really)
Invite friends to display their finished coloring pages in a casual home art show, use easels, string and clips, or a hallway gallery to showcase everyone’s best work.
If you have a local art community, library, or cafe with wall space, propose a coloring art show. Adult coloring has a growing community, and you’d be surprised how many people want to see and share their work.
How to organize one:
- Pick a theme: “Mandala Night,” “Nature in Color,” or “Coloring as Art”, themes help unify diverse styles
- Find a venue: Libraries, community centers, cafes, and breweries often have wall space they’re happy to fill
- Keep it inclusive: Every skill level welcome. The point is celebrating the practice, not judging the results
- Make it interactive: Set up a coloring station at the opening so visitors can try it themselves
10. Gift Your Best Work
Give your best finished coloring pages as gifts by framing them in quality frames, adding a personal note on the back, and matching the subject to the recipient’s interests.
A framed coloring page given as a gift carries more meaning than anything from a store. It says: “I spent hours making something specifically for you.”
Gift ideas:
- For new parents: A nursery-themed colored page (animals, nature, stars) in a white frame
- For a friend going through a tough time: A calming mandala or floral page with a handwritten note about how coloring helped you through hard moments
- For a birthday: Match the page theme to the person’s interests, cats, gardens, cityscapes, fantasy
- For the holidays: Seasonal pages colored in festive palettes, framed in metallic or red-green mats
Preserving Your Work: A Quick Guide
Preserve finished coloring pages by spraying with Krylon fixative spray, storing flat in portfolio books, and keeping them out of direct sunlight to prevent fading over time.
Before you display or share your coloring, take a few minutes to preserve it properly:
- Fixative spray for colored pencils: A light coat of workable fixative prevents wax bloom (that white haze that appears on colored pencil work over time) and smudging. Spray in a well-ventilated area, let dry 24 hours.
- Acid-free storage: If you’re keeping pages in a folder, use acid-free sheet protectors. Regular plastic can yellow your work over years.
- Avoid direct sunlight: Even with UV glass, extended sun exposure fades colored pencil and marker. Display your best work in indirect light.
- Handle with clean hands: Oils from your skin can discolor paper over time. Wash your hands before handling finished pages, or use cotton gloves for particularly precious pieces.
Krylon workable fixative spray
Top Pick: Check Price on Amazon →
Read unlimited books? With Kindle Unlimited, read as much as you want from 4M+ titles, including thousands of coloring and art books. Try Kindle Unlimited FREE for 2 months
Bottom Line
Displaying finished coloring pages is about treating your work as real art, frame it, gift it, scan it, or repurpose it into cards, bookmarks, and decorative objects that last.
The biggest misconception about adult coloring is that it’s “just” a hobby, that the results aren’t “real” art. That’s wrong. Every page you complete represents hours of creative decision-making, technical skill, and personal expression.
Display it. Share it. Gift it. The more you treat your coloring work like it matters, the more it will matter, to you and to everyone who sees it.
🎨 Get Your Free Stress Relief Coloring Guide
Join our newsletter and get this free printable plus weekly tips.
Price Check
Prices verified via our product tracker. Updated Sep 27.
| Amazon.com - upsimples 8x10 Picture Frames, Gallery Wall F | $19.99 | 4.6★ (72,783) |
| Amazon.com : 56 Pack Blank Cards and Envelopes 4.2 x 6.0 i | $8.99 | 4.7★ (681) |
| Amazon.com : Scotch Thermal Laminator, 2 Roller System for | $5,000.00 | 4.7★ (61,378) |
| Amazon.com: Dunwell Presentation Binder 24-Pocket, 8.5x11 | $7.65 | 4.7★ (5,771) |
| Amazon.com: Mod Podge CS11202 Waterbase Sealer, Glue & Dec | $17.48 | 4.7★ (249) |
| Amazon.com : Prismacolor Premier Colored Pencils, Soft Cor | $74.99 | 4.8★ (29,632) |
| Krylon Workable Fixative Spray, Clear, Gloss, Solvent, 11 | $9.19 | 4.7★ (8,402) |
As an Amazon Associate we earn from qualifying purchases.