
This article contains affiliate links. We may earn a commission from qualifying purchases.
Some content on this site is AI-assisted and reviewed by our editorial team.
How to Frame and Display Finished Coloring Pages

You finished a coloring page you are proud of. Now what? Most colored pages end up tucked inside the book or stacked in a drawer, never to be seen again. But with a few affordable framing supplies, you can turn your best work into wall art that looks professional and lasts for years.
Disclosure: As an Amazon Associate, ColoredCalm earns from qualifying purchases. This post contains affiliate links, which means we may earn a commission if you click through and make a purchase, at no additional cost to you.
Framing finished coloring pages is easier than framing original artwork because the pages are already a standard size, the colors are already laid down, and you do not need archival matting techniques. You just need a frame, a mat, and optionally a spray fixative to protect the pigment.
What You Need to Frame a Coloring Page
The basic supplies are simple: a frame, a mat (optional but recommended), a piece of backing board, and something to clean the glass. If you are using wax-based pencils like Prismacolor, a spray fixative prevents the pigment from smudging or developing wax bloom over time.
Most adult coloring book pages are designed to be removed and framed. Check the perforations on the binding edge, if your book has perforated pages, tear the page out cleanly along the dotted line. If it does not, use a ruler and a craft knife to cut the page out as close to the binding as possible.
1. Choose the Right Frame Size
Most adult coloring book pages measure approximately 8.5 x 11 inches or 8 x 10 inches. Measure your finished page before buying a frame, and choose a frame that matches the page size exactly. If you want to use a mat, which adds a professional border around the image, buy a frame one size larger than your page.
For an 8×10 coloring page with a mat, an 11×14 frame is the standard choice. The mat opening will be slightly smaller than 8×10, which creates a clean border that hides the page edges. Pre-cut mats in this size are widely available and inexpensive.
11×14 Frames with Mats, various prices

2. Protect Your Work with Spray Fixative
If you colored with wax-based pencils (Prismacolor, Crayola), the pigment can smudge when it rubs against the glass. A light coat of spray fixative seals the surface and prevents transfer. Oil-based pencils (Polychromos) are less prone to smudging but still benefit from fixative for long-term display.
Spray fixative is easy to use: take your finished page outside or to a well-ventilated area, hold the can 12 inches away, and apply two light coats. Let it dry for 15 minutes between coats. The fixative dries clear and does not alter the colors, though it can slightly deepen dark areas.
If you used markers or gel pens, skip the fixative, these media are already waterproof once dry and will not transfer to glass.
Krylon Workable Fixatif Spray, around $10-15
3. Mat Your Page for a Professional Look
A mat does two things: it creates a visual border that makes the artwork look finished, and it keeps the page from touching the glass directly. Direct contact between pigment and glass can cause sticking, especially in humid environments.
Pre-cut mats are the easiest option. For an 8×10 page in an 11×14 frame, look for mats with an 8×10 opening. White mats are the safest choice, they work with any color palette and create a gallery-like presentation. Cream and light gray mats also work well for most coloring pages.
If you want to display multiple pages together, a collage frame with 4-6 openings lets you create a themed wall display. Group pages by color palette, theme, or season for a curated look.
4. Clean the Glass Before Sealing
This step is obvious but easy to forget: clean both sides of the frame glass before assembling. A single fingerprint or dust particle on the inside of the glass is visible forever once the frame is sealed. Use glass cleaner and a microfiber cloth, and hold the glass up to the light to check for streaks before placing your matted page inside.
5. Hang and Display
Where you hang your framed coloring pages matters. Avoid direct sunlight, which will fade colored pencil pigment over time, even with fixative. North-facing walls or rooms with indirect light are ideal. If you must hang in a sunny spot, consider UV-protective glass, which blocks most harmful rays.
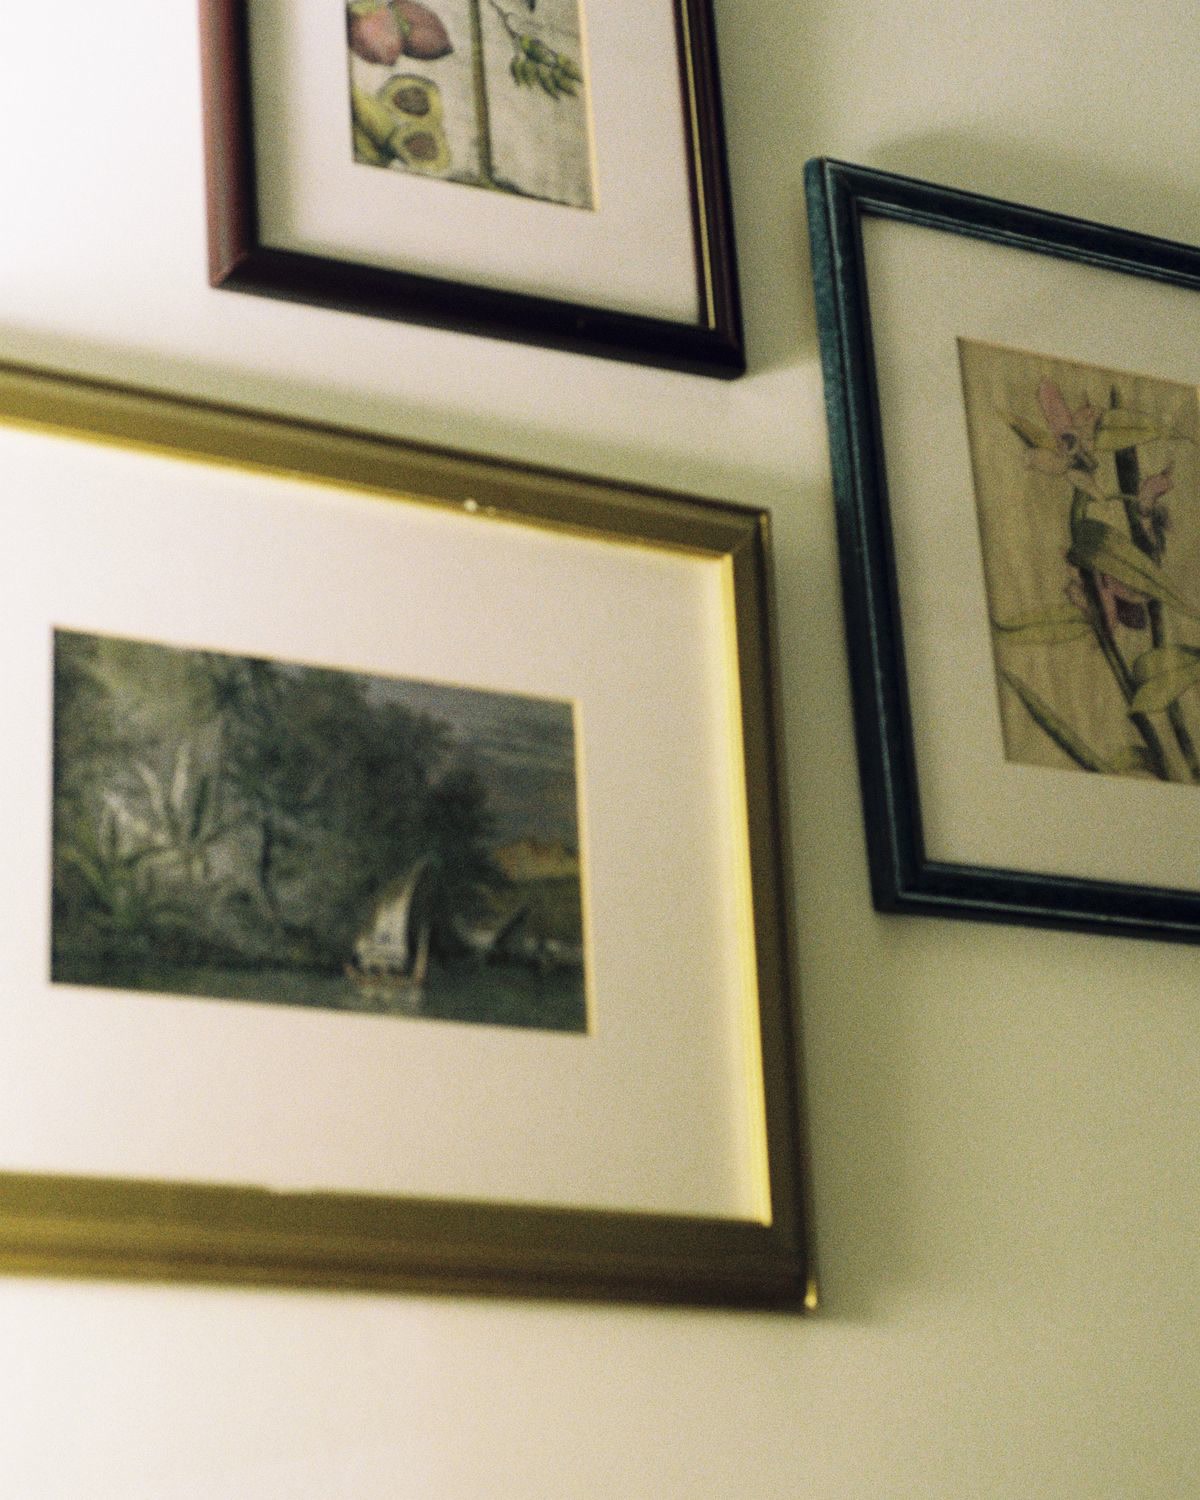
For a gallery wall, space frames 2-3 inches apart and align them at eye level (approximately 57 inches from the floor to the center of the frame). Mix frame sizes and orientations for visual interest, or use identical frames in a grid for a more formal look.
Alternative Display Ideas
Not every finished page needs a frame. Here are other ways to display your coloring work:
- Clipboard wall: Clip finished pages to a row of clipboards mounted on the wall. Swap pages whenever you finish a new one, no framing required.
- Use decorative washi tape to stick pages directly to the wall in a grid. This works best with lighter pages and is a great temporary option for renters.
- Scrapbook or portfolio: Slip finished pages into clear sheet protectors in a binder. This keeps them clean and organized without the cost of framing.
- Greeting cards: Cut a finished page to size and mount it on blank card stock. A colored mandala or floral design makes a beautiful handmade card.
Want to listen to books on the go? Try Audible Premium Plus FREE for 30 days and get 1 free audiobook on mindfulness, creativity, or anything else. Start your free trial
Bottom Line
Framing your best coloring pages takes them from forgotten to featured. You do not need expensive supplies, a basic 11×14 frame with mat and a can of spray fixative are all you need to turn a finished page into wall art. The satisfaction of seeing your work on the wall is worth the small effort, and it makes a great conversation piece when friends visit.
🎨 Get Your Free Stress Relief Coloring Guide
Join our newsletter and get this free printable plus weekly tips.
Price Check
Prices verified via our product tracker. Updated Sep 27.
| Amazon.com - Americanflat 11x14 Picture Frame - Matted to | $9.99 | 4.6★ (24,220) |
| Amazon.com: Gamsol Odorless Mineral Spirits 128 oz | $61.18 | 4.9★ (357) |
As an Amazon Associate we earn from qualifying purchases.