This article contains affiliate links. We may earn a commission from qualifying purchases.
Some content on this site is AI-assisted and reviewed by our editorial team.
You sharpen your greens, you sit down to color a night sky — and forty minutes later you are staring at a flat green smear. Your northern lights keep coming out as pencil soup, and it is not your hands — it is your order of operations. Aurora pages fail structurally: sky too light, strokes going the wrong way, too many greens touching. Fix the structure and the glow arrives on its own.
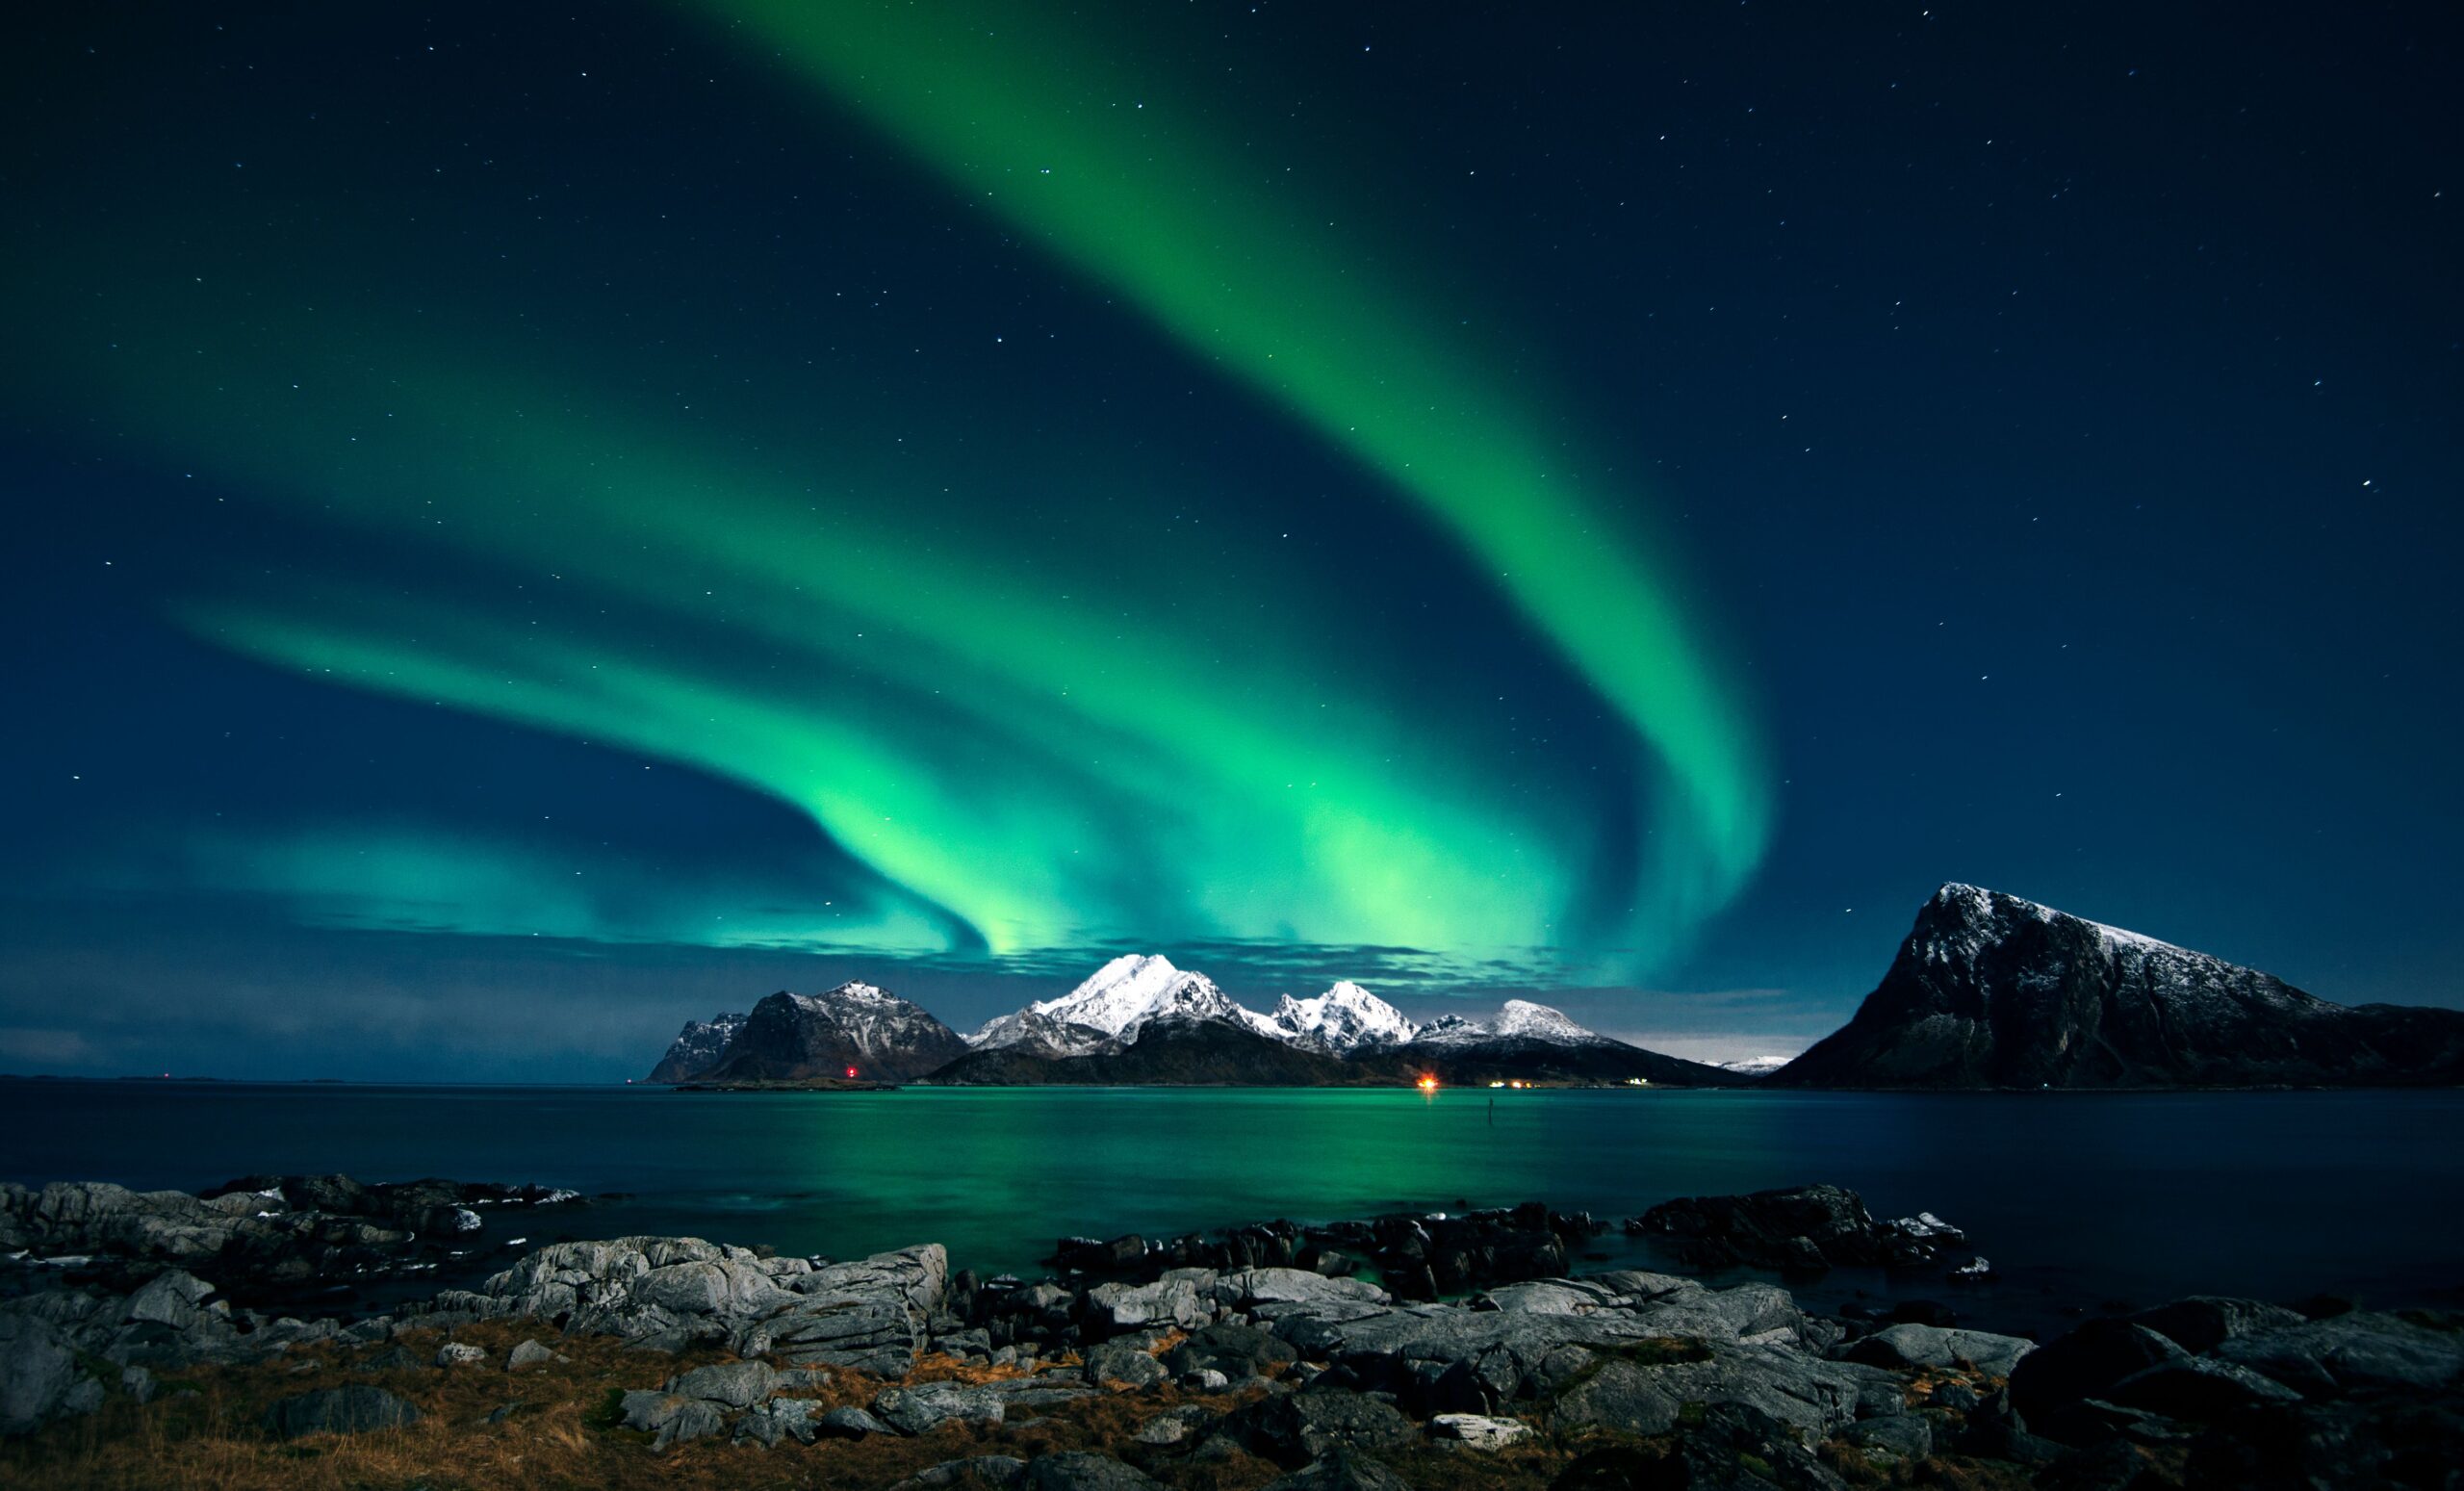
Real aurora is not a green wash. It is ribbons — thin vertical curtains with dark sky between them, brightest along the top edge. Color one big green field and you lose what makes it read as “lights.” Here are the five fixes I teach first.
Step 1: Build the Sky Dark First
The number one cause of green soup is coloring lights onto white paper. Green over a light sky reads as a stain, so you keep going back — which is what makes mud. Three passes: a navy base at medium pressure, then black or dark purple, then a second navy pass to smooth the grain. If the tooth still holds white specks, the sky is not dark enough. The contrast is the glow.
Step 2: Draw the Ribbons Vertically, With a Sharp Point
Aurora curtains hang: light streams downward along magnetic field lines, so strokes run top-to-bottom, following each ribbon’s curve. Turn the page if it helps, and sharpen every few minutes — a dull point lays color sideways in smudges, and that is exactly how a ribbon dissolves. Leave dark sky between ribbons deliberately. Five crisp ribbons read as northern lights; one green field reads as a bad day with a blender.
Step 3: The Three-Green Palette Rule
Cap yourself at three greens — no more. A pale yellow-green for the brightest top edge, a mid kelly green for the body, a dark blue-green for the base. Layer light over dark, never the reverse: dark first, mid green blended over it, pale yellow-green finishing only the top edge at light pressure — burnished hard, a pale pencil goes waxy fast. Why the cap works: every green beyond three is another ingredient in the same patch, and pigment does not stack forever. Around the fifth hue the tooth fills and everything converges to yellow-gray murk.
Step 4: The Toned Gray Paper Shortcut
You can skip half of Step 1 by starting on toned gray paper. Mid-tone gray reads as night sky from the first stroke — the dark base is free, and the tooth quietly blends your greens between strokes. Deepen the gray toward black where the sky should be nearly night, add a whisper of navy, then go straight to ribbons. It is the biggest shortcut I know for dark pages — the whole argument of the mid-tone method.
Step 5: Stars Last, With a White Gel Pen
Stars go on last. Never first. A star drawn before the green gets smeared and buried by every layer that follows — then you redraw it, and redrawing is where paper pills. Wait until sky and ribbons are finished, then dot stars on top so each stays a crisp pinprick. Vary size and spacing; real star fields cluster.
Prismacolor Premier Soft Core Pencils, 72-Count — The Blending Engine
The set I reach for when gradients matter most. Soft wax-based cores make the Step 3 blending actually work — pale yellow-green melts into mid kelly almost on its own. About $75 for the 72-count, with every cool green and blue a night sky needs. Prismacolor Premier Soft Core Pencils, 72-Count on Amazon.
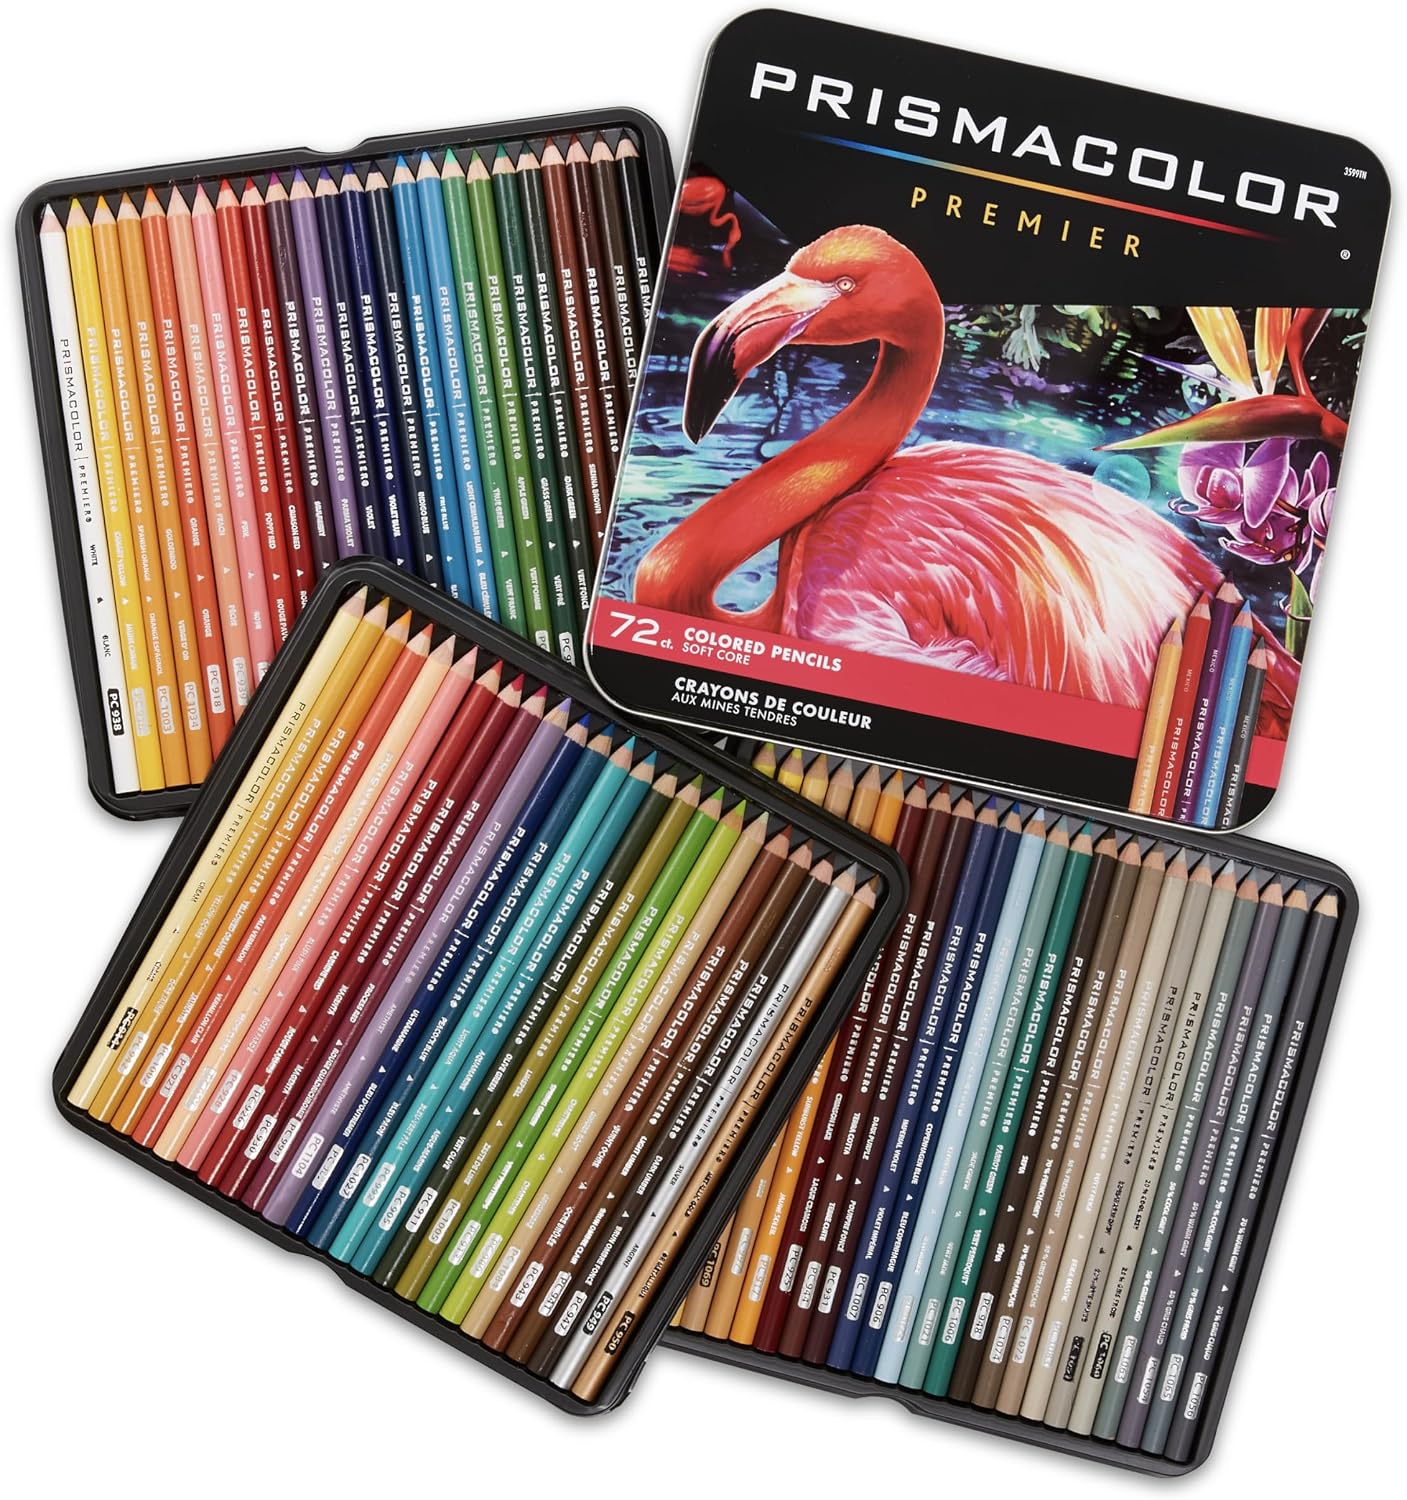
The honest con: soft cores snap. The needle point Step 2 wants is fragile — press hard on detail work and the core cracks inside the wood, forcing you to sharpen past half the pencil.
My take: if you color night skies more than once a month, this is the blending engine. Worth the shelf space.
Faber-Castell Polychromos Pencils, Tin of 24 — The Crisp-Ribbon Pencil
The opposite philosophy, and it earns its slot. Oil-based cores hold a needle point through long vertical strokes the way wax never manages — sharpen once and draw ribbons a while. About $40-50 for the tin of 24. Faber-Castell Polychromos Pencils, Tin of 24 on Amazon.
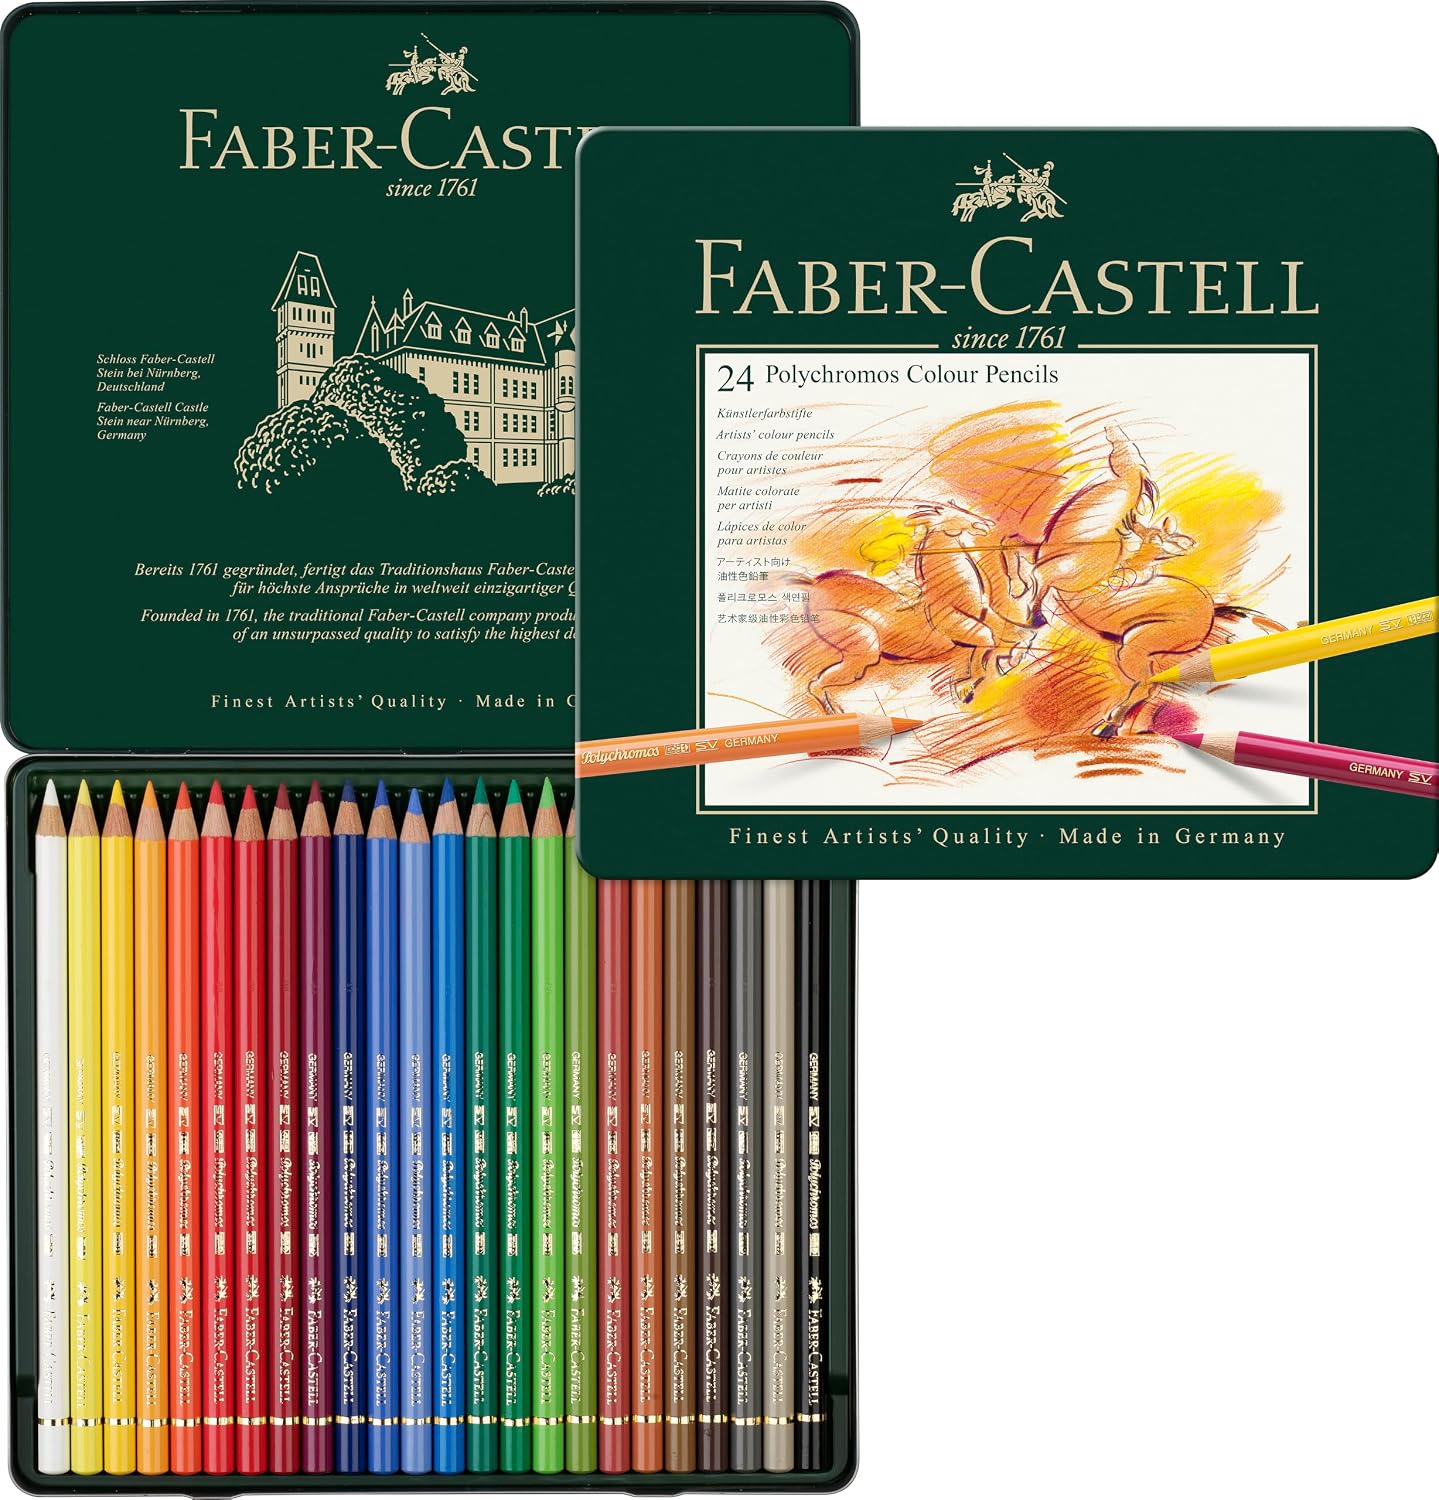
The honest con: 24 colors is a tight aurora budget — expect one usable green here, so borrow a gray-green from another set for the mid step. Blending is stiffer than wax too.
My take: the ribbon pencil. If your smears come from dull points rather than a weak sky base, oil cores retrain your hand.
Strathmore 400 Series Toned Gray Pad, 9×12 — The Free Night Sky
Step 4 in physical form, and the cheapest structural fix here. About $15 for 80-pound sheets that start already dark, so you skip the black build that white paper demands. Strathmore 400 Series Toned Gray Pad, 9×12 on Amazon.
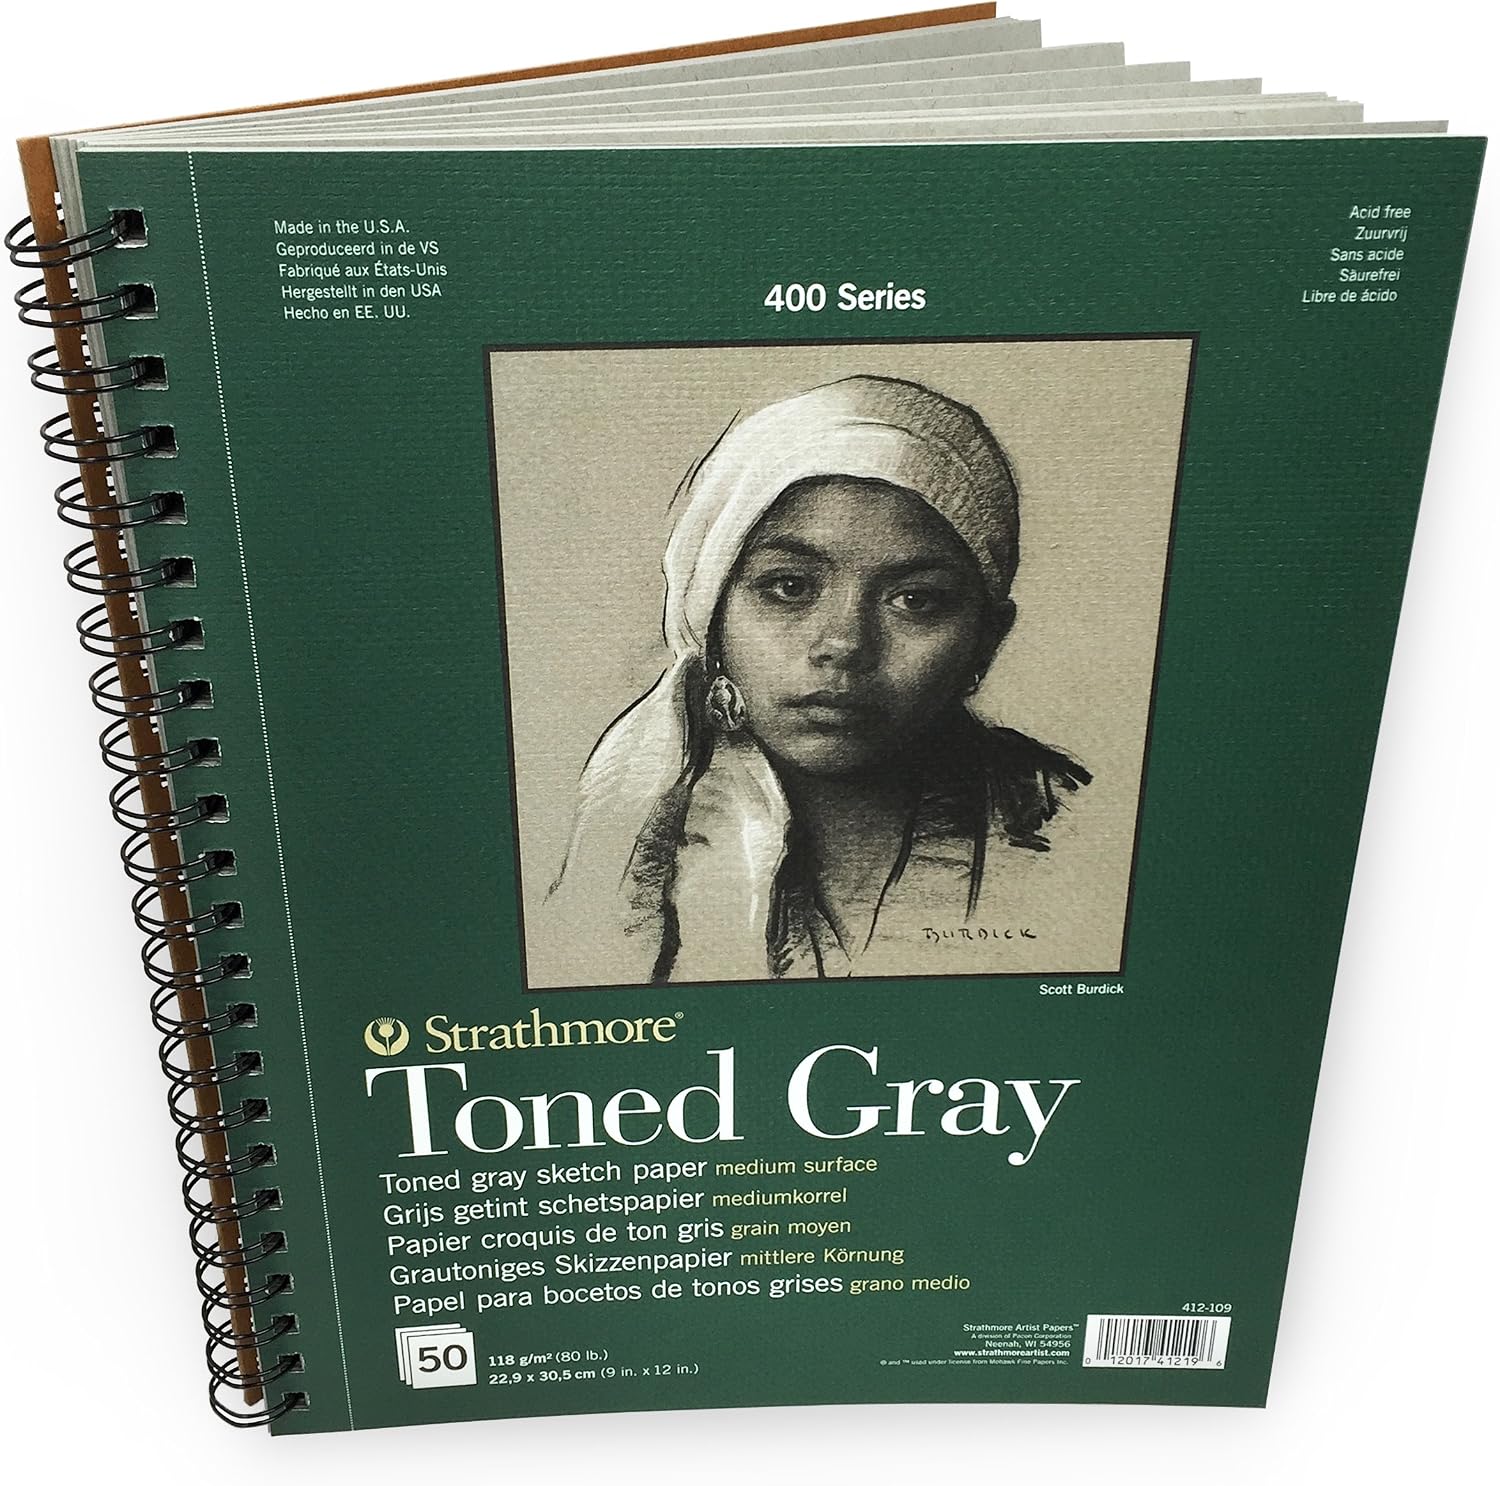
The honest con: 80-pound paper buckles under heavy marker, solvent blending, or hard burnishing. It wants a light-to-medium pencil touch.
My take: the highest-value purchase here. One $15 pad removes the hardest step of every night-sky page. Start with this if you buy one thing.
Sakura Gelly Roll Retractable Gel Pens, 10-Pack — The Star Puncher
Step 5’s tool. White gel ink sits on top of finished pencil layers instead of disappearing into them — exactly what a draws-last tool should do. About $13 for the 10-pack; silver and gold earn their keep on moon edges. Sakura Gelly Roll Retractable Gel Pens, 10-Pack on Amazon.
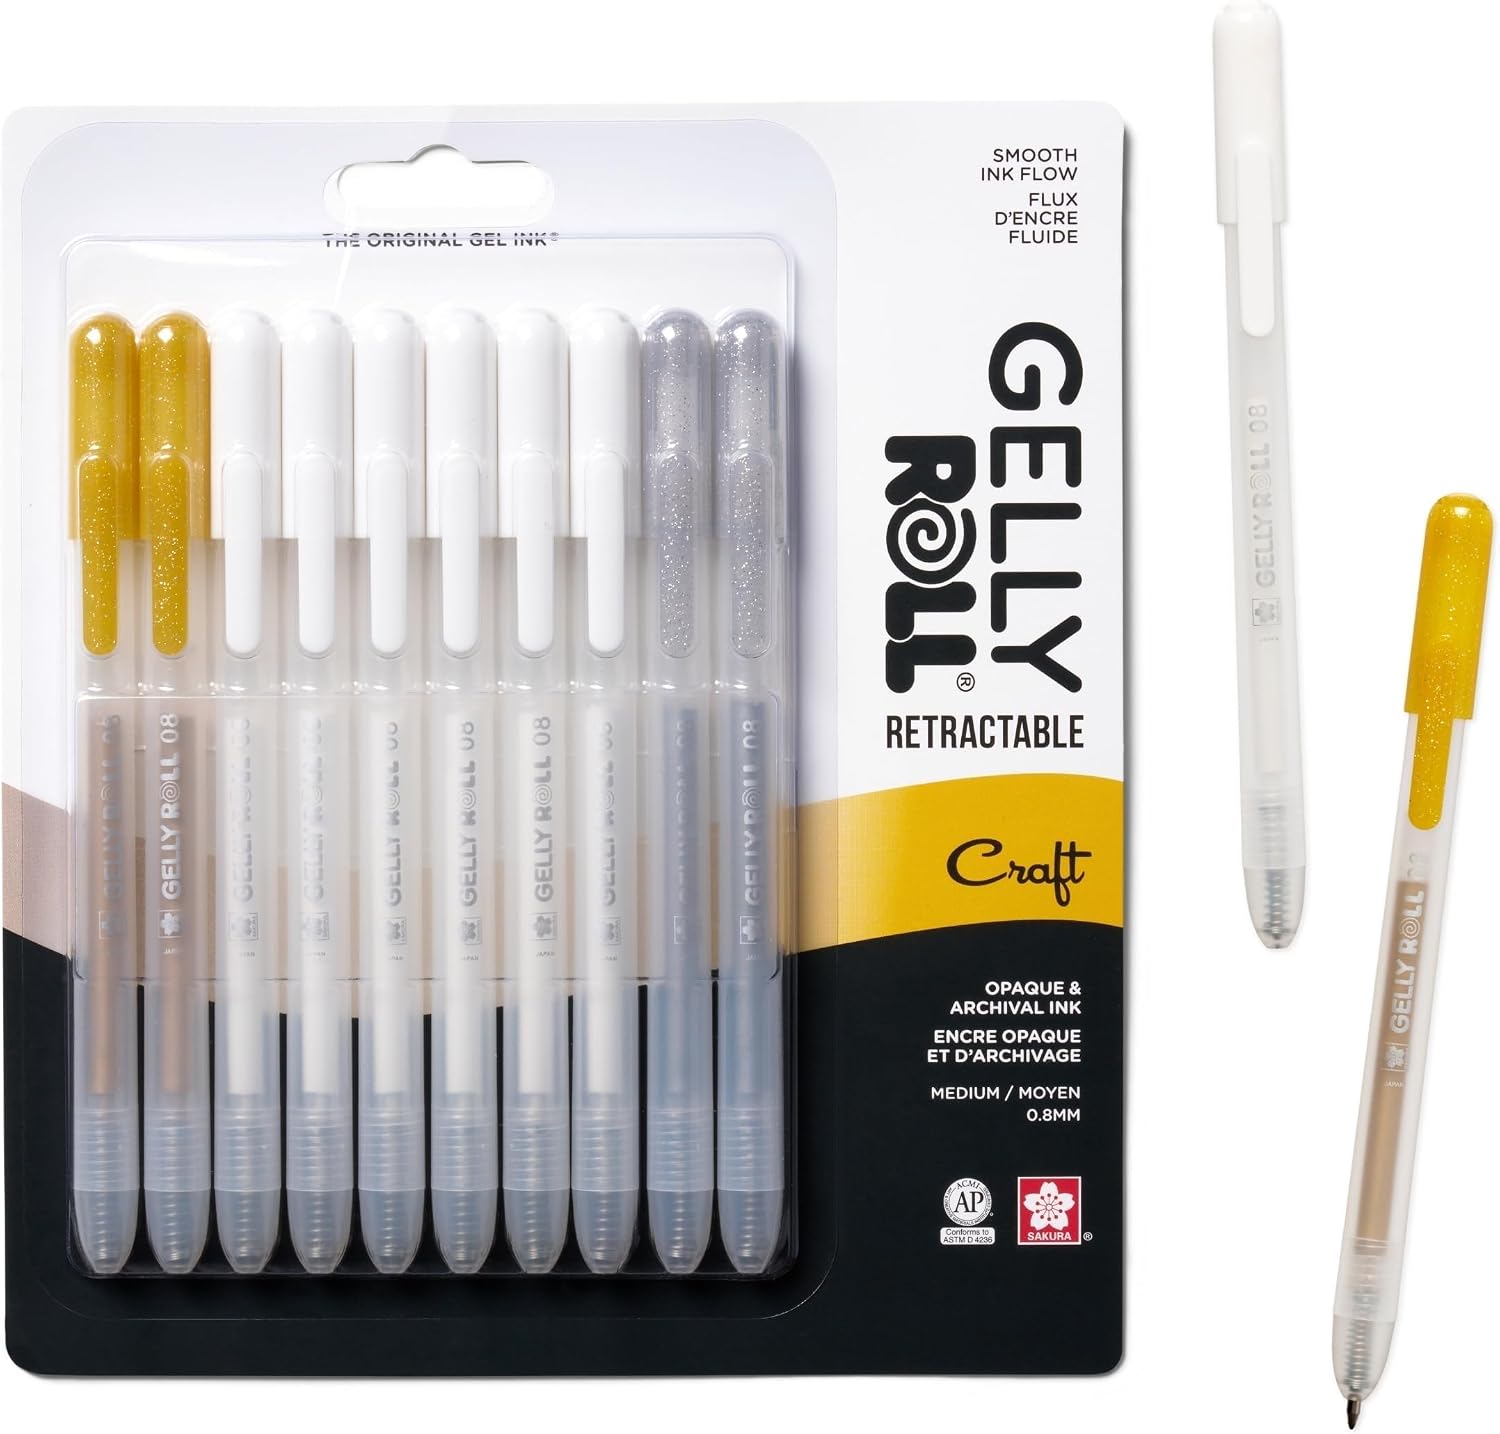
The honest con: gel skips across heavy wax bloom. Burnish the sky glassy and the pen stutters into gap-toothed dots — test on scrap and ease off the burnishing.
My take: not a gimmick — the only tool here that reliably puts white on top of a finished dark layer.
Twilight Garden Coloring Book (Maria Trolle) — The Practice Book
Technique needs pages to live on. Twilight Garden is a night-garden hardcover full of dark florals and moonlit spreads that reward the sky-first order of this tutorial. About $18; the intricate borders make it a many-sitting book. Twilight Garden Coloring Book on Amazon.
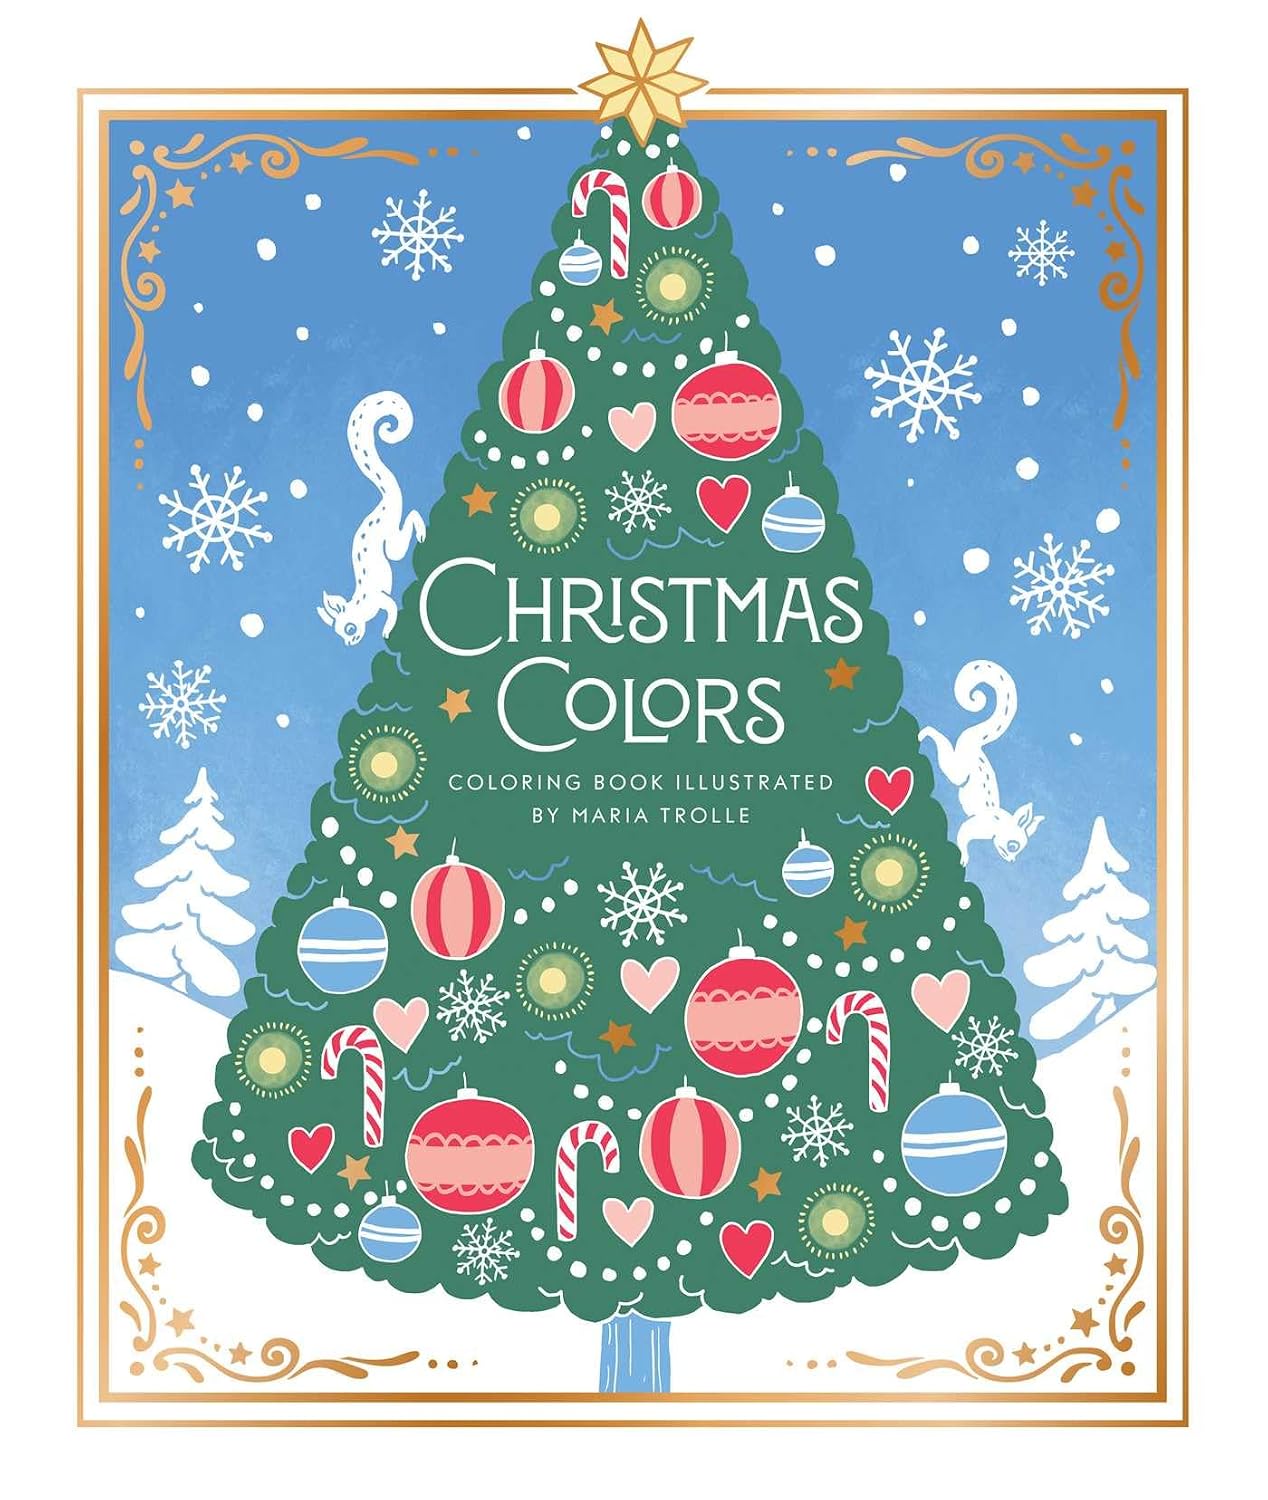
The honest con: those borders are slow — one spread takes many sittings, and fine detail punishes soft-core pencils.
My take: the best practice ground for these five steps — dark pages that force you to plan the sky first.
Common Mistakes (Bold-Labeled)
Green on white paper. The original sin. Without a dark base, green reads as a stain, and every corrective pass deepens the soup. Sky first — or toned gray.
Horizontal scribble strokes. Ribbons hang vertically; sideways strokes flatten them. Pull top-to-bottom along each ribbon.
Using every green you own. Five greens in one patch is not richness — it is mud. Three, light over dark, and let the gaps glow.
Stars drawn first. Buried stars get redrawn, and redrawn stars pill the paper. Whites go on last, with a gel pen.
The Budget Note
The cheapest setup that genuinely works: one mid-range pencil set with a few usable greens, the $15 Strathmore toned pad, and a single white gel pen. The toned paper does the heavy lifting — dark base free, and it forgives a modest palette.
Deep-focus coloring hits different with an audiobook — Audible free trial is here.
ColoredCalm is reader-supported. As an Amazon Associate, I earn from qualifying purchases. That means if you buy through one of the links above, I get a small commission at no extra cost to. I only recommend supplies I actually color with.
Keep reading: how to color rain and wet streets with colored pencils uses the same dark-base logic, and the toned paper mid-tone method explains the paper shortcut in full.
Related guides
- Why Bold and Easy Coloring Books Are the Stress Relief You Did Not Know You Needed
- How to Host a Coloring Party That Actually Feels Fun (Not Awkward)
- How to Color Rain and Wet Streets With Colored Pencils
- Slow Living Coloring: How to Turn a Simple Coloring Session Into a Mindful Daily Ritual
- Snow and Ice: The Light-First Winter Method
🎨 Get Your Free Stress Relief Coloring Guide
Join our newsletter and get this free printable plus weekly tips.
Frequently Asked Questions
What colors do you need to draw the northern lights?
You need three greens (a pale yellow-green, a mid kelly green, and a dark blue-green), two blues (a mid teal and a dark navy), a black or dark purple for the sky base, and a white gel pen for stars. That is the minimum palette. The three-green rule prevents the muddy soup that happens when you blend every green you own into one smear.
How do you blend aurora with colored pencils?
Layer light-over-dark, not the other way around. Start with the darkest green at the bottom of each ribbon, add the mid green in the middle, and finish with the palest yellow-green at the top edge. Use light pressure and vertical strokes following the ribbon shape. Burnish only the brightest edge, and leave the dark base alone.
What paper works best for night-sky coloring?
Toned gray paper like the Strathmore 400 Series Toned Gray gives you the dark sky base for free, so you skip half the black layering that white paper demands. White paper works but requires 4-6 layers of dark blue and black before you can start the aurora. The toned paper lets you start drawing ribbons immediately.
Liked this guide? Get the next one in your inbox — the coloring starter checklist is free too.
✓ You're in — check your inbox.
No spam. Unsubscribe anytime. We never share your email.
Prices move fast. Start your Amazon trip from our Shop & Support page and your purchases support ColoredCalm at no extra cost to you.
Price Check
Prices verified via our product tracker. Updated Oct 31.
| Prismacolor Premier Colored Pencils, Soft Core, Assorted C | $74.29 | 4.8★ (61,977) |
| Faber-Castell Polychromos Artists' Color Pencils - Tin of | $49.34 | 4.7★ |
| Strathmore 400 Series Wire Bound Toned Sketch Pad, 80 lb. | $15.58 | 4.8★ (11,394) |
| Sakura Gelly Roll Retractable Gel Pens, White, Gold & Silv | $19.23 | 4.4★ (1,685) |
| Christmas Colors: Hardcover adult coloring book featuring | $17.99 | 3.3★ |
As an Amazon Associate we earn from qualifying purchases.