You’re Not Clumsy. Your Sharpener Is Wrong.
If your colored pencils keep breaking — the tip snaps off, the core crumbles, the wood splits — you’ve probably blamed the pencils. “Maybe they’re cheap.” “Maybe I’m pressing too hard.”
It’s probably not the pencils. It’s the sharpener.
Colored pencil cores are softer than graphite. They’re made of wax (Prismacolor, Crayola) or oil (Faber-Castell Polychromos), and that softness is what makes them blend and layer so well. But it also makes them vulnerable to the wrong sharpening technique.
The standard classroom sharpener — the wall-mounted one, the cheap handheld one, the one built into your pencil case — is designed for hard graphite. It grinds soft colored pencil cores into dust. Here’s what to use inst#ead
The Problem: Why Colored Pencils Break
Three things destroy colored pencil tips:
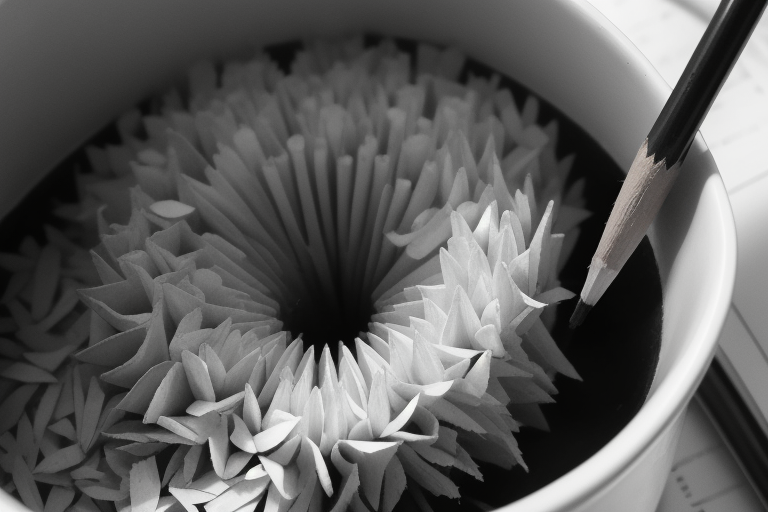
1. The wrong angle. Most sharpeners create a short, steep point. This puts all the pressure on a tiny area of core, which snaps under any real pressure. What you want is a long, gradual taper — more wood supporting the core.
2. Too much grinding. Electric sharpeners and cheap manual ones keep grinding until the core is dangerously thin. A sharp colored pencil should have wood surrounding the core almost to the tip.
3. Heat buildup. Electric sharpeners generate heat from friction. Hot wax softens. Soft wax + sharp blades = broken tips. If your electric sharpener is destroying your pencils, the heat is the culprit.
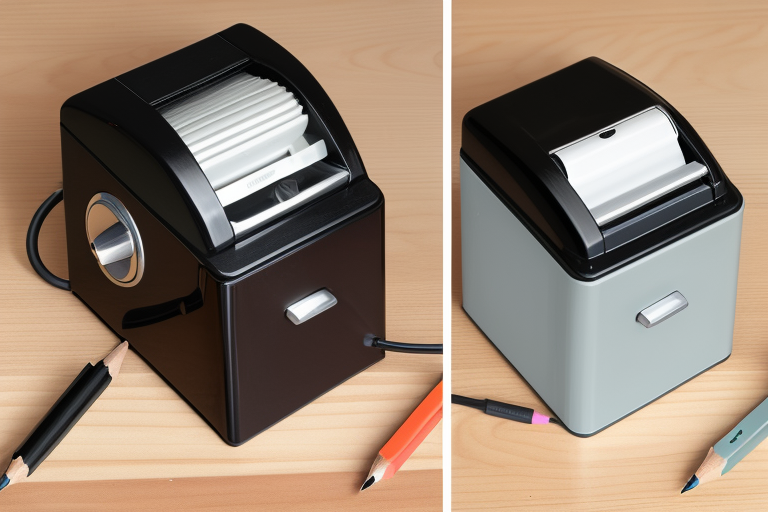
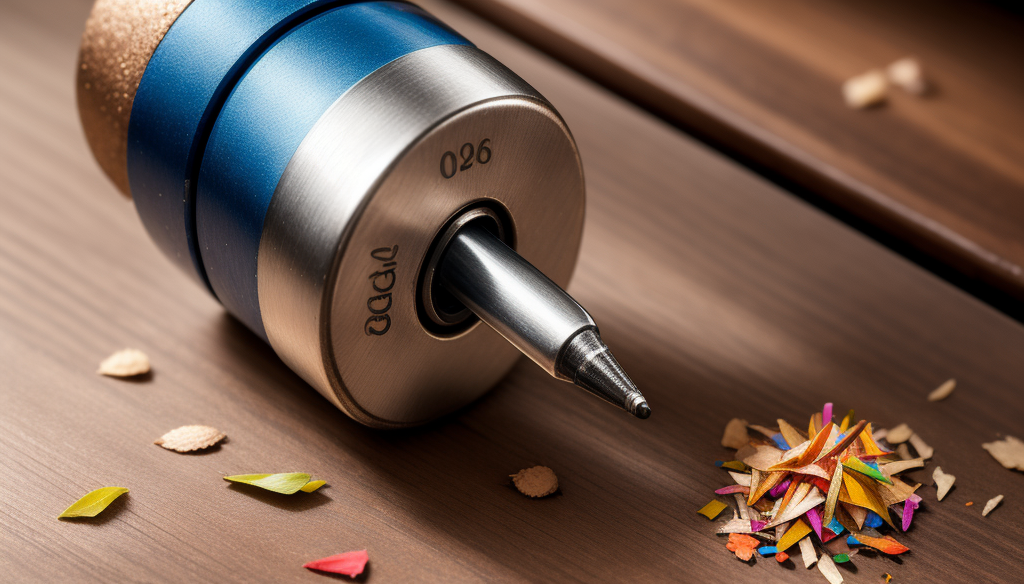
The Best Sharpener: Kum Automatic Long Point
This is the one. The Kum Automatic Long Point Sharpener is a two-stage sharpener that creates the long, tapered point that colored pencils n#eed
How it works:
1. Stage 1: Shapes the wood. You insert the pencil and twist until it stops cutting. This removes the outer wood without touching the core.
2. Stage 2: Sharpens the point. You insert the pencil into the second hole and twist until it stops. This creates a long, fine point with the core supported by wood.
Why it works for colored pencils:
– The long taper means more wood surrounds the core = less breakage
– Manual operation = no heat buildup
– Two stages mean the core is never over-ground
– It works with every brand — Prismacolor, Polychromos, Arteza, Derwent, even Crayola
At under $10, it’s the best value upgrade you can make to your coloring setup. If you’re currently breaking pencils with a standard sharpener, this will change your experience immediately.
The Alternatives

Handheld Manual Sharpeners (3-8 dollars)
The brass or plastic handheld sharpeners you find at any drugstore. They create a short, steep point that’s prone to breaking with soft pencils.
Verdict: Fine for graphite pencils. Not ideal for colored pencils. The short point puts too much pressure on the core. If you must use one, sharpen gently and stop before the core gets too thin.
Electric Sharpeners (15-40 dollars)
Fast, convenient, and terrible for colored pencils. The heat softens wax cores, and the auto-stop mechanism grinds too much material.
Verdict: Use for graphite only. If you must use electric for colored pencils, sharpen in short bursts (1-2 seconds) and let the sharpener cool between pencils.
Sandpaper Blocks (5-8 dollars)
A block of fine-grit sandpaper. You hold the pencil at an angle and sand the tip to a point. This is how professional artists sharpen — it creates a custom point and removes almost no material.
Verdict: The best possible point for colored pencils, but slow and requires practice. Great for touching up tips without re-sharpening the whole pencil.
X-Acto Knife (5-10 dollars)
The old-school method. You carve away the wood with a craft knife, leaving a long core that you can shape with sandpaper.
Verdict: Maximum control, minimum waste. But there’s a learning curve and a real risk of cutting yourself. Not recommended for beginners or anyone who values their fingertips.
How to Sharpen Colored Pencils (Step by Step)
Whether you use the Kum or another sharpener, these techniques will reduce breakage:
1. Cold pencils break less. If your pencils have been in a hot car or near a heater, let them cool to room temperature before sharpening. Warm wax is soft wax.
2. Don’t over-sharpen. Stop when you have a usable point. Every extra twist removes more core and increases breakage risk.
3. Rotate the pencil, not the sharpener. If you’re using a handheld, rotate the pencil in one direction with consistent pressure. Don’t wiggle it back and forth — that creates uneven tips.
4. Support the pencil near the tip. Hold the pencil close to where it enters the sharpener. This reduces flex and prevents the core from snapping inside.
5. Sharpen gently. Don’t force it. If you feel resistance, stop and try again. Forcing a pencil through a sharpener is the 1. cause of broken cores.
6. Use the two-hole method. If you have a Kum (or any two-hole sharpener), always use the first hole to rough-shape the wood, then the second to create the point. Skipping the first hole means more pressure on the core.