This article contains affiliate links. We may earn a commission from qualifying purchases.
Some content on this site is AI-assisted and reviewed by our editorial team.
Nothing kills a portrait faster than a dead eye. You can layer skin tones beautifully, nail the hair, respect the fabric folds — and then one eye reads flat and glassy, and the whole page looks like a sticker of a person. The frustrating part is that eyes are small. They take up maybe a tenth of the face, so it feels like they should be easy. They’re not. Eyes are the highest-density detail zone on any coloring page, and they follow rules the rest of the page doesn’t.

This is the practical version — the four-zone method I use on every face, what order to layer in, and the two mistakes that make eyes look like buttons.
The Four Zones of a Realistic Eye
Before any pencil touches paper, look at the line art and name the zones: sclera (the white of the eye), iris (the colored ring), pupil (the black center), and the highlight (the white spot the artist almost always leaves for you). Realistic eyes are mostly about what you DON’T color. The sclera is never pure white — shade it with the lightest warm gray, heaviest in the corners, barely there near the iris. The highlight stays untouched, always. That one blank spot is 80% of the “alive” effect.
Step 1: Shade the Sclera Like a Sphere, Not a Shape
The eyeball is a ball sitting in a socket — light hits it like it hits a sphere. Using your lightest gray and a sharp point, shade a soft crescent in the top and corner areas of the sclera, leaving the area just above the lower lid almost clean. Two or three layers at feather pressure, strokes following the curve. If the whole white area goes uniform gray, the eye flattens instantly.
Step 2: Build the Iris in Rings, Not Fields
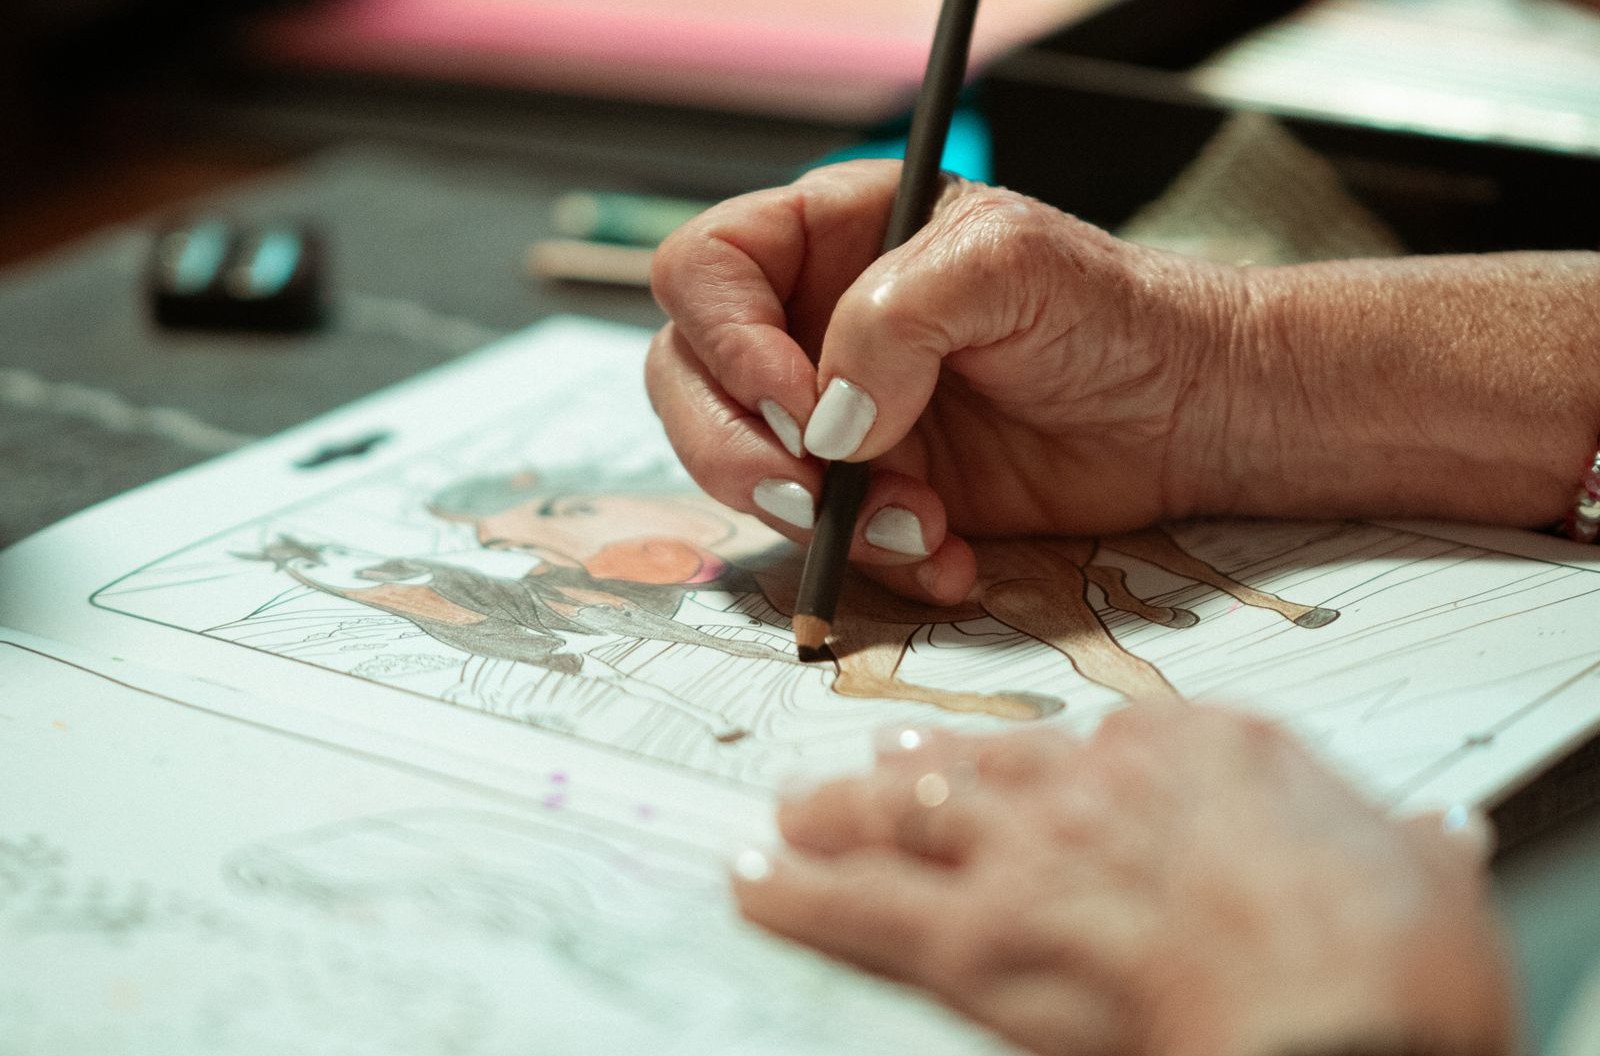
This is where most beginners lose the eye. The iris is not one color — it’s a gradient from a darker outer ring, through a midtone body, to a lighter ring right around the pupil. Layer in this order: (1) the outer ring in your darkest iris shade, small circular strokes; (2) the body in midtone, always curving strokes that follow the iris’s roundness — never straight lines across it; (3) a lighter shade around the pupil to create the depth-curve. Three values is enough. The mistake is going dark immediately: wax pencils can’t be lightened back, so start two shades lighter than you think.
Step 3: The Pupil Is Never Pure Black
A heavy black pupil next to white sclera is exactly what makes eyes look like drawn-on buttons. Instead, use your darkest brown, indigo, or blackened-plum mix, and leave a faint edge where the pupil meets the iris rather than a hard cut. On dark-skinned faces and dramatic portraits I sometimes burnish the pupil nearly black — but on a soft, realistic face, dark-brown-almost-black keeps the whole eye in the same family as the skin tones, which is what reads as “real.”
Step 4: Reserve the Highlight With White, Not With Hope
If your line art doesn’t leave a highlight spot, you have two honest options: work around it from the start (easiest on toothy paper), or rescue it after with a Sakura Gelly Roll white gel pen (about $6 for the classic set), which drops a crisp, opaque dot over layered pencil. A soft-tip pen like the Gelly Roll does the job better than a colored pencil “white,” which will barely cover anything it sits on.
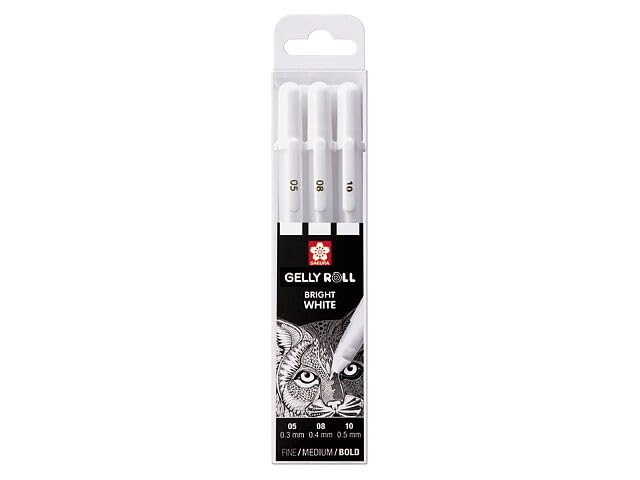
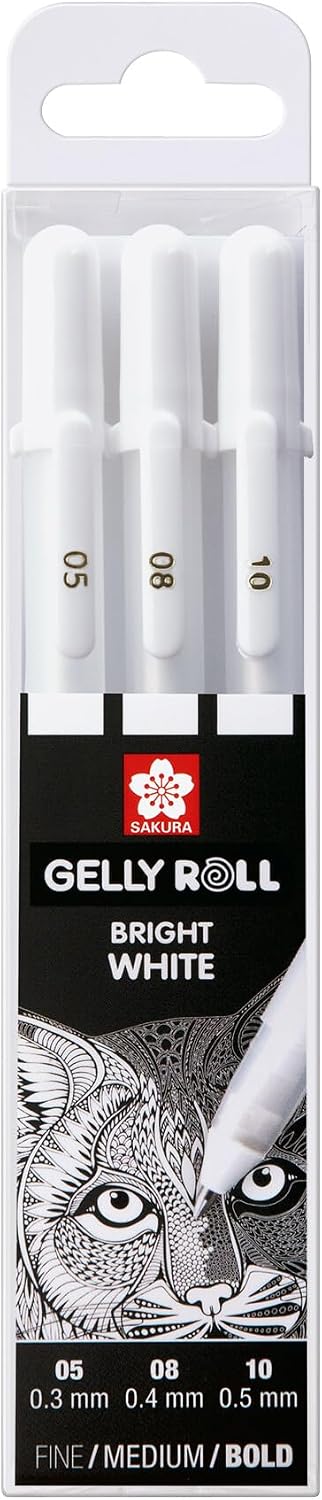
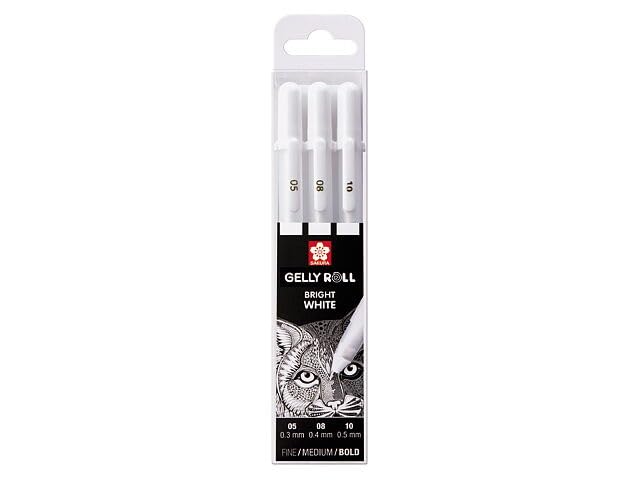
My take: The highlight is the single highest-leverage mark on the whole page — done right, the eye reads as wet before anything else looks finished.

Step 5: Lashes and Lid Shadow Are What Anchor the Eye
The last zone is the lid crease and lash line. A soft shadow under the upper lid — a warm gray or skin-shadow tone, heavier on the outer corner — does more for realism than any eyelash strokes. If you draw individual lashes, flick them from the lid line outward with a sharp dark point, and keep them sparse. Lashes drawn as one solid dark line are the classic cartoon tell.
Common Mistakes (Bold-Labeled)
Coloring the whole sclera gray. Uniform gray flattens the sphere. Shade the corners and top crescent; leave the lower inner sclera light.
One flat iris color. Real irises have ring depth. If your pencils are limited, fake it: darker outer ring, lighter inner ring, two layers each.
Pure black pupils next to white sclera. The contrast reads as a sticker. Use near-black browns or indigo and keep a soft pupil edge.
Outline-heavy eyes. If the line art gives you thick eye outlines, soften them: go over the outline with your skin shadow tone so it becomes a shadow rather than a drawing line.
The Budget Note
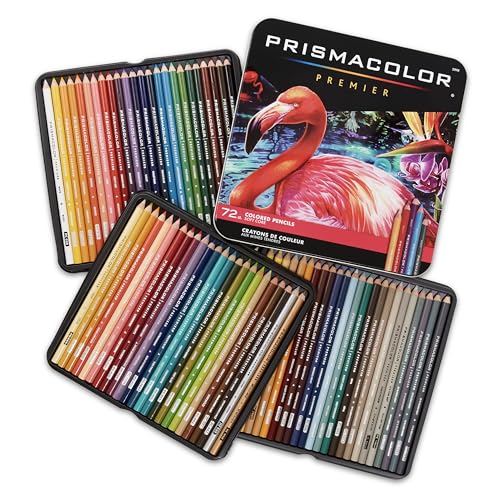
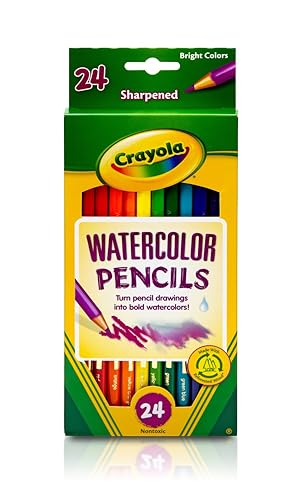
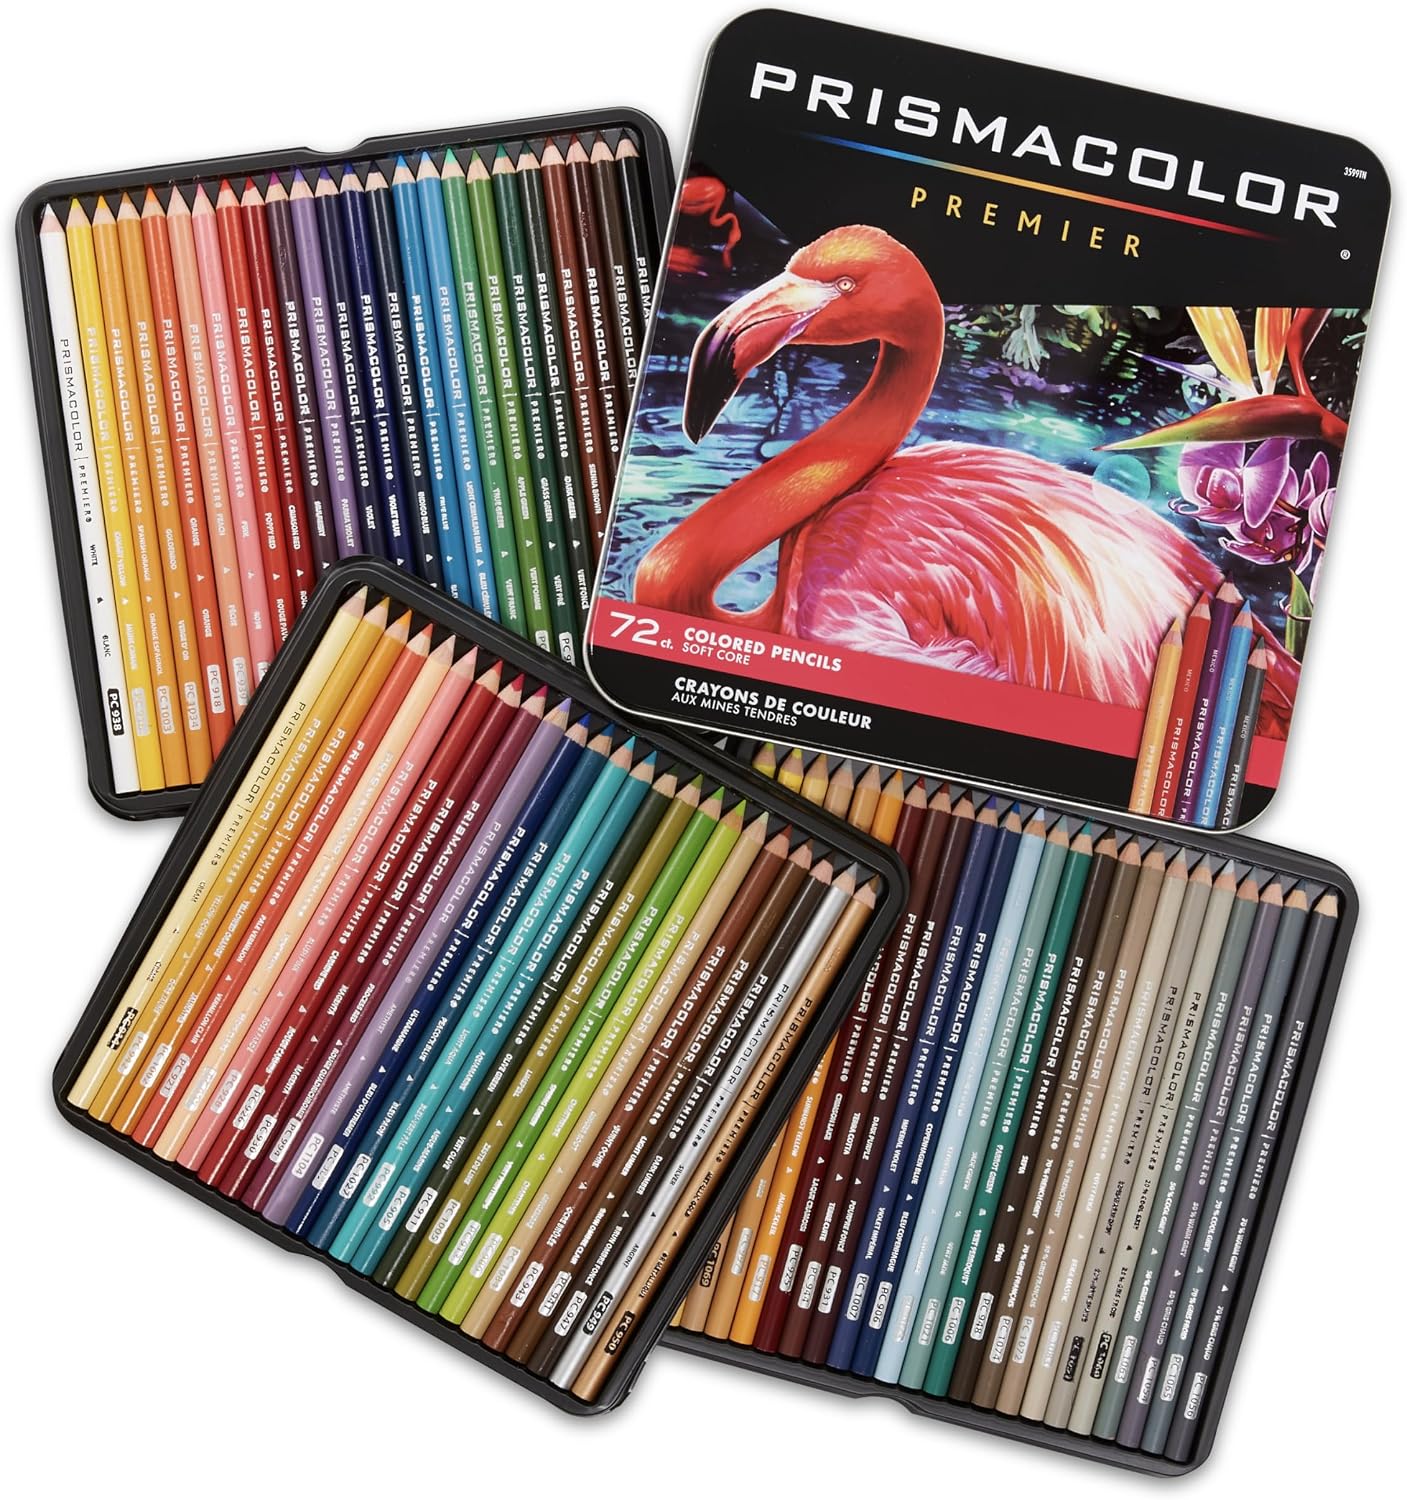
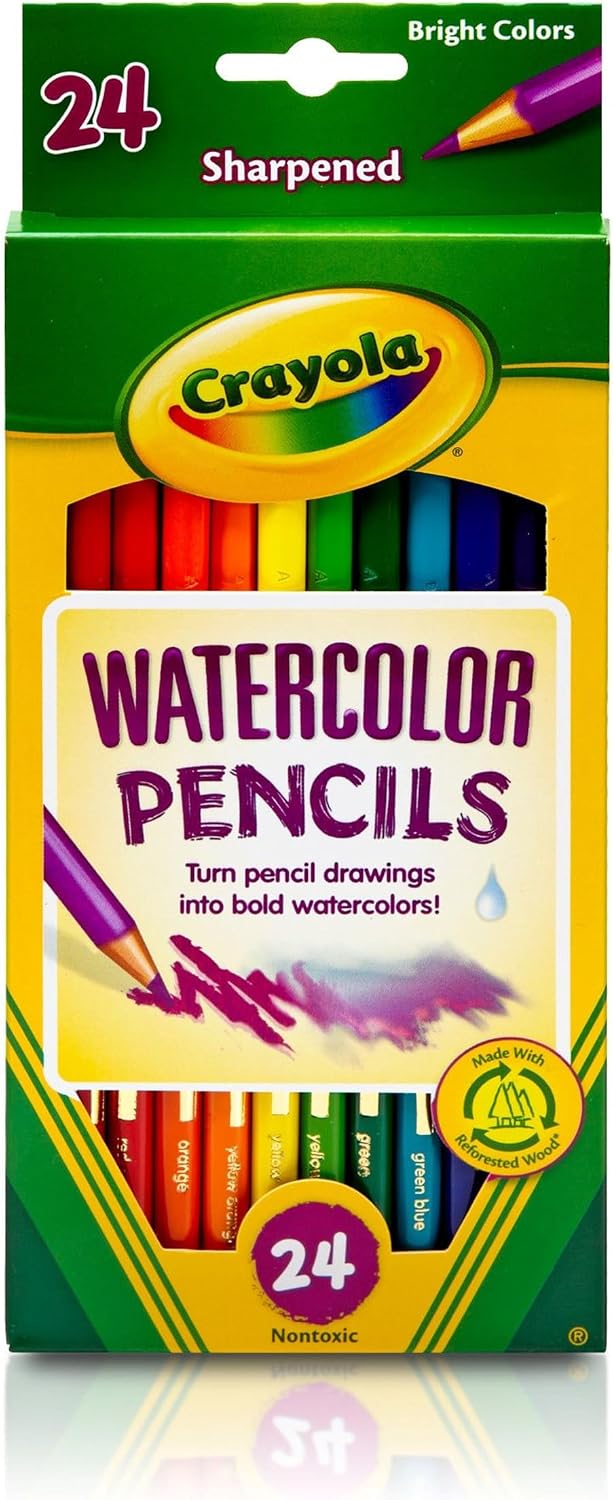
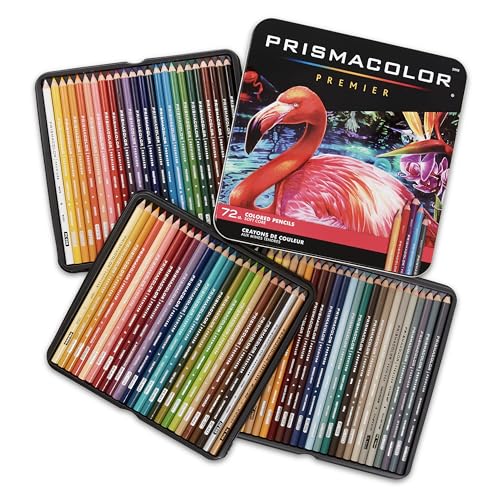
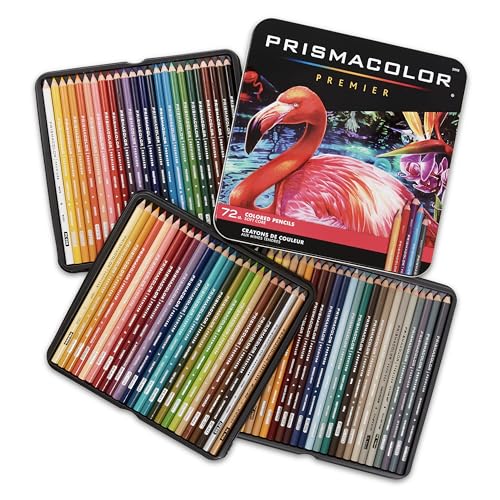
You do not need a 150-pencil set for eyes. The whole method runs on: a light warm gray, a midtone and dark in your iris color family, a near-black brown, and a white gel pen for highlights. A 24-count set like the Crayola 24ct colored pencil set (about $9) covers practice pages; upgrade to Prismacolor Premier when you want the layered rings to blend softer — the 72-count Premier set (about $74) is the one to save for. Pair the practice with a portrait-friendly book — face-heavy titles give you a dozen eyes to drill, and the books in our fall roundup are ideal practice material.
Deep-focus coloring hits different with an audiobook — Audible’s free trial is here if you want company while you layer.
Keep reading: our five-layer skin tone method is the companion piece to this guide (eyes first, skin second), the skin-tone pencil picks cover the sets that layer cleanest on faces, and the color theory primer explains why those warm shadows work.
ColoredCalm is reader-supported. As an Amazon Associate, I earn from qualifying purchases. That means if you buy through one of the links above, I get a small commission at no extra cost to you. I only recommend supplies I actually color with.
Related guides
- Summer Coloring Setup: How to Create the Perfect Outdoor and Travel Coloring Station
- The Weave-First Method for Knit Sweaters and Cozy Fabric
- How to Choose the Right Paper for Your Coloring Books
- How to Color Metallic and Shiny Effects with Colored Pencils
- Coloring for Men: Why More Guys Are Picking Up Colored Pencils and Loving It
🎨 Get Your Free Stress Relief Coloring Guide
Join our newsletter and get this free printable plus weekly tips.
Frequently Asked Questions
How do you color realistic eyes with colored pencils?
Work in zones: shade the white of the eye like a sphere (gray in the corners, light near the lid), build the iris in three rings from dark outer edge to a lighter ring around the pupil, keep the pupil near-black instead of pure black, and always leave the highlight untouched.
Why do colored pencil eyes look flat or cartoonish?
Two culprits: coloring the whole sclera one flat gray, and making the pupil pure black against pure white. Both destroy the roundness of the ball — shade the corners and use dark brown-black instead.
How do you add a highlight to an eye after coloring it?
A white gel pen like the Sakura Gelly Roll drops an opaque dot over layered pencil; a colored-pencil white will not cover dark layers. Test the dot size on scrap first — the highlight should be small.
Liked this guide? Get the next one in your inbox — the coloring starter checklist is free too.
✓ You're in — check your inbox.
No spam. Unsubscribe anytime. We never share your email.
Prices move fast. Start your Amazon trip from our Shop & Support page and your purchases support ColoredCalm at no extra cost to you.
Price Check
Prices verified via our product tracker. Updated Oct 17.
| SAKURA Gelly Roll Classic White Gel Pen Set, Assorted Size | $5.99 | 4.4★ (17,921) |
| Crayola Watercolor Colored Pencils 24ct, Watercolor Paint | $9.35 | 4.7★ (3,073) |
| Prismacolor Premier Colored Pencils, Soft Core, 72 Count | $74.49 | 4.8★ (29,632) |
As an Amazon Associate we earn from qualifying purchases.