
This article contains affiliate links. We may earn a commission from qualifying purchases.
Some content on this site is AI-assisted and reviewed by our editorial team.
You finished a page you’re actually proud of. The blending worked, the highlights landed, and for once you didn’t over-saturate the background. And now it’s sitting flat in a binder — or worse, loose in a drawer — where the next wax-bloom speck or fingerprint is only a matter of time. Framing is what turns a coloring session into something you live with, and the professional framing counter will happily charge you $60 to $150 for the privilege. You don’t need that. Here’s how to frame finished coloring pages for $7 to $25 a piece, with the same three decisions a custom framer makes for you: size, mat, and protection.
Step 1: Pick Your Frame Size Before You Trim Anything
Most adult coloring books print on 8.5×11 or 9×12 paper, and that’s awkward news, because those aren’t standard frame sizes. The move that saves you money: don’t trim to 8×10 — trim up, to 11×14. An 11×14 frame is one of the cheapest formats on the market because it’s a mass-produced poster size, and it gives you two display options: float the full page with a border of mat around it, or show it full-bleed.
The upsimples 11×14 Picture Frame (about $7) is the volume leader here for a reason — it displays an 8×10 with the included mat or a full 11×14 without one. At that price you can frame a whole three-page series for the cost of one custom mat somewhere else. The honest con: the front is plastic plexiglass, and reviewers are blunt that it scratches if you treat it roughly — clean it with a soft dry cloth, never paper towel, and keep the protective film on until the art is loaded.
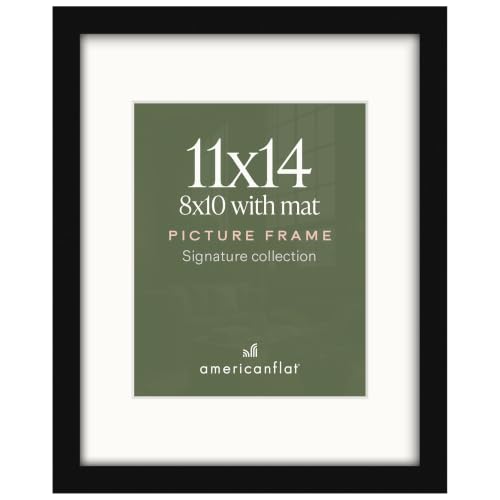
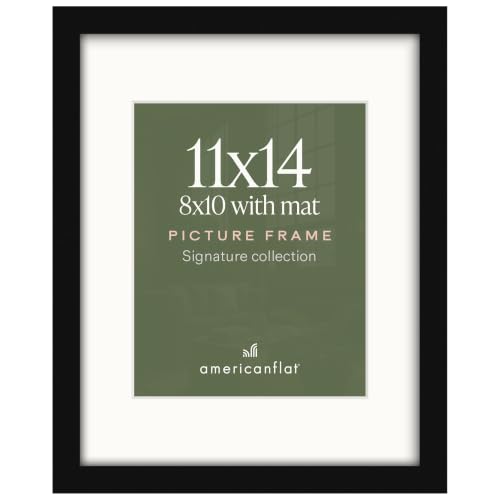
If your piece deserves slightly better, the Americanflat 11×14 Signature frame (about $12) uses actual shatter-resistant glass instead of plexi, in a black MDF molding that reads far more expensive than it is. It displays 11×14 without a mat or 8×10 with one (the mat opening is 7.5×9.5, so expect it to crop a thin border off a full-bleed 8×10). The con: it’s designed for wall display only — no easel back — and like every frame at this price there’s no UV filtering in the glass, so keep it out of direct sun.
Step 2: Decide on the Mat — It Changes Everything
A mat is the cardboard border between your art and the frame. It does two jobs: it keeps the artwork surface from touching the glass (wax bloom and condensation both get trapped when they touch), and it makes a small piece look intentional. The rule the pros use: the mat should be visibly wider than the frame moulding. A 2 to 2.5-inch mat on a narrow black frame is what makes a $7 frame look like a gallery piece.
Practical version: trim your finished page to 8×10, put it behind the mat in an 11×14 frame, and you’ve spent single digits on something that looks like you paid thirty. If the coloring spills edge to edge and cropping would hurt it, go frameless instead — full 11×14, no mat, and accept the glass contact (this is where the Americanflat’s real glass earns its price over plastic).
Step 3: Match the Frame to Where It Hangs
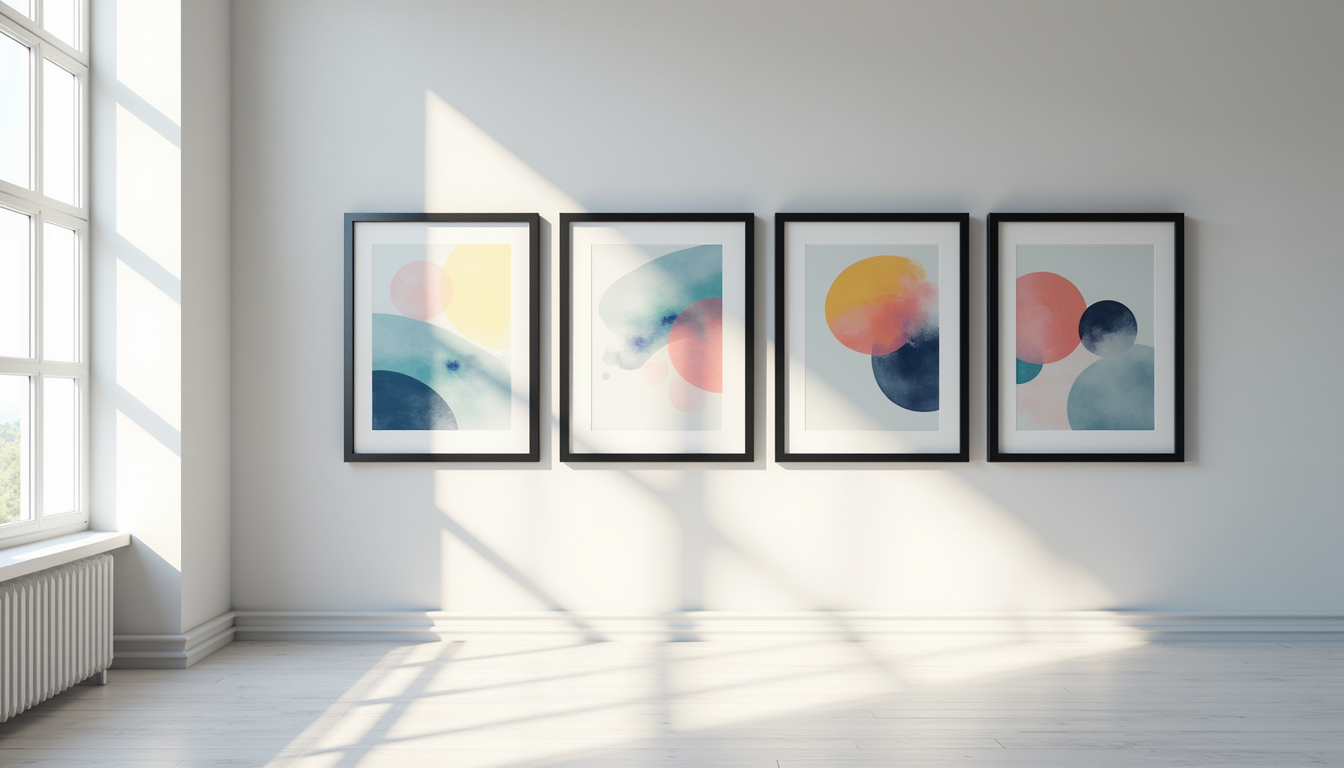
A hallway of framed pages wants consistency: same frame color, same size, evenly spaced. That’s where multi-packs beat single frames. The upsimples 11×14 set of 5 (about $23) works out to under $5 a frame — enough for a proper gallery wall of your best five pages. Same honest caveat as the single: plastic fronts, springy backings, and quality control that occasionally ships a cracked one, so open the box before you plan your wall.
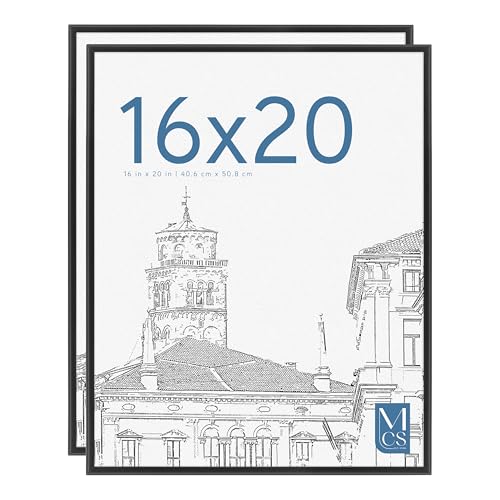
For bigger pieces — full 11×17 spreads, combined two-page panoramas, or pages you colored on 12×18 paper — step up to poster frames. The MCS Original 16×20 poster frame 2-pack (about $25) is the budget standard: lightweight, front-loading, and sized for standard poster stock. The Americanflat 16×20 poster frame (about $20) is the alternative with a plexiglass front and a wider moulding that hides the “this is a poster frame” look a little better. Con on both: plexiglass fronts, and lightweight mouldings that can arrive with a scuff — check them before you commit to hanging day.
Common Mistakes (All Cheap to Avoid)
- Trimming before you measure. Measure the frame’s actual opening — budget frames run the display area a half inch smaller than the stated size to grip the paper. Trim once, against the real frame, not the label.
- Letting the art touch the glass. In humid rooms, wax bloom and even mildew form between art and glass. Use the mat, or at minimum a spacer — this is the single biggest longevity factor.
- Hanging in direct sunlight. No frame under $25 has UV-protective glazing. Pigments — especially pinks, purples, and cheap reds — will fade in a season of sun. North-facing walls or interior hallways are your friends.
- Skipping the foam backing. If the frame’s backing board is flimsy, a sheet of foam board cut to size behind the art keeps everything flat and stops that subtle wavy look.
The Cheapest Setup That Still Works
Total damage for a properly framed page: one upsimples 11×14 frame at about $7, your page trimmed to 8×10 behind its included mat. For a five-page gallery wall, the set of 5 at about $23. Add a level and a pencil, and you’re in for less than the cost of a single new pencil set. Compare that to the frame shop’s $80 quote and the math makes itself.
If a piece didn’t come out the way you wanted before you frame it, fix the mistakes first — how to fix mistakes with colored pencils covers the rescue moves. And if choosing which page deserves the wall is the hard part, the color principles in color theory for adult coloring books will tell you which ones have real contrast.
ColoredCalm is reader-supported. As an Amazon Associate, I earn from qualifying purchases. That means if you buy through one of the links above, I get a small commission at no extra cost to you. I only recommend supplies I actually color with.
🎨 Get Your Free Stress Relief Coloring Guide
Join our newsletter and get this free printable plus weekly tips.
Frequently Asked Questions
What is the cheapest good way to frame coloring pages?
Pre-made poster frames in standard sizes. A 30-40 dollar frame looks identical to a 150 dollar custom frame if you trim the page to the mat window.
How do I keep colored pencil art from fading in a frame?
UV-filtering acrylic or glass, and keep it off direct sun. A fixative spray before framing also stops wax bloom and smudging under the glass.
Do I need to mount the page before framing?
Yes - use an acid-free backing board or the page will yellow at the edges within a couple of years. Photo corners beat spray adhesive for anything you might swap later.
Price Check
Prices verified via our product tracker. Updated Sep 27.
| Amazon.com - upsimples 11x14 Picture Frame, Wall Decor Pho | $6.99 | 4.4★ (43,800) |
| Amazon.com - Americanflat 11x14 Picture Frame - Matted to | $9.99 | 4.6★ (24,220) |
| Amazon.com - upsimples 11x14 Picture Frame, Gallery Wall F | $22.99 | 4.6★ (72,783) |
| Amazon.com - MCS Original Poster Frame, 16x20, Black, Gall | $30.21 | 4.1★ (12,338) |
| Amazon.com - Americanflat 16x20 Poster Frame - Engineered | $22.99 | 4.5★ (41,333) |
As an Amazon Associate we earn from qualifying purchases.