This article contains affiliate links. We may earn a commission from qualifying purchases.
Some content on this site is AI-assisted and reviewed by our editorial team.
Ask any colorist which subject made them quit their first coloring book, and the answer is almost always the same: faces. Skin tones are the final boss of adult coloring. You lay down what looks like a perfectly reasonable beige, add shadow with gray, and suddenly your portrait looks like a mannequin left out in the rain. The problem is not your skill — it is that skin is never one color, and almost nobody tells you how to build it in layers.
After ruining more portraits than I care to admit, I worked out a five-layer method that produces believable skin every time. Here is exactly how to do it, plus the supplies that actually matter.
The Five Layers of Believable Skin
Layer 1 — The base. Pick a light peach, beige, or cream that matches the overall warmth of the skin you want. Color the entire face with very light pressure, in small circular strokes, so the tooth of the paper stays open. If you press hard now, you will seal the paper and every layer after this one will slide off instead of blend.
Layer 2 — The undertone. Skin is not flat. Warm undertones (peach, goldenrod, light ochre) go over the base on cheeks, nose tip, and ears. Cool undertones (a whisper of light pink or even a touch of light indigo pressed very softly) suit paler or cooler complexions. This layer is what stops the mannequin effect — undertone is the difference between skin and paint.
Layer 3 — The flush. Real faces have blood near the surface: cheeks, nose, knuckles, earlobes. A pink or salmon pink, applied with almost no pressure in tiny circles, brings the face to life. Miss this layer and even a technically correct portrait looks like a corpse.
Layer 4 — The shadows. This is where everyone goes wrong. Never use black or plain gray for skin shadows — they read as dirt. Use a warm brown (sienna, burnt ochre) for warm skin, or a soft umber mixed with a hint of indigo for cooler skin. Shadows belong under the jaw, along the sides of the nose, under the bottom lip, and in the eye sockets. Two light layers beat one heavy one.
Layer 5 — The burnish. Once every layer is down, go over the smooth areas with a colorless blender or a white pencil, firm pressure, to melt the layers together. Do this last — burnish too early and the paper will not accept more pigment. Save the brightest highlights (nose tip, brow bone) for a white gel pen after burnishing; pencil white will not pop enough.
Do You Need a Portrait Set?
Prismacolor Premier Portrait Set (24 pencils) is the classic answer — about 30 dollars, and the color list is genuinely useful: cream, jasmine, peach, blush pink, clay rose, sienna, burnt ochre, terra cotta, dark umber, and white cover the full range from pale to deep skin, plus indigo blue for cool shadow mixing. The soft, waxy core blends easily, which is exactly what layering skin demands. The honest con: Prismacolor cores are famously brittle, so twist the sharpener gently or you will lose half the pencil to breakage.
Castle Arts Portrait Set (24 pencils) runs about 20 to 22 dollars and is the budget pick I actually recommend to beginners. The pigment is a touch less creamy than Prismacolor, so blending takes an extra layer, but the tin includes a small printed tutorial — and the colors are chosen for the same skin range. If you are not sure portrait coloring is for you, start here before spending Prismacolor money.
My take: you do not strictly need a portrait set — a 12-pencil budget set with a peach, a pink, two browns, and white can produce decent skin once you understand the layers. But a 24-pencil portrait set removes the mixing guesswork, and at 20 to 30 dollars it is the cheapest skill upgrade in coloring.
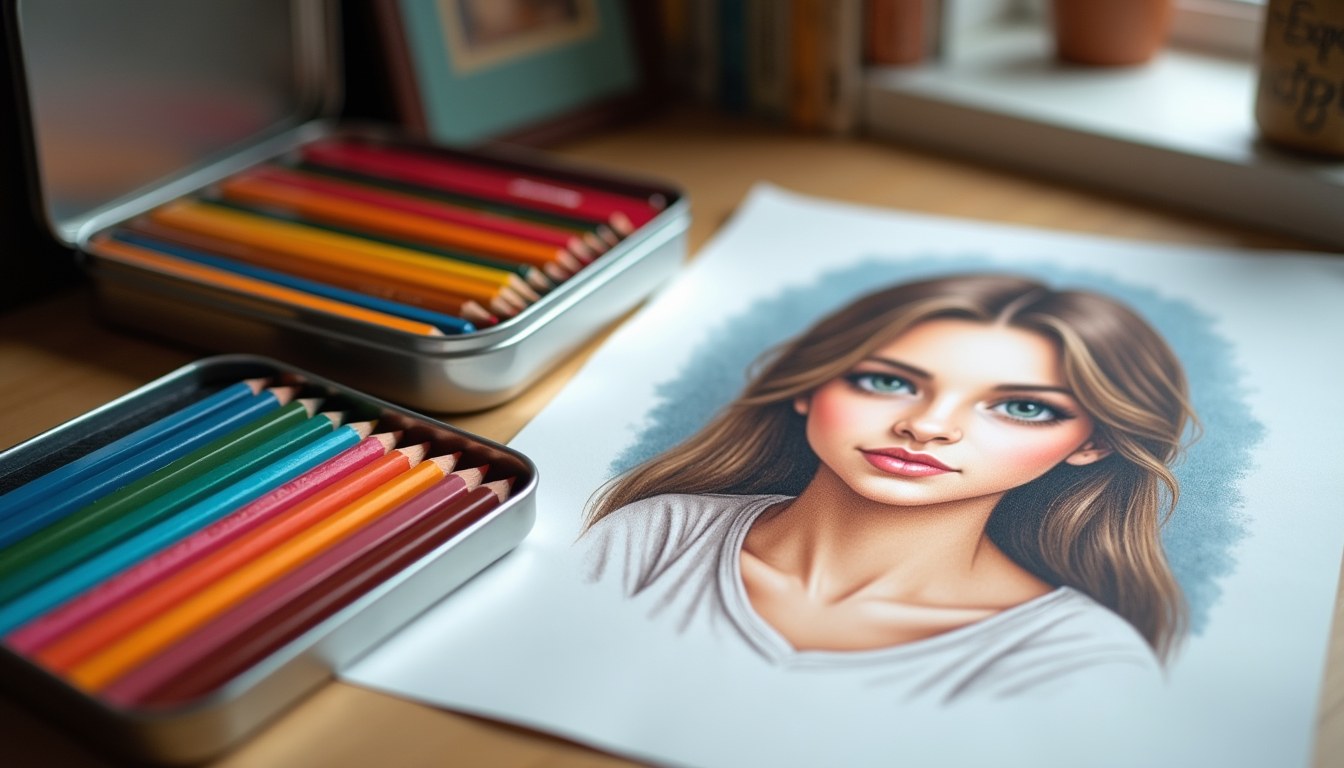
Common Mistakes (And How to Fix Them)
Skipping undertone. Flat base color plus shadow equals mannequin. Always put a warm or cool second layer over the whole face before you touch shadows.
Black shadows. They never look like skin. If your shadow went muddy or gray, layer a warm brown or sienna over it lightly — it will pull the shadow back toward skin.
Burnishing too early. Once you burnish, the paper is sealed. If you burnished by accident and need more layers, a workable fixative spray will open the surface again — but prevention is easier.
One skin tone per face. Even the same face needs 4 to 6 pencils. If your portrait used exactly one pencil for skin, that is the reason it looks flat.
The Budget Setup
Cheapest path that still works: a 24-count portrait tin (20 to 30 dollars), any colorless blender pencil (about 2 dollars), a white gel pen (about 3 dollars), and paper with real tooth — a basic 90-pound mixed media pad instead of thin printer-weight coloring books if you plan to layer heavily. Total: under 40 dollars for everything a beginner needs to color faces that look alive.
For how colors work together before you layer them, see our color theory guide for adult coloring books, and keep your portrait pencils sharp without snapping the cores using our sharpeners that will not break your pencils.
ColoredCalm is reader-supported. As an Amazon Associate, I earn from qualifying purchases. That means if you buy through one of the links above, I get a small commission at no extra cost to you. I only recommend supplies I actually color with.
🎨 Get Your Free Stress Relief Coloring Guide
Join our newsletter and get this free printable plus weekly tips.
Frequently Asked Questions
What is the five-layer method for skin tones?
Five thin passes: cream base, peach midtone, terracotta shadow, brown deep shadow, cream burnish to fuse. Each pass stays light enough to see the paper through.
Why do my skin tones look muddy?
You are blending complementary colors into each other or pressing too hard too early. Muddy usually means a red or green undertone crept in - rebuild with cream between layers.
Do expensive pencils matter for skin tones?
For faces, the mid-range jump (Prismacolor Premier class) matters more than the artist-grade jump. The soft wax cores layer without ridges, which is the whole game on skin.