This article contains affiliate links. We may earn a commission from qualifying purchases.
Some content on this site is AI-assisted and reviewed by our editorial team.
Every colorist hits the same wall eventually: you have a blank page, a card to make, or a printable you’d like to frame — and the moment you need to draw one simple border, the pen freezes. Somewhere along the way we all absorbed the idea that drawing is a talent you either have or don’t. Here’s the truth that professional layout artists have used for centuries: sketching a frame is geometry, not art. A ruler, a cheap compass, and five minutes will produce a hand-drawn border that looks intentional — no classes, no freehand talent, no tracing.
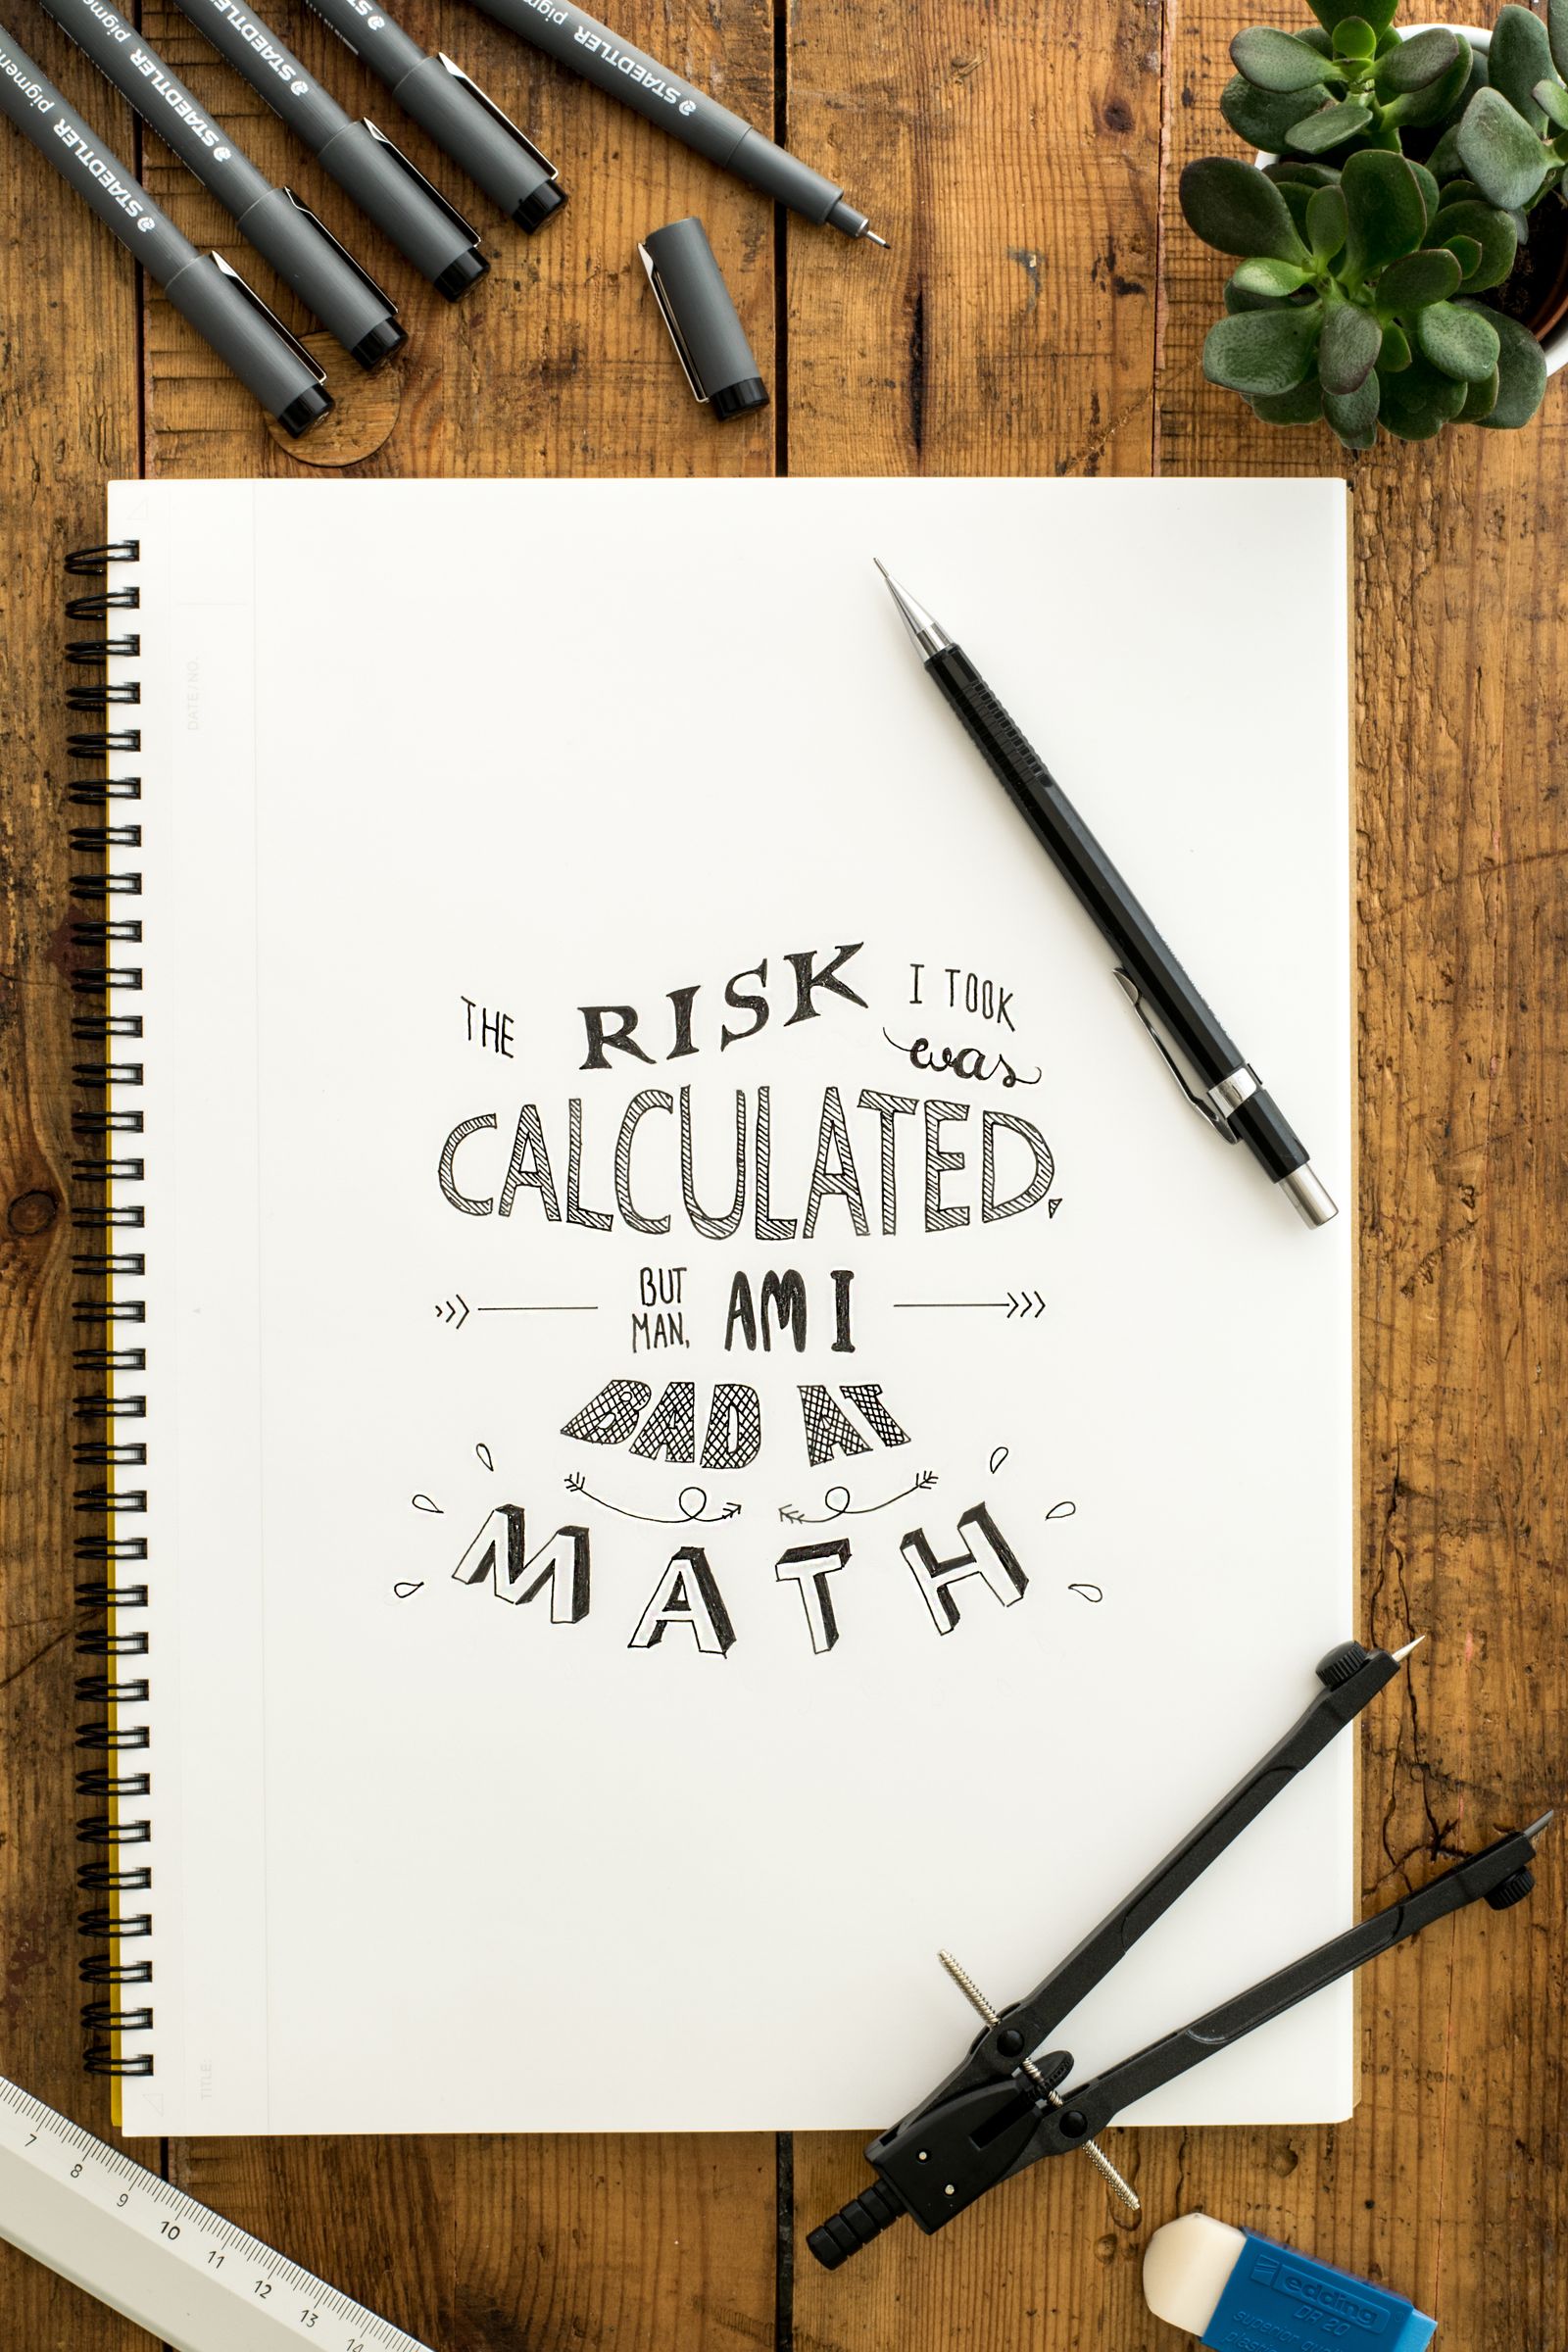
This is the zero-skill toolkit for colorists who want to make their own layouts — the same grid tricks that mandala books use, minus the panic.
The Grid Habit: Why Symmetry Reads as Skill
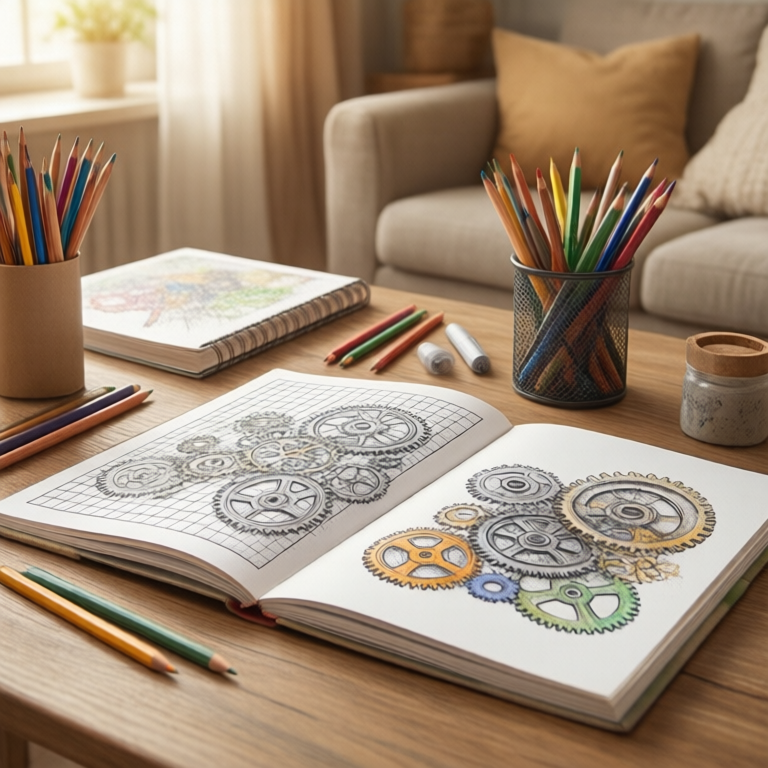
Pick up any good mandala book and look at a page before you color it. Every design starts the same way: a center point, circles at fixed radii, and radial lines dividing the ring into equal slices. The complexity is all decoration on top of that simple skeleton. That’s the core trick — if your underlying structure is even, the eye reads the result as “well drawn” no matter how simple the fills are. A wobbly freehand circle reads as a mistake; a compass circle with slightly wavy hand ornaments reads as charm. Structure first, everything else second.
The Mandala Coloring Book (Jim Gogarty) — The Grid-Friendly Teacher
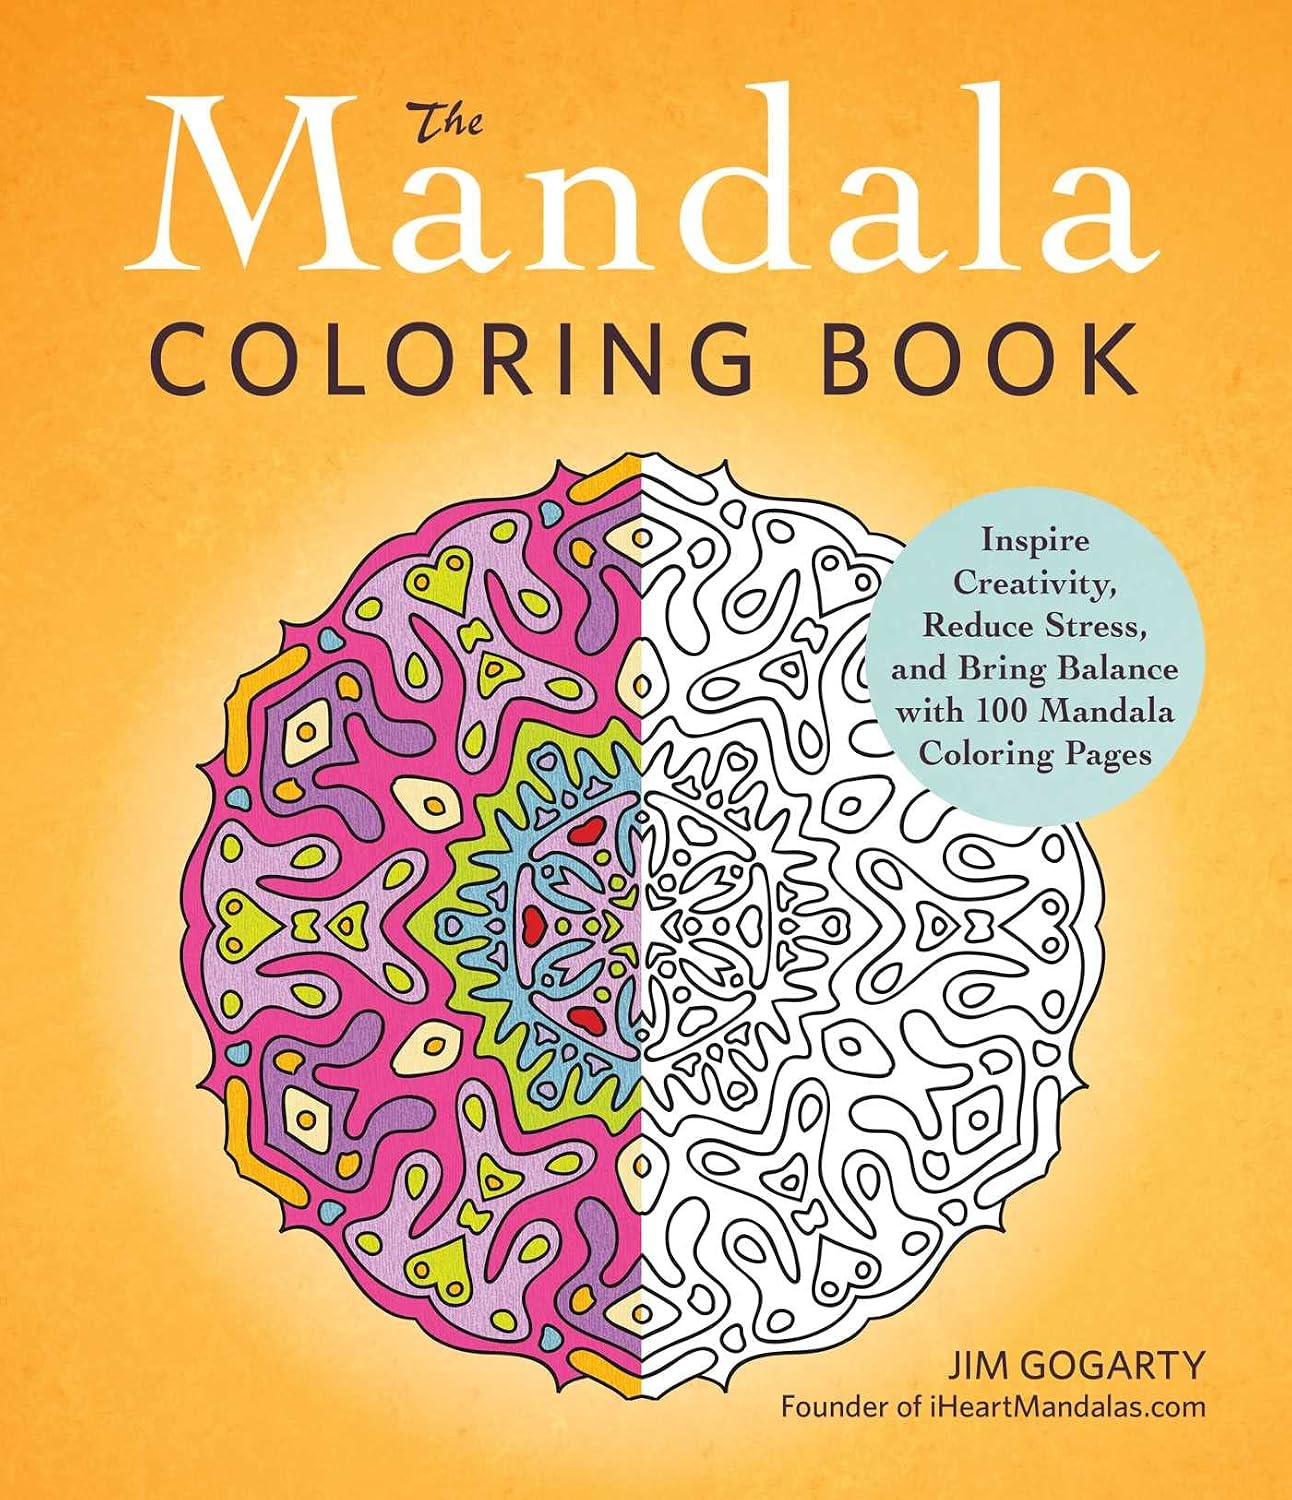
The Mandala Coloring Book is the cheapest drawing class a colorist can buy: 100 geometric pages, and each one quietly demonstrates a symmetry pattern you can copy onto your own cardstock. Color ten pages and you’ll internalize how radial layouts divide space. The honest con is paper weight — it’s standard coloring-book stock, so markers will ghost through without a blotter sheet underneath. Pencils are fine as-is.
My take: The best five dollars a colorist who wants to draw can spend — it’s a pattern library disguised as a coloring book.
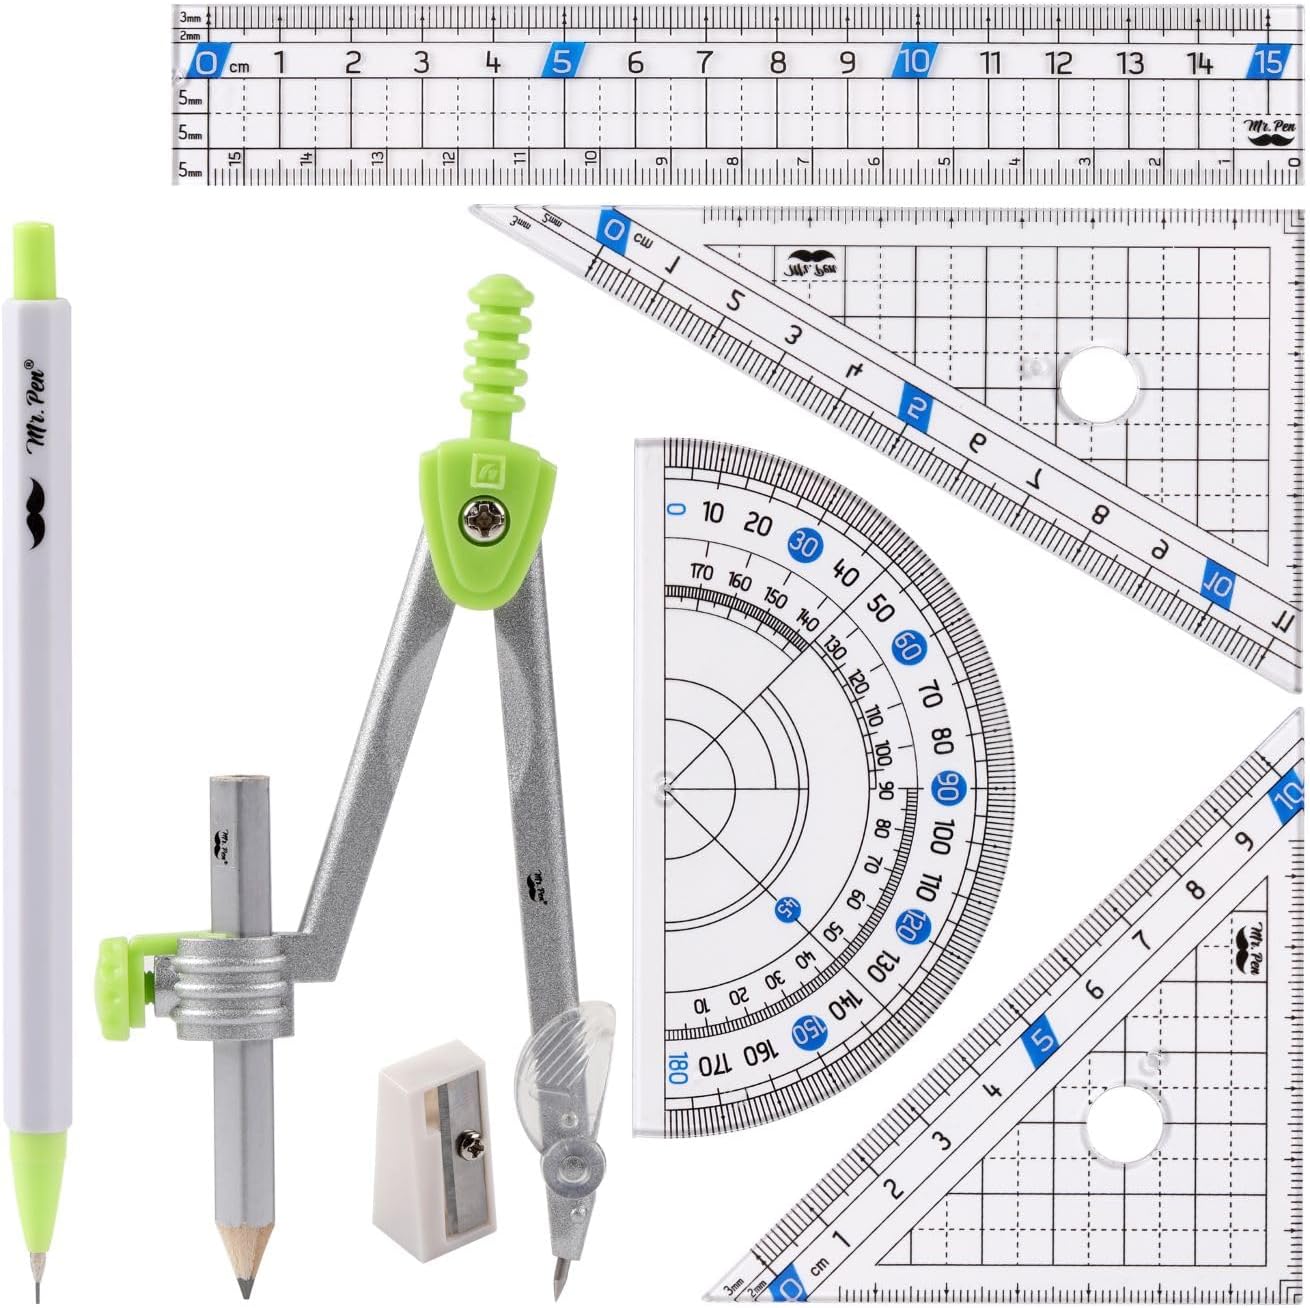
Mr. Pen Geometry Set (7-Piece) — The Eight-Dollar Layout Kit
The Mr. Pen 7-piece geometry set costs about $8 and contains everything the zero-skill method needs: a compass for circles and arcs, a protractor for dividing rings into equal slices, and two rulers for straight frame lines. This is the exact tool that turns “I can’t draw” into “I can construct.” The honest con is durability — the compass pivot loosens if you lean hard on it, which eventually shows as slightly wobbly circles. For occasional layout work it’s a non-issue; if you draw daily, an upgraded compass is worth it later.
My take: Buy this before any art supply — it’s the single highest-leverage eight dollars in this whole hobby.
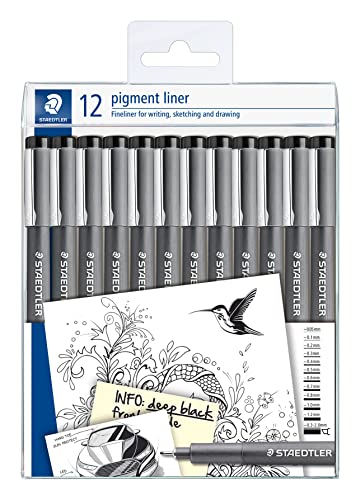
STAEDTLER Pigment Liner Fineliner 12-Set — The Layout Inker
Pencil guides only get you halfway — at some point the layout needs confident ink lines, and the STAEDTLER Pigment Liner 12-set is the tool for that job. Sizes run from a hairline 0.05 mm up to a bold 1.2 mm, so a border can have a thin inner rule, a medium frame, and weight where it matters. The waterproof pigment ink means you can erase pencil guides after inking and then color over the lines with markers without smearing. The honest con: these are felt tips, not steel — pressing like you’re carving ruins the tip in a week. Let the pen do the work.
My take: The ink set that makes pencil scaffolding look deliberate; the 0.3 and 0.5 will be the two you actually live in.
Getting it shipped: All three picks together stay under $30. If you’re ordering a stack of supplies, a free 30-day Prime trial makes the shipping math easy while you build the kit.
What Should a Beginner Sketch First?
A bordered rectangle with a simple corner ornament — five minutes, one pencil, one ruler. Straight frame lines with four small compass-arc corners at the joints, inked with the 0.5 liner. It’s the layout equivalent of a first coloring page: impossible to get wrong, and it immediately makes anything inside it look finished.
The Five-Minute Layout, Step by Step
1. Mark the center. Two light ruler lines corner-to-corner of your page area — their intersection is your anchor for anything radial.
2. Frame first, always. Draw the outer rectangle before any decoration. A plain straight border you add to later beats an ambitious frame with no edges.
3. Divide with the protractor, not the eye. Want eight ornaments around a ring? Mark every 45 degrees. Even spacing is what makes simple elements look designed.
4. Sketch in pencil, ink once. All construction stays light and erasable; commit with the fineliner only when the geometry checks out.
5. Erase the scaffolding. A kneaded eraser lifts guide lines without scoring the paper — this final cleanup step is what separates “practice” from “a page you’d frame.”
Common Mistakes (I Made All of Them)
Drawing decorations before the frame. The border defines the space; ornament inside undefined space always ends up lopsided.
Dividing circles by eyeball. Six “evenly” spaced dots estimated visually are never even. The protractor takes ten seconds and fixes it.
Pressing hard in pencil. Construction lines should barely be visible — deep grooves survive every eraser and show under marker.
Skip-inking entirely. Pencil-only layouts smear the first time the page slides across a table. Ink the frame; leave interior choices to the coloring phase.
The Budget Note
The cheapest working setup: the $8 geometry set, the fineliner set, and any paper you already own — under $25 total to start constructing layouts today. Add the mandala book as your pattern reference when you want it (about $5), and you’re fully equipped. The fineliners also carry double duty for coloring — the same ink that survived our fineliner ink test against Micron, so one set serves both layout and detail work. And when you’re ready to fill those frames with color, our under-$15 coloring book picks are a good next stop. Deep-focus layout work hits different with an audiobook — Audible’s free trial is here if you want company while you draw.
ColoredCalm is reader-supported. As an Amazon Associate, I earn from qualifying purchases. That means if you buy through one of the links above, I get a small commission at no extra cost to you. I only recommend supplies I actually color with.
🎨 Get Your Free Stress Relief Coloring Guide
Join our newsletter and get this free printable plus weekly tips.
Frequently Asked Questions
Can I learn to draw while coloring?
You do not need to learn drawing — you need layout. Grids, a compass, and a protractor produce even borders and mandala frames with zero freehand skill. Structure is what reads as skill; the ornaments on top can be as simple as you like.
What should a beginner sketch first?
A bordered rectangle with a compass-arc corner ornament — about five minutes with a ruler and fineliner. It is the layout equivalent of a first coloring page and makes anything inside it look finished.
How do I draw straight borders without a ruler slipping?
Hold the ruler with your whole hand spread flat rather than fingertips, and draw with the pen against the edge furthest from you. Sketch construction lines light — deep pencil pressure is what makes rulers slip on smooth paper.
Liked this guide? Get the next one in your inbox — the coloring starter checklist is free too.
✓ You're in — check your inbox.
No spam. Unsubscribe anytime. We never share your email.