
This article contains affiliate links. We may earn a commission from qualifying purchases.
Some content on this site is AI-assisted and reviewed by our editorial team.
How to Set Up the Perfect Coloring Space: A Beginner’s Guide to Your Coloring Corner
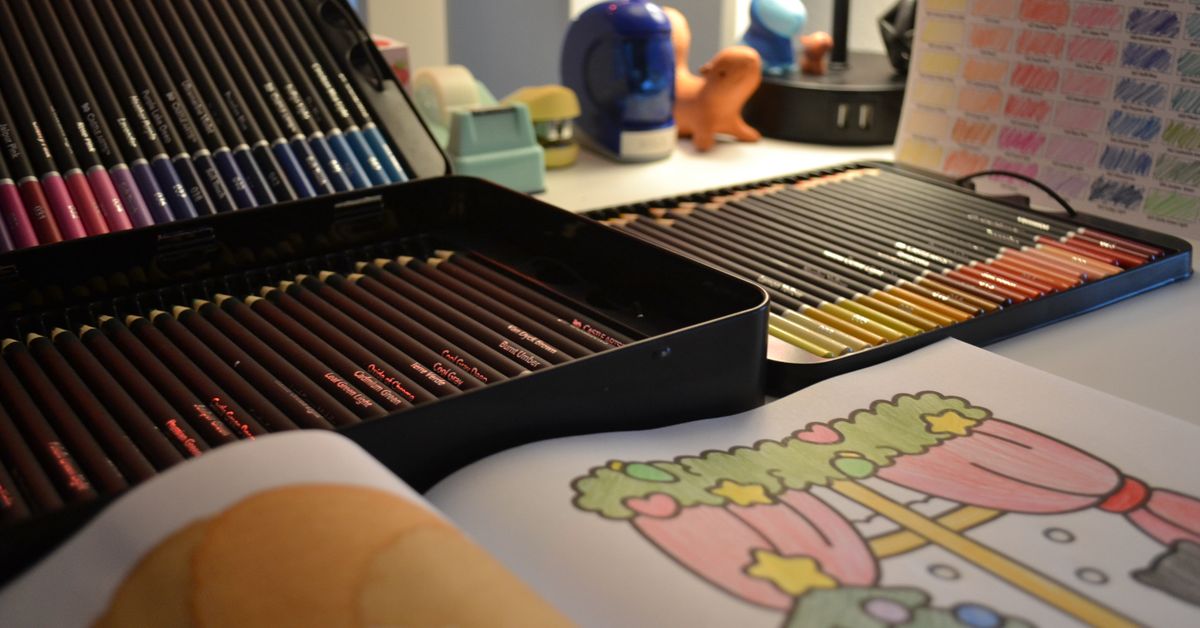
A good coloring space does not need to be fancy or expensive. It just needs to be comfortable, well-lit, and organized enough that you can sit down and start coloring without spending ten minutes hunting for your pencils. Whether you have a dedicated craft room or a corner of the kitchen table, the right setup makes coloring more enjoyable and helps you stick with it as a daily practice.
I have set up coloring spaces in tiny apartments, shared living rooms, and even on a lap desk in bed. The principles are the same everywhere. Here is how to build a coloring space that works for you.
Start With the Surface
Your coloring surface is the foundation. It needs to be flat, stable, and large enough to hold an open coloring book plus your pencils. A kitchen table works fine. A dedicated desk is better because you do not have to clear it away after every session.
If you color on the couch or in bed, a lap desk is the way to go. Look for one that is at least 15 inches wide and has a firm, smooth surface. The Adjustable Lap Desk I have been using for months has a cushioned bottom that sits stable on your lap and a surface large enough for an open coloring book plus a pencil cup. If you want something more portable, the larger lap desk option folds flat for storage and travel.
For desk coloring, consider a tilted drawing board. A slight angle (15 to 25 degrees) reduces neck strain because you are looking down at a more natural angle instead of hunching forward. Even a simple wooden board propped against a stack of books works. Your neck will thank you.
Get the Lighting Right
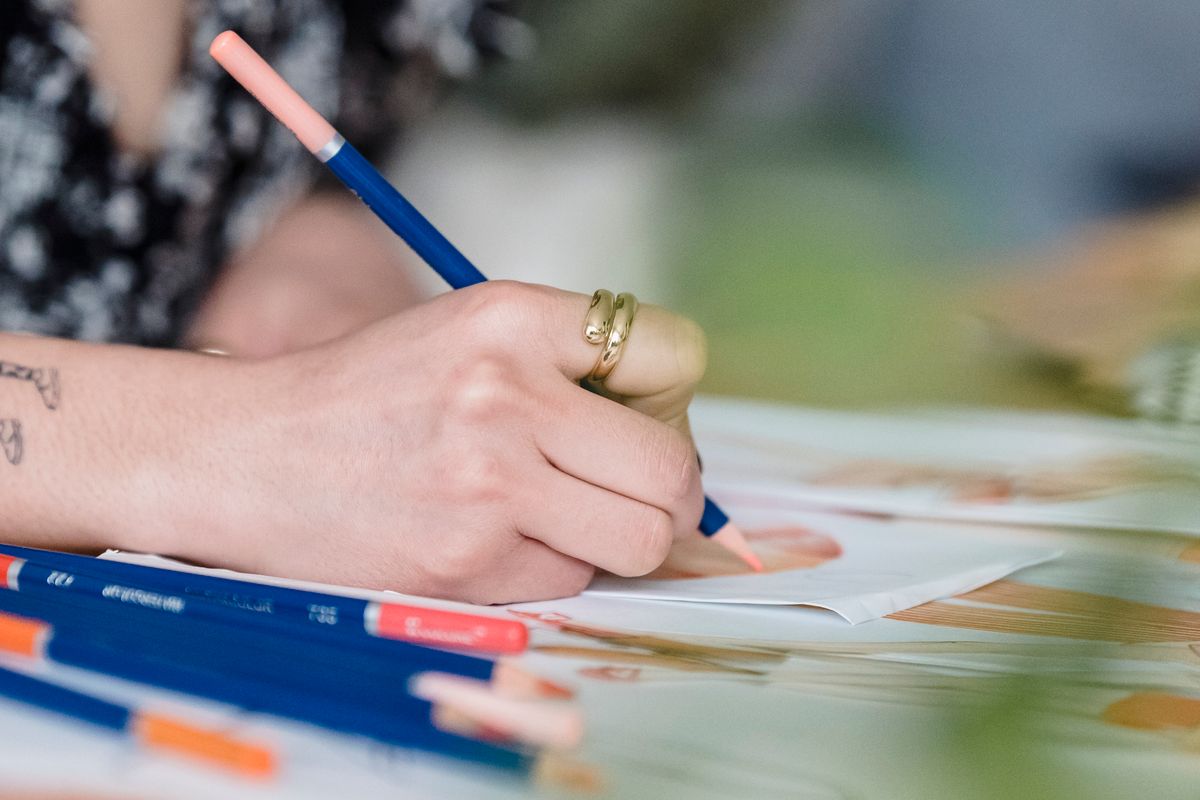
Lighting is the most overlooked part of a coloring setup. Bad lighting causes eye strain, makes colors look dull, and leads to mistakes because you literally cannot see what you are doing. Good lighting makes colors pop and lets you color for longer without fatigue.
Natural window light is ideal but not always available. For evening sessions, you need a daylight-simulating lamp. A daylight desk lamp (compare prices on Amazon) gives you full-spectrum light that shows colors accurately and reduces eye strain. Position it above and slightly behind your coloring surface, angled so it lights the page without creating shadows from your hand.
If you color at a desk, an adjustable arm lamp is better than a fixed lamp because you can direct the light exactly where you need it. The goal is even, shadow-free illumination across the entire page.
Organize Your Pencils Where You Can See Them
Nothing kills a coloring session faster than not being able to find the color you want. Digging through a tin of 72 pencils for the right shade of teal breaks your flow and makes coloring feel like work instead of relaxation.
The best storage solution is one that lets you see all your colors at once. A desktop pencil organizer with angled slots works well for smaller sets. For larger collections, a roll-up canvas pouch laid flat on the desk lets you scan all colors at a glance.
Keep your sharpener within arm’s reach. The Kum Automatic Long Point Sharpener (compare prices) is the one I recommend because it produces a long, fine point that holds up better during detailed work than the stubby points from cheap sharpeners.
Choose the Right Pencils for Your Space
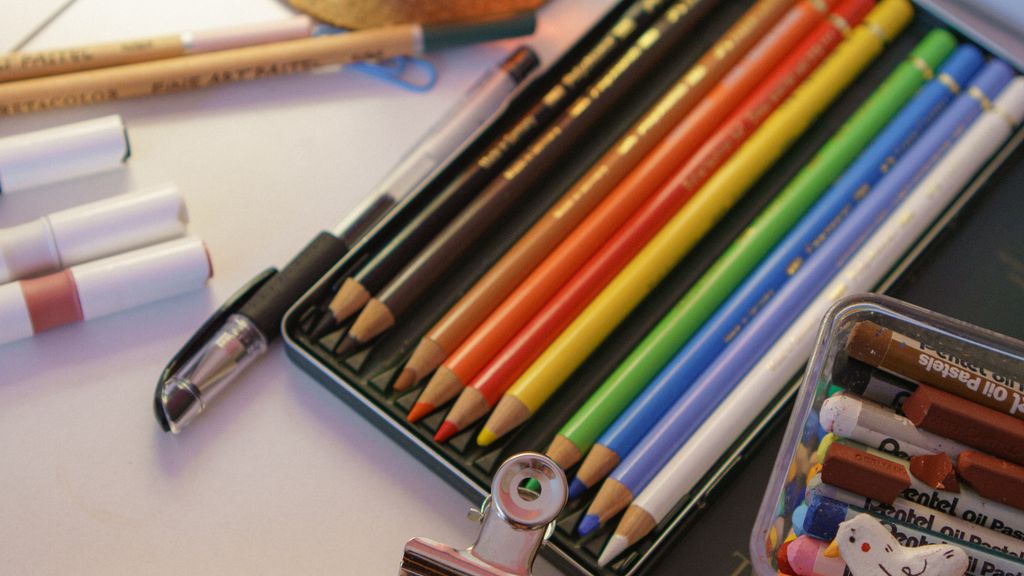
Your coloring space should work with your pencils, not against them. If you have a small surface, a 24-pencil set is more manageable than a 72-pencil set. If you have room to spread out, a larger set gives you more color options.
The Prismacolor Premier 72-Color Set (compare prices) is the gold standard for adult coloring. The soft, waxy core blends beautifully and lays down rich, opaque color. If you are just starting out, the Scholar 60-color set from the same brand offers similar quality at a lower price point, with a slightly harder core that is more forgiving for beginners.
For markers, the Ohuhu Honolulu 100-Color Alcohol Markers are a budget-friendly alternative to Copic markers. They work best on marker paper or cardstock inserted behind your coloring book page to prevent bleed-through.
Add the Extras That Make a Difference
Once you have the basics, surface, lighting, and pencils, a few small additions make your coloring space feel complete:
- A scrap paper pad. Place a sheet of clean white paper under your coloring book page. It provides a smoother surface, prevents indentations from transferring to the next page, and gives you a place to test colors before applying them.
- A color reference chart. Swatch every color in your set on a piece of cardstock. It takes 15 minutes and saves you from picking the wrong shade for the rest of your coloring life.
- A comfortable chair. If you color for more than 20 minutes at a time, chair quality matters more than desk quality. Your back should be supported and your feet should touch the floor.
- A cup of water or tea. Coloring is a slow activity. Having a drink nearby keeps you hydrated and adds to the cozy factor. Just keep it on a separate surface from your coloring book.

Keep It Portable for Travel Coloring
Not every coloring session happens at home. A portable coloring kit lets you color on your lunch break, at the park, or while traveling. The core kit is simple: a small coloring book, a 24-pencil set, a sharpener, and a lap desk or clipboard.
For coloring books on the go, the Large Print Coloring Book format is ideal because the pages are easier to manage in a small space and the bold lines are forgiving if your hand is not perfectly steady on a bumpy train.
Love audiobooks? Get 3 months of Audible for just $0.95/month. Try Audible now
Read unlimited books? With Kindle Unlimited, read as much as you want from 4M+ titles, including thousands of coloring and art books. Try Kindle Unlimited FREE for 2 months
Bottom Line
A good coloring space is not about spending money, it is about removing friction. When your pencils are organized, your lighting is good, and your surface is comfortable, you will find yourself coloring more often and enjoying it more when you do. Start with the basics: a flat surface, a good lamp, and your pencils where you can see them. Everything else is a bonus.
Already have your space set up? The next step is making sure you have the right pencils for your coloring style. Check out our Prismacolor Premier vs Scholar comparison to find the set that fits your budget and skill level.
Disclosure: As an Amazon Associate, ColoredCalm earns from qualifying purchases. This post contains affiliate links, which means we may earn a commission if you click through and make a purchase, at no additional cost to you.
🎨 Get Your Free Stress Relief Coloring Guide
Join our newsletter and get this free printable plus weekly tips.
Price Check
Prices verified via our product tracker. Updated Sep 27.
| Amazon.com: HUANUO Lap Desk with 8 Adjustable Angles – Up | $35.00 | 4.4★ (10,848) |
| Amazon.com: OPTIXCELL Lap Desk with Arm Rest, Ergonomic 17 | $69.99 | 4.3★ (361) |
| OttLite Soft Touch LED Desk Lamp, 3 Brightness Settings, G | $49.99 | 4.7★ (290) |
| Amazon.com: Daylight Company Foldi Go Lamp, Table Lamp, Cr | $169.99 | 4.3★ |
| Amazon.com: AS2M (1053121), Long Point Sharpener, sharpens | $8.14 | 4.6★ (2,983) |
| Amazon.com: Kum AS2, Two Hole Automatic Long Point Pencil | $8.10 | 4.5★ (1,942) |
| Amazon.com : Prismacolor Premier Colored Pencils, Soft Cor | $74.99 | 4.8★ (29,632) |
| Amazon.com: ARTEZA Colored Pencils, 48 Wax-Based Color Pen | $0.79 | 4.7★ (6,573) |
| Amazon.com : Ohuhu Alcohol Markers 48 Colors Brush& Chisel | $49.99 | 4.8★ (17,024) |
| Amazon.com: Large Print Coloring Book for Seniors: Simple | $8.99 | 4.5★ |
As an Amazon Associate we earn from qualifying purchases.