This article contains affiliate links. We may earn a commission from qualifying purchases.
Some content on this site is AI-assisted and reviewed by our editorial team.
Meta description: Learn how to blend and shade colored pencils with beginner-friendly techniques. From burnishing to layering, master the skills that turn flat coloring into art.
You bought a coloring book, grabbed your pencils, and started filling in shapes. The results were… fine. But you’ve seen those pages online — the ones that look painted, not penciled. The ones with smooth gradients, glowing highlights, and depth that makes you forget you’re looking at paper.
That’s not talent. That’s technique. Specifically: blending and shading.
The good news? These are learnable skills. You don’t need art school. You don’t need expensive supplies (though we’ll recommend some worth the upgrade). What you need is a clear guide, and that’s exactly what this is.
The 4 Blending Methods (Pick One to Start)
1. Layering (Pressure Blending)
The idea: Build color gradually by applying multiple light layers instead of one heavy pass.
How to do it: 1. Start with your lightest color 2. Apply with very light pressure, you should barely see pigment 3. Add 3-4 thin layers, gradually increasing pressure 4. Your top color (the one you want most visible) goes on last with medium pressure
Best for: Smooth gradients, sky transitions, skin tones Works with: Any pencil brand, but softer cores (like Prismacolor) layer more easily
Pro tip: If your hand is making a scratching sound on the paper, you’re pressing too hard. Back off.
2. Burnishing
The idea: Use a colorless blender or a light-colored pencil with heavy pressure to “melt” layers together into a smooth, paint-like finish.
How to do it: 1. Build up 3-4 layers of color using the layering method above 2. Take a colorless blender pencil (or a white/cream pencil) 3. Apply firm, even pressure in small circular motions 4. The wax in the pencil heats up slightly from friction and fuses the layers
Best for: Polished, saturated finishes; making colors look vivid Works with: Wax-based pencils (Prismacolor, Crayola), oil-based pencils don’t burnish as well
Pro tip: Burnishing is a one-way trip. Once you burnish, you can’t add more layers on top. Save it for your final step.
3. Solvent Blending
The idea: Use a mild solvent to dissolve pencil wax/oil and create watercolor-like smooth blends.
How to do it: 1. Apply your colored pencil as normal (layering works best) 2. Dip a cotton swab or small brush in rubbing alcohol or odorless mineral spirits 3. Gently brush over the colored areas in the direction of your blend 4. The solvent melts the binder and lets colors merge smoothly
Best for: Ultra-smooth backgrounds, sky gradients, large area blending Works with: Both wax- and oil-based pencils
Safety note: Use in a ventilated area. Odorless mineral spirits (like Gamsol) are safer than regular mineral spirits. Keep away from kids and pets.
4. Blender Pen / Marker Blending
The idea: Use a clear blender marker (like the Tombow Dual Brush Blender or Copic Colorless Blender) over pencil to create smooth transitions.
How to do it: 1. Apply your pencil color 2. Use the blender marker to “push” the pigment around 3. Works like solvent blending but without the chemical smell
Best for: Quick blending, detail work, mixed media pieces Works with: Most pencil brands, but works especially well on smoother paper
Shading: How to Make Things Look 3D
Blending makes things smooth. Shading makes things real. Here are the 5 shading techniques that matter most for coloring book artists:
1. Value Mapping (Start Here)
Before you touch pencil to paper, decide where your light source is. Then map three zones:
Highlights, Where light hits directly (lightest color or leave paper white)
Midtones. The base color of the object (your main pencil)
Shadows, Where light doesn’t reach (your darkest shade)
Exercise: Take a simple circle. Decide light comes from the upper left. Color the upper-left area light, the middle medium, and the lower-right dark. Blend the transitions. You just made a sphere.
2. Hatching
Parallel lines drawn in one direction. Closer lines = darker. Wider spacing = lighter.
Best for: Architectural elements, hair, fur, adding texture to shadows
3. Cross-Hatching
Hatching + a second set of lines at an angle. The intersection creates natural darkness.
Best for: Deep shadows, adding drama, vintage/etched look
4. Stippling
Dots. Lots of dots. More dots = darker. Fewer dots = lighter.
Best for: Texture (sand, stone, rough surfaces), pointillist style
Warning: It’s meditative and tedious. Perfect for mindfulness coloring, rough on your wrist.
5. Smooth Gradient Shading
The holy grail. Light-to-dark transition with no visible lines or bands.
How to practice: 1. Draw a rectangle 2. Start at one end with heavy pressure (dark) 3. Gradually reduce pressure as you move across 4. The goal: you can’t tell where one shade ends and the next begins
This single skill will transform your coloring pages more than anything else.
The Supply Shortlist (What Actually Matters)
You don’t need every product below. But if you’re going to invest in blending and shading, these are the tools that make the biggest difference:
Budget tip: Start with Crayola + a colorless blender + regular printer paper. You’ll learn the techniques just fine. Upgrade when you feel the tools limiting you, not before.
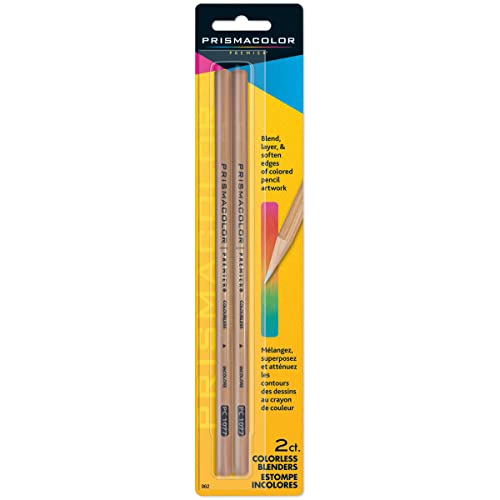
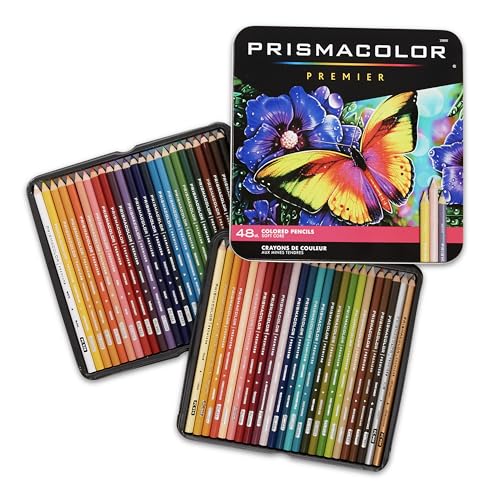
Product B002X94T8U — real product photoPrismacolor Premier Colored Pencils, Soft Core, Assorted Colors, 48 Count – Dura — real product photo
3 Beginner Projects to Practice Right Now
Project 1: The Gradient Sphere (15 minutes)
Skills: Layering, value mapping, smooth gradient
Draw a circle
Pick any color, say, blue
Light source: upper left
Lightly layer blue on the lower right (shadow side)
Add white/light blue on the upper left (highlight)
Burnish the whole thing with a colorless blender
You should see a smooth transition from light to dark
What you learned: How pressure + layering creates 3D form.
Project 2: The Sunset Strip (20 minutes)
Skills: Solvent blending, color transitions
Draw a tall rectangle
Color the top third yellow, middle third orange, bottom third red
Overlap slightly where colors meet
Use a cotton swab with rubbing alcohol to blend the transitions
The colors should merge like a watercolor sunset
What you learned: Solvent blending makes impossible-smooth gradients.
Project 3: Shading a Coloring Book Page (30 minutes)
Skills: Everything combined
Pick a simple coloring book page (flowers, mandala, or geometric)
Choose a light source direction (upper left is easiest)
For each section:
Identify highlight, midtone, and shadow zones
Layer your colors from light to dark
Burnish for a polished finish or leave layered for a softer look
Step back and compare it to a flat-colored version
What you learned: How all the techniques work together on a real project.
Common Mistakes (And How to Fix Them)
Banding (visible stripes in gradients), Pressure changes too abruptly. Fix: Layer lighter, use more passes with less pressure.
Wax bloom (white haze on finished work), Wax rises to surface over time. Fix: Burnish as a final step, or spray with fixative.
Can’t add more color. You already burnished too early. Fix: Don’t burnish until your LAST layer.
Colors look muddy, Mixing too many colors, or complementary colors. Fix: Stick to analogous colors (neighbors on color wheel) for blends.
Paper pilling, Too much pressure on thin paper. Fix: Use heavier paper (80lb+), or lighter pressure.
Uneven coverage, Skipping areas, inconsistent pressure. Fix: Work in small sections, use circular motions.
The Mindfulness Connection
Here’s something most art tutorials skip: blending and shading are mindfulness practices in disguise.
When you’re layering color, watching it build, adjusting pressure, feeling the pencil move, you’re practicing focused attention. The repetitive motion activates your parasympathetic nervous system (the “rest and digest” mode). Your heart rate slows. Your breathing deepens. Your brain stops racing.
This isn’t woo. Studies on “flow state” show that structured creative activities reduce cortisol by up to 25% and increase dopamine. The key is the structured part, that’s what distinguishes mindful coloring from passive distraction.
Blending and shading give your brain exactly the right amount of challenge: not so easy you zone out, not so hard you stress. That’s the sweet spot.
So the next time someone asks why you spend 45 minutes shading a single flower, tell them it’s cheaper than therapy and more effective than scrolling.
Just want to relax? Grab a coloring book and a basic pencil set and just… start. The techniques will come.
ColoredCalm is about creativity that calms. No perfectionism required.
Affiliate Disclosure: This post contains affiliate links. If you purchase through them, we may earn a commission at no extra cost to you. We only recommend products we genuinely think are worth it.
Blending and shading are the techniques that separate flat coloring from dimensional, professional-looking work. Practice with a colorless blender and layered pressure control. Once these click, every coloring page improves.
My take: Master layering first — every smooth gradient you’ve admired online is light pressure built in thin passes, not a heavy hand. Burnishing is the second skill, and only as a final step since it locks the surface. Soft-core pencils make both easier, but pressure control is the real technique.
Join our newsletter and get this free printable plus weekly tips.
✅ Check your inbox for the free download!
Frequently Asked Questions
What is the easiest way to blend colored pencils?
Layering with pressure control — start with your lightest color in barely-visible layers, build 3-4 passes with gradually increasing pressure, and put your dominant color on last. If the pencil makes a scratching sound, you're pressing too hard.
What is burnishing and when should I use it?
It's the final polish pass: after building 3-4 layers, press firmly with a colorless blender or light-colored pencil in small circular motions to fuse everything into a smooth, paint-like finish. It's a one-way trip — the burnished surface accepts no more layers — so always save it for last.
Do I need a colorless blender pencil to shade well?
It helps but isn't required. Layering with the pencils themselves creates smooth gradients, and a white or cream pencil can substitute for burnishing. A colorless blender like the Prismacolor one just makes the final pass cleaner.
Liked this guide? Get the next one in your inbox — the coloring starter checklist is free too.
✓ You're in — check your inbox.
No spam. Unsubscribe anytime. We never share your email.
Prices move fast. Start your Amazon trip from our Shop & Support page and your purchases support ColoredCalm at no extra cost to you.